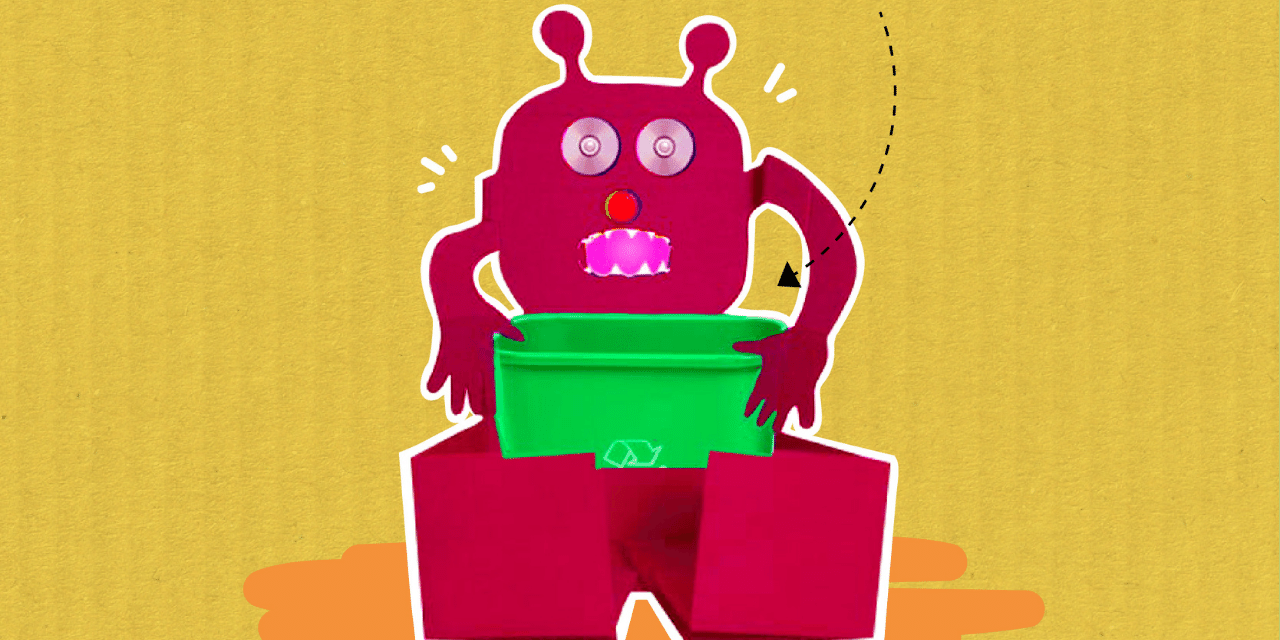
Make a Recycle Monster
Create a Recycle Monster from clean recycled materials, glue, and paint; design features, learn about recycling, and display your eco friendly creature.


Step-by-step guide to make a Recycle Monster
Step 1
Spread the newspaper or old cloth on a table to protect your workspace.
Step 2
Gather a handful of clean recycled items and put them on the workspace so you can see everything.
Step 3
Draw a quick plan or sketch of your Recycle Monster showing body head arms and special features.
Step 4
Choose one recycled item to be the body and place it in the center of your workspace.
Step 5
Arrange other recycled pieces around the body to make a head arms legs eyes and extras without gluing them yet.
Step 6
Attach each part to the body one at a time using glue or tape.
Step 7
Let the glued parts dry completely before you touch them again.
Step 8
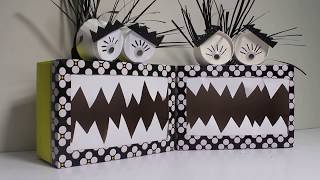
Add small features like eyes teeth or scales using bottle caps buttons fabric scraps or markers.
Step 9
Paint your Recycle Monster with the colors you chose and let the paint dry fully.
Step 10
Use markers or crayons to add final details like patterns facial expressions or a name tag.
Step 11
Write down three things you learned about recycling the items you used and why reusing helps the planet.
Step 12
Put your Recycle Monster on display where everyone can see it.
Step 13
Share a photo and a short story about your Recycle Monster on DIY.org.
Help!?
What can we use instead of newspaper, bottle caps, or glue if we don't have them?
Instead of newspaper or an old cloth (step 1) use a paper bag or an old sheet, swap bottle caps or buttons (step 8) for punched paper circles, stickers, or fabric scraps, and use strong tape or a stapler in place of glue when attaching parts (step 6).
My monster parts keep falling off or the paint smudges—how can we fix that?
Make sure you arrange pieces without gluing first (step 5), use a stronger adhesive like tacky glue, hot glue (with adult help), or reinforced tape when you attach parts (step 6), and let everything dry completely before touching or painting (step 7 and step 9).
How can I adapt this activity for younger kids or older kids?
For toddlers, simplify by letting them pick a body (step 4) and stick pre-cut shapes or stickers while an adult does the gluing (step 6), and for older kids add a detailed sketch plan (step 3), moving joints, mixed-media painting (step 9), and a recycling reflection write-up (step 11).
How can we extend or personalize our Recycle Monster after finishing the basic steps?
Personalize it by adding moving limbs with brads or pipe cleaners when you attach parts (step 6), installing a small LED inside a hollow recycled item before painting (step 9), creating a display diorama (step 12), and sharing a photo plus story on DIY.org (step 13).
Watch videos on how to make a Recycle Monster
DIY Toilet Paper Roll HALLOWEEN Cute Spooky Little MONSTERS - KIDS Easy Craft - Recycle
4 Videos
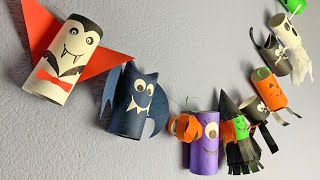
DIY Toilet Paper Roll HALLOWEEN Cute Spooky Little MONSTERS - KIDS Easy Craft - Recycle
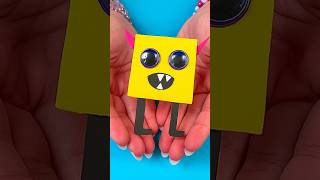
DIY Monster Paper Craft | Easy Fun Craft for Kids #diy #craft #craftyfun #kids
DIY How to Make a One-Eyed Monster with Toilet Paper Roll Easy Recycle Paper Toys Idea #Shorts
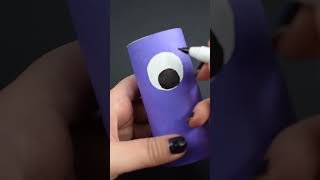
DIY monster crafts for kids | how to recycle tissue box covers | #kids fun tutorial
Facts about recycling and upcycling for kids
♻️ Recycling aluminum saves about 95% of the energy compared to making new aluminum from ore.
🥤 A single plastic bottle can take roughly 450 years to break down in the environment.
🐢 Sea turtles and other wildlife often mistake plastic bits for food, which can make them very sick.
🎨 Found-object art turns everyday trash into sculptures and toys—your Recycle Monster is a mini found-object masterpiece!
🌳 Recycling one ton of paper can save around 17 trees and lots of water and energy.
How do you make a Recycle Monster?
What materials do I need to make a Recycle Monster?
What ages is this Recycle Monster activity suitable for?
What are the benefits of making a Recycle Monster?
