Build a computer
Assemble a beginner-friendly Raspberry Pi computer with adult help, connect keyboard, mouse, and display, and learn coding basics and hardware setup.


Step-by-step guide to build a Raspberry Pi computer
computer full form working model - computer project - simple and easy steps | DIY pandit
Step 1
Ask an adult to help you gather the Materials Needed listed above.
Step 2
Clear a small table so you have a tidy workspace to build your computer.
Step 3
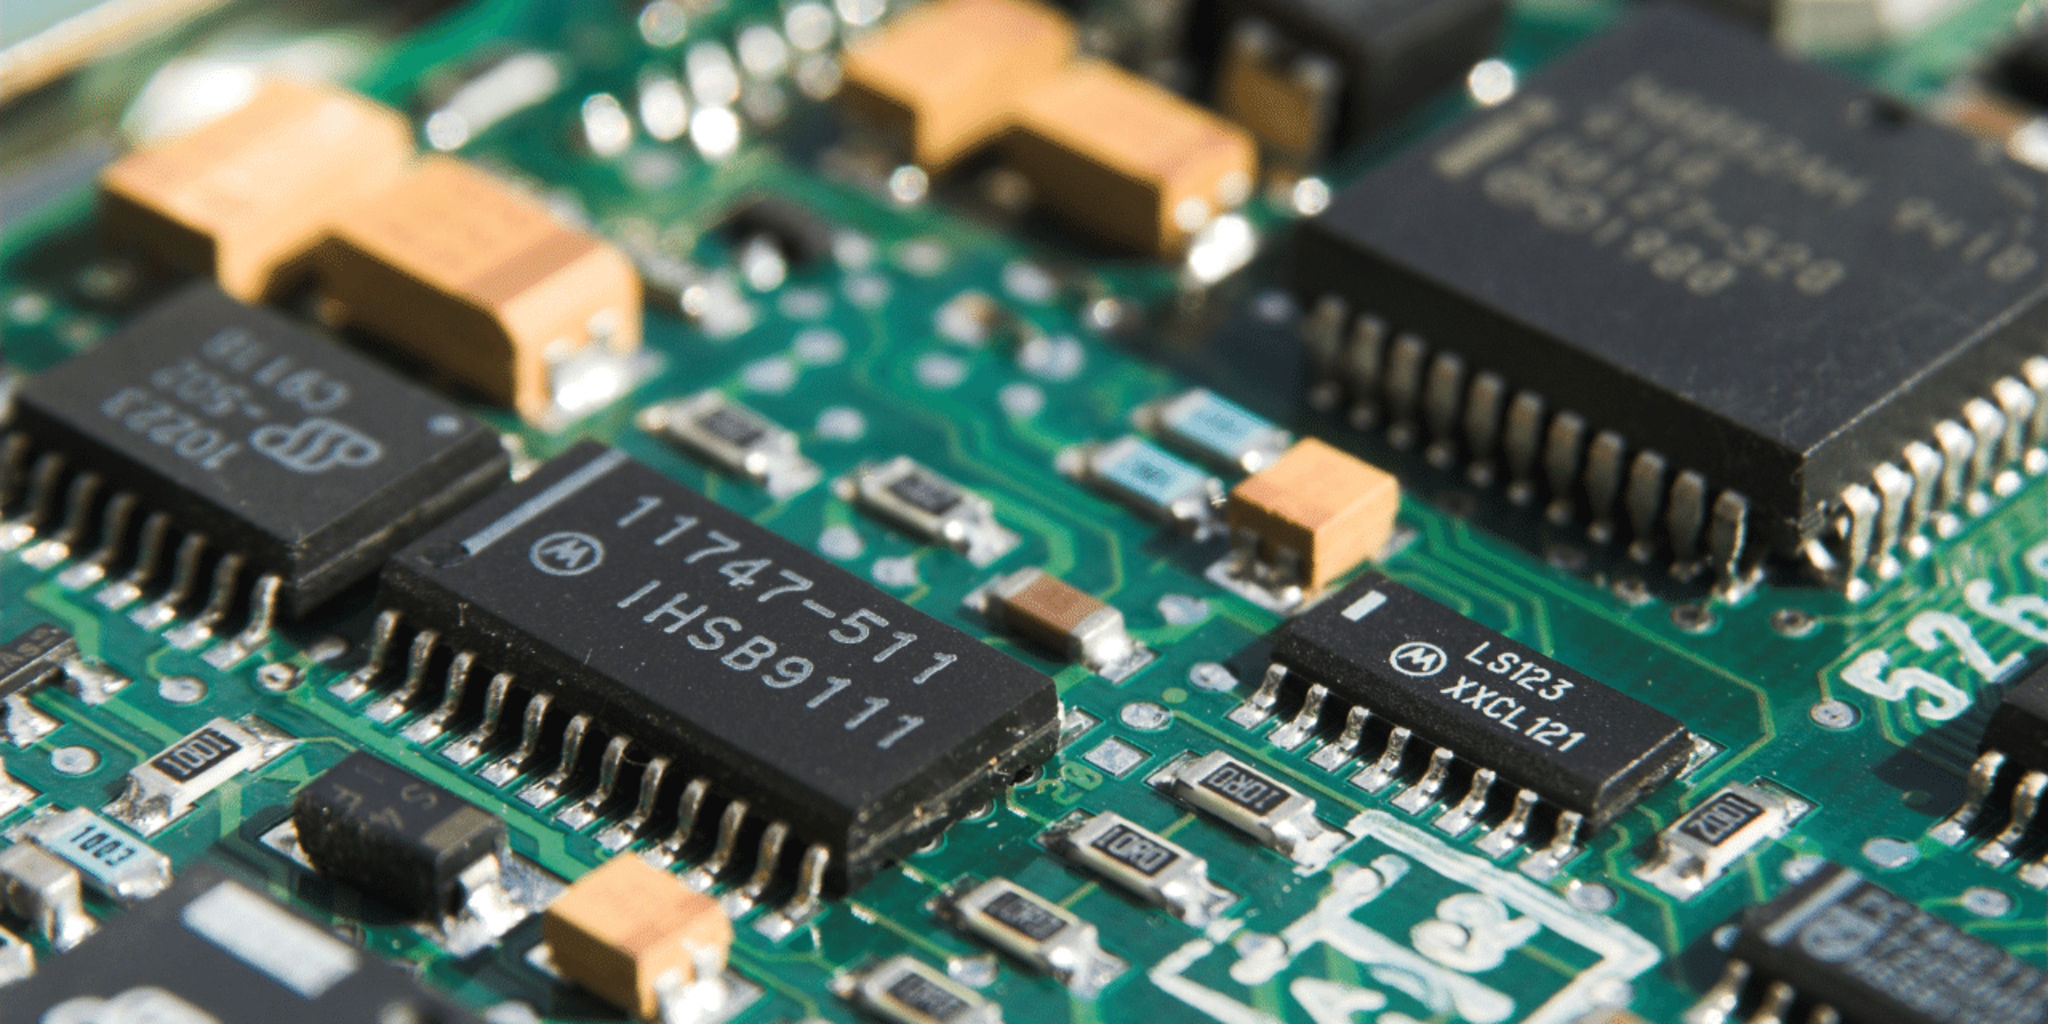
If your kit includes small heat sinks ask an adult to attach them to the chips on the board.
Step 4
With an adult place the Raspberry Pi board into its case.
Step 5
Ask an adult to use a computer to download Raspberry Pi Imager and write Raspberry Pi OS to the microSD card.
Step 6
Insert the microSD card into the Raspberry Pi card slot.
Step 7
Connect the HDMI cable from the Raspberry Pi to the monitor or TV.
Step 8
Plug the USB keyboard into a USB port on the Raspberry Pi.
Step 9
Plug the USB mouse into a USB port on the Raspberry Pi.
Step 10
Connect the power supply to the Raspberry Pi but do not plug it into the wall yet.
Step 11
With an adult plug the power supply into the wall to power on the Raspberry Pi.
Step 12
Follow the on-screen setup prompts to complete the initial setup.
Step 13
Open the Thonny Python editor from the Programming menu.
Step 14
Write a simple Python program that prints a message and run it to see it work.
Step 15
Share a photo and a short description of your finished Raspberry Pi computer on DIY.org.
Help!?
Can I substitute the official Raspberry Pi power supply or HDMI cable if I can't find them?
Use a USB-C or micro-USB power adapter that matches your Pi's required voltage and amperage and a compatible HDMI or micro‑HDMI adapter to complete the step 'Connect the power supply to the Raspberry Pi' and 'Connect the HDMI cable to the monitor or TV'.
My Raspberry Pi doesn't boot when I plug it in—what should I check first?
Make sure the microSD card was correctly written with Raspberry Pi OS using Raspberry Pi Imager, that the card is fully inserted into the Pi's slot, and that the HDMI cable and power connection (plugged into the wall with an adult) are secure as described in the instructions.
How can I adapt this activity for a younger child versus an older child?
For younger kids, have an adult prepare the case, attach any heat sinks, flash the OS, and let the child insert the microSD and connect cables, while older children can run Raspberry Pi Imager themselves, follow the on‑screen setup, and write a Python program in Thonny.
What are quick ways to enhance or personalize our finished Raspberry Pi computer?
Decorate the case with stickers, add a simple GPIO project like an LED or button controlled from Thonny, or attach a camera module and then 'Share a photo and a short description of your finished Raspberry Pi computer on DIY.org' as the final step.
Watch videos on how to build a Raspberry Pi computer
computer model making using cardboard - simple and easy - diy - science exhibition | howtofunda
4 Videos
computer model making using cardboard - simple and easy - diy - science exhibition | howtofunda
How to Make Computer From Paper | DIY Computer at Home | Very Easy
"💻 Introduction to Computers for Kids | Fun & Easy Learning! 🎮📚"
I Made My Own Computer | Let's See How It Works
Facts about computer hardware and coding for kids
🍓 The Raspberry Pi was first released in 2012 and has sold tens of millions of units worldwide—perfect for affordable learning!
🔌 The Pi's GPIO pins let you control LEDs, sensors, and small motors with just a few lines of code.
💾 Raspberry Pi boots from a microSD card—think of it as the Pi's removable 'hard drive' that holds the operating system and your projects.
🐍 Python is the Pi's most-recommended beginner language, and many Pi tutorials use friendly tools like the Thonny editor.
🐧 Most Raspberry Pis run Raspberry Pi OS (based on Debian Linux), so learners get real, widely-used computing experience.
How do you build a beginner Raspberry Pi computer with a child?
What materials and parts do I need to build a Raspberry Pi computer?
What ages is assembling a Raspberry Pi suitable for?
What are the benefits and safety tips for kids building a Raspberry Pi?
