Make Your Own Chessboard
Measure and create a chessboard using cardboard, ruler, paint or markers; cut squares, draw an 8x8 grid, decorate, and start playing.

Step-by-step guide to make your own chessboard
How to make a chessboard with storage
Step 1
Gather all your materials and find a flat workspace with lots of room.
Step 2
Decide how big you want your chessboard (for example a 32 cm square) and pick the size of each small square.
Step 3
Use the ruler and pencil to draw a big square outline on the cardboard for your board.
Step 4
Measure and mark eight equal divisions along the top and along one side of the big square to show the grid spacing.
Step 5
Use the ruler and pencil to draw straight vertical and horizontal lines through your marks to create an 8x8 grid.
Step 6
Measure one grid square’s size with the ruler and cut 64 cardboard squares that match that size.
Step 7
Lay the 64 cut squares onto the drawn grid without glue to check that each square fits in its spot.
Step 8
Put glue on the back of one cardboard square and press it onto its matching grid space; repeat until all squares are glued down.
Step 9
Paint or color every other square to make the classic checker pattern, making sure the top-left square is dark.
Step 10
Let the glue and paint dry completely before touching the board.
Step 11
Trim any overhanging edges or messy bits with scissors to make the board neat.
Step 12
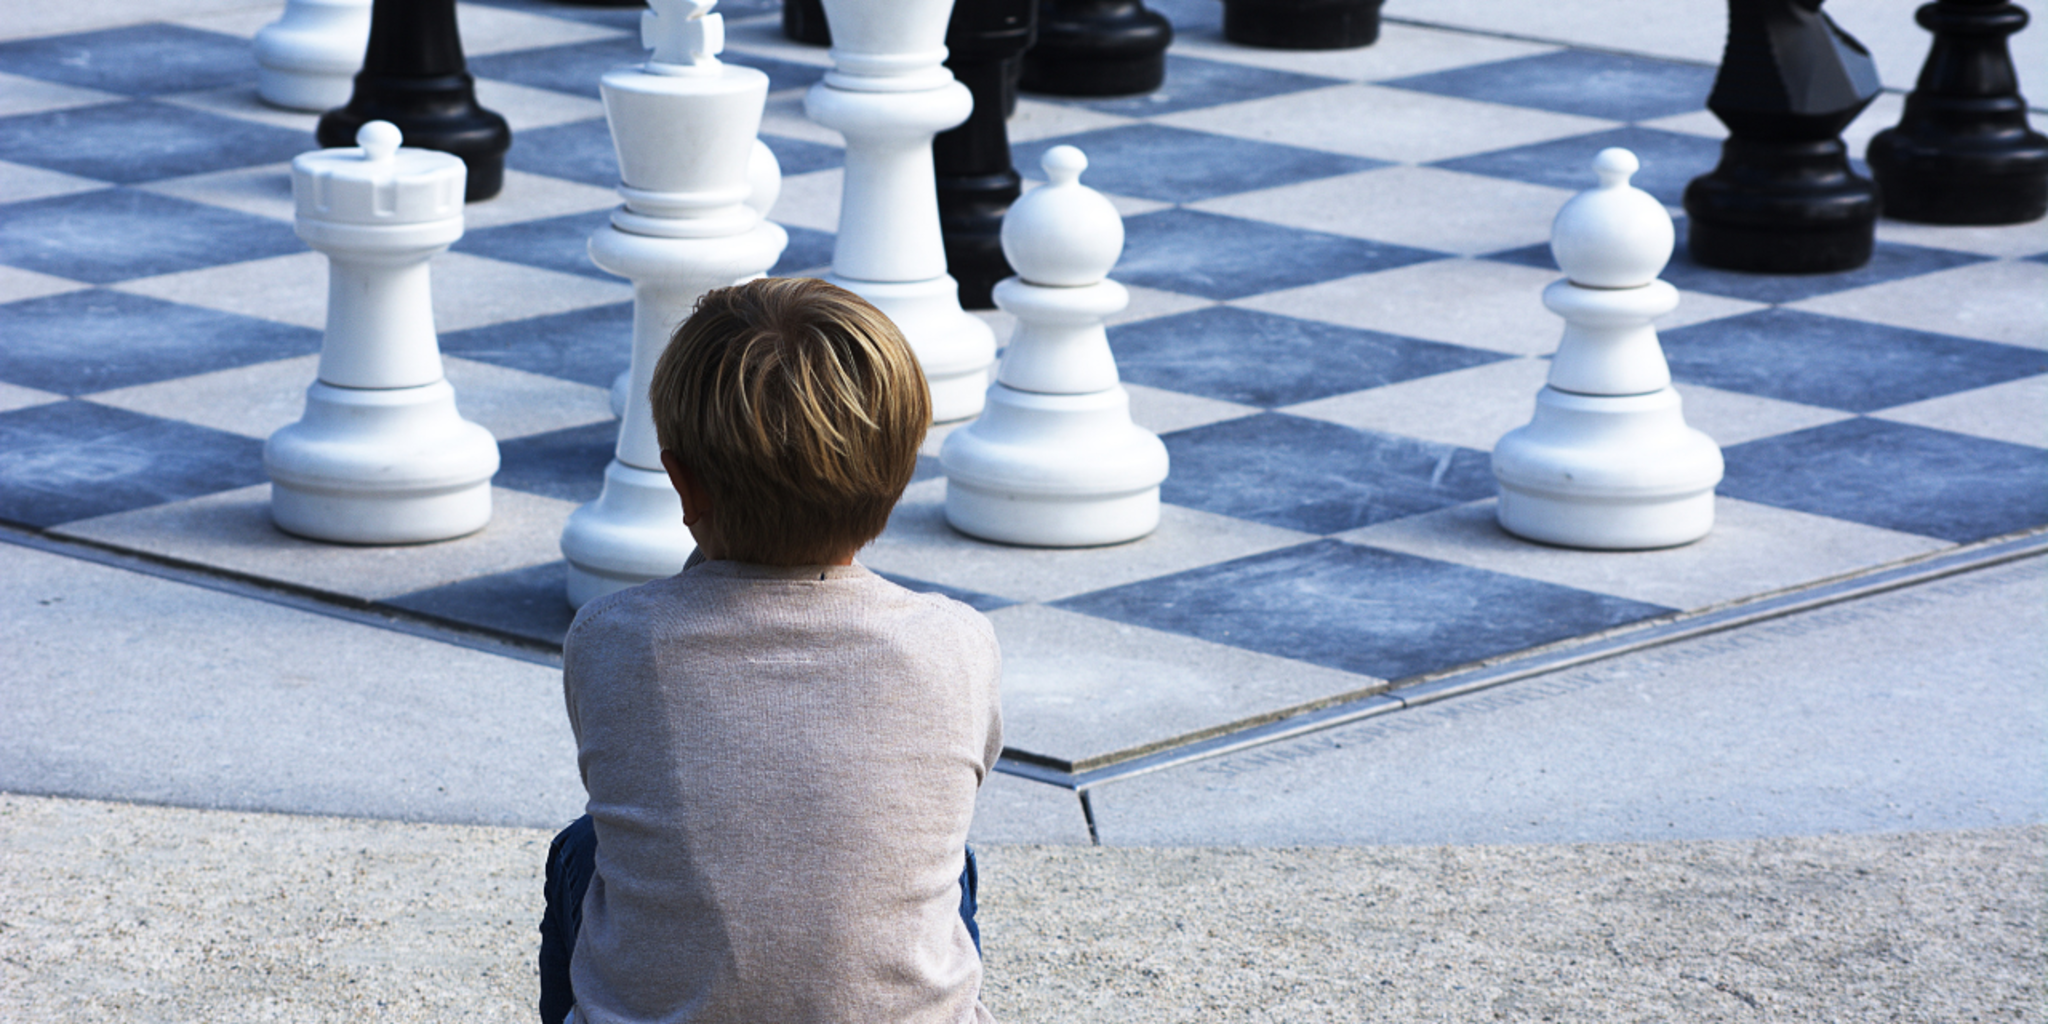
Place your chess pieces on the board in starting positions and play a fun game of chess.
Step 13
Take a photo of your finished chessboard and share your creation on DIY.org.
Help!?
What can I use if I don’t have thick cardboard or white glue listed in the materials?
Use sturdy cereal-box cardboard or poster board folded and glued together as the board base, and replace white glue with a strong glue stick, double-sided tape, or craft glue when you press the squares onto the grid in Step 7.
My grid lines or squares aren’t lining up when I try to glue them—how do I fix that?
If squares don’t fit or lines look uneven, re-measure the big square and each division with the ruler, redraw straight vertical and horizontal lines with a straightedge, and follow Step 6 to lay all 64 cut squares down without glue to adjust spacing before gluing in Step 7.
How can I adapt this activity for different ages or skill levels?
For preschoolers have an adult pre-draw the grid and pre-cut larger squares for them to glue and paint, for elementary-age kids let them measure, mark, and cut with supervision using the ruler and scissors, and for teens encourage precise measuring, cutting with a craft knife, and sealing the paint with varnish before play.
What are some ways to personalize or upgrade the finished chessboard after Step 9?
After the paint dries you can personalize the board by painting a themed border, labeling ranks/files along the edges, trimming and covering the back with felt or cork for a finished look, or adding small magnets to your chess pieces so they stay put during play.
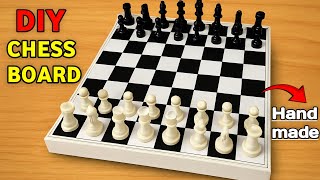
Watch videos on how to make your own chessboard
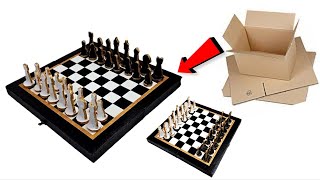
How To Make Chess Board At Home | DIY Chess Board | Easy and Simple Craft
4 Videos
How To Make Chess Board At Home | DIY Chess Board | Easy and Simple Craft
How to Make Chess Board with Paper and Cardboard - Chess Board Craft
How to make Chess Board and Pieces from cardboard / Cardboard crafts / DIY chess pieces
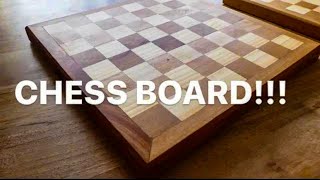
How To Build A Chess Board In 10 Minutes!
Facts about board game crafts
♟️ Chess evolved from the Indian game chaturanga over 1,400 years ago — it's one of the world's oldest board games.
⬛ A standard chessboard has 64 squares arranged in an 8×8 grid — perfect for measuring and cutting!
📏 Tournament chessboards usually use squares about 5 cm (2 in) wide so pieces fit comfortably on each square.
📦 Cardboard is lightweight, sturdy, and widely recyclable, which makes it a favorite material for DIY game boards.
🎨 The setup rule 'light on the right' means each player should have a light square on their bottom-right corner.
How do I make a chessboard from cardboard step-by-step?
What materials do I need to make a cardboard chessboard?
What ages is this activity suitable for?
What safety tips and fun variations are there for a homemade chessboard?
