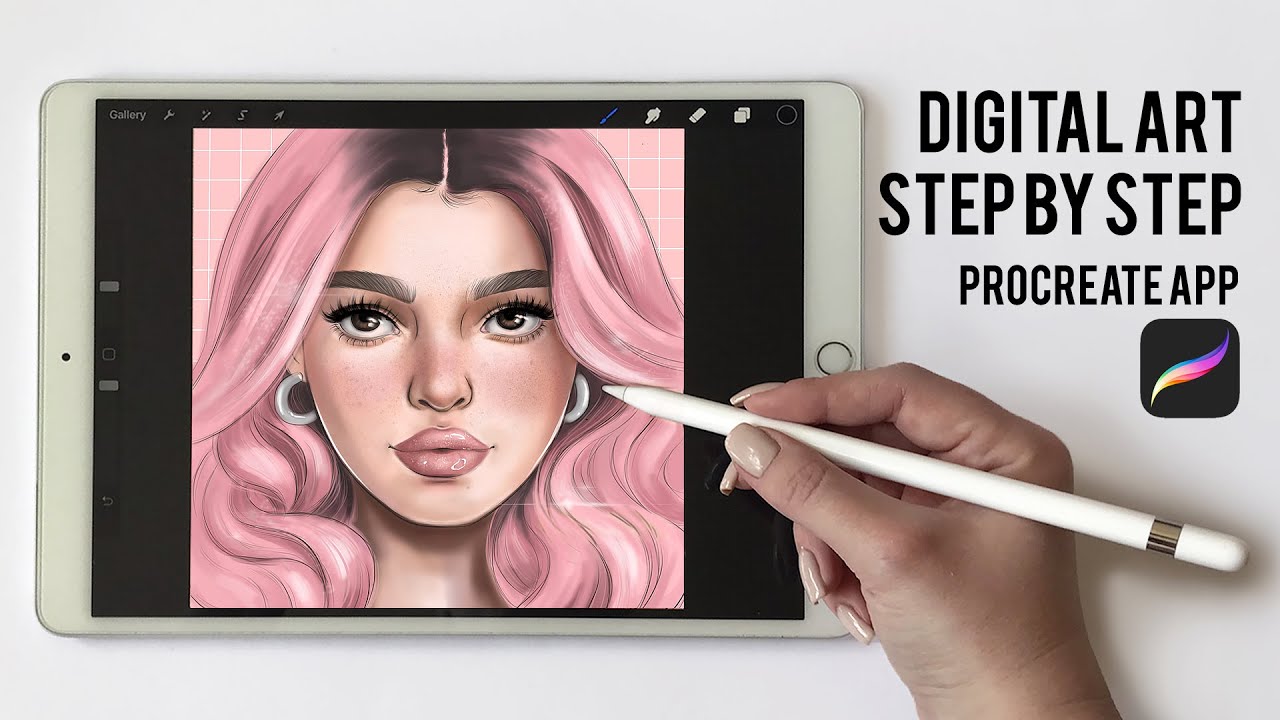
Create a Selfie Digitally on Procreate
Use Procreate on an iPad to draw a digital selfie, learn layers, color mixing, simple brushes, and basic portrait shapes while practicing creative expression.


Step-by-step guide to create a selfie digitally on Procreate
Step 1
Open Procreate and create a new square canvas about 2048 by 2048 pixels.
Step 2
Insert your selfie into the canvas as a reference photo.
Step 3
Create a new layer above the photo to use for sketching.
Step 4
Lower the reference photo layer opacity to about 30 percent so you can see it faintly.
Step 5
On the sketch layer draw simple shapes for the head and placement marks for the eyes nose and mouth.
Step 6
Create a new layer above the sketch layer for clean line art.
Step 7
Trace the sketch on the line art layer using a smooth ink or pencil brush.
Step 8
Create a new layer beneath the line art to hold flat colors.
Step 9
Block in flat colors for skin hair eyes and clothes on the color layer.
Step 10
Create a new Multiply layer above the flat colors to paint shadows.
Step 11
Paint soft shadows on the Multiply layer with a soft brush to add depth.
Step 12
Create a new layer set to Add or Normal with low opacity to paint highlights.
Step 13
Paint small highlights for hair eyes nose and lips on the highlight layer.
Step 14
Use the smudge tool or a low-opacity brush to gently blend shadows and highlights for smooth color transitions.
Step 15
Save your selfie and share your finished creation on DIY.org
Help!?
I don't have Procreate or an iPad — what can I use instead?
If you don't have Procreate or an iPad, use layer-capable apps like Autodesk SketchBook, MediBang, Procreate Pocket (iPhone), Photoshop, or Krita on a computer and follow the same steps to insert your selfie as a reference photo, create sketch/lineart/color layers, and pick a smooth ink or pencil brush.
My lines look shaky when I trace the sketch — how can I fix that?
On the line art layer trace using a smooth ink or pencil brush while turning on brush StreamLine/stabilization, zooming in, making short confident strokes, and cleaning any wobble with the smudge tool or eraser.
How can I adapt this project for different ages?
For younger kids simplify by tracing the selfie directly and using just three layers (reference, color, line) with big flat brushes and simple shapes, while older kids can add detailed shading on a Multiply layer, highlights on an Add/Normal layer, and refine transitions with the smudge tool.
How can we enhance or personalize the selfie beyond the basic steps?
Make it unique by adding a painted or patterned background on a lower layer, using textured brushes for hair and clothes, creating custom color palettes, or turning the finished piece (after shadows and highlights) into a short animation with Procreate's Animation Assist.
Watch videos on how to create a selfie digitally on Procreate
Learn Procreate FAST: A Guide for Beginners in 2025
4 Videos
Learn Procreate FAST: A Guide for Beginners in 2025

Intro to Procreate - The Basics for Beginners in 10 Minutes

Procreate Beginners Series: Part One | The Fundamentals

Procreate for Kids Tutorial // How to Use Procreate for Kids!
Facts about digital art and illustration
🎨 Procreate was created by Savage Interactive and was first released for the iPad in 2011.
✏️ The Apple Pencil senses both pressure and tilt, letting you draw thin lines or thick shaded strokes just by changing how you hold it.
🧩 Layers let you stack parts of your selfie—like hair, eyes, and background—so you can edit one piece without changing the rest.
🖌️ Procreate comes with hundreds of brushes and lets you design or download custom brushes to get any texture or style.
🌈 Screens use RGB light, so colors you mix digitally on an iPad can look brighter and more glowing than paint on paper.
How do I create a digital selfie in Procreate on an iPad?
What materials do I need to make a digital selfie in Procreate?
What ages is creating a digital selfie in Procreate suitable for?
What are the benefits and safety tips for kids making selfies in Procreate?
