Write a Story
Write and illustrate a short imaginative story using a simple outline, character ideas, plot twists, and drawings to share with family or friends.


Step-by-step guide to write and illustrate a short imaginative story
Writing Tips: How To Make Writing Fun For Kids
Step 1
Create a fun title for your story and write it big at the top of the first page.
Step 2
Pick a main character and write one short sentence with their name and a special trait.
Step 3
Choose two supporting characters and write one short sentence about each of them.
Step 4
Decide where your story happens and write two short phrases that describe the setting.
Step 5
Make a simple three-part outline by writing one sentence for the beginning one sentence for the middle and one sentence for the end.
Step 6
Invent a surprising plot twist and write one clear sentence describing it.
Step 7
Write your story draft by expanding each outline sentence into a short paragraph.
Step 8
Draw one picture for each main paragraph on a new page to show what happens in that scene.
Step 9
Add captions or speech bubbles to at least three drawings to explain who is talking or thinking.
Step 10
Create a decorated cover page with the title your name and a small drawing.
Step 11
Put the pages in order and bind them together with tape or a stapler.
Step 12
Practice reading your story aloud once so you can tell it clearly to others.
Step 13
Share your finished story on DIY.org.
Help!?
What can we use if we don't have a stapler, tape, or access to DIY.org?
Instead of binding with tape or a stapler, punch two holes and tie the pages with yarn or use a large paperclip, and if you can't upload to DIY.org you can photograph the pages and email or save them as a PDF to share.
My child can't expand the outline into paragraphs or match drawings to scenes—how can we fix that?
Help them turn each outline sentence into a short paragraph by asking two simple detail questions (who is there, what happens next), and for the drawings either trace a photo or use stickers and labels so each picture clearly shows the corresponding paragraph.
How should we adapt this activity for younger or older kids?
For younger children, have them dictate one-sentence lines, use coloring or stickers for each drawing, and staple or tape a simple cover, while older kids can write longer paragraphs, craft a clever surprising plot twist, add detailed captions or speech bubbles to at least three drawings, and decorate an elaborate cover page with their name.
How can we extend or personalize the finished story beyond the basic instructions?
Make the book special by adding a fold-out map for the setting, turning three scene drawings into pop-ups, recording a practiced video reading after you rehearse aloud, and decorating the cover page with fabric, stickers, or glitter before binding to share on DIY.org.
Watch videos on how to write and illustrate a short imaginative story
STORIES for Kids 🐉 Characteristics and Elements 📚 Language Arts for Children
4 Videos
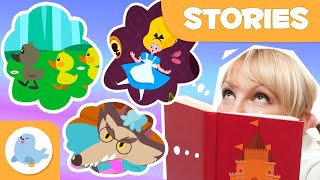
STORIES for Kids 🐉 Characteristics and Elements 📚 Language Arts for Children
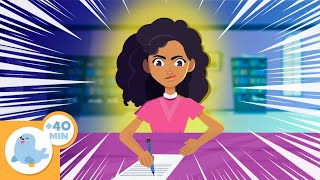
WRITING for Kids ✏️ TYPES OF TEXTS and Their Secrets 🤩 Stories, Plays, News and More!
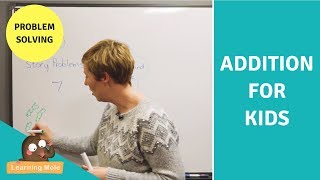
Addition for Kids - Story Problems for Kids - Word Problems
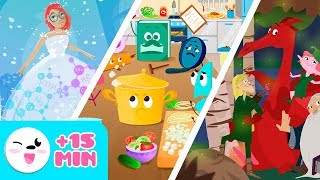
Educational Stories for Young Children to Learn Values | Compilation
Facts about creative writing and illustration for kids
📖 Ernest Hemingway is famously (though apocryphally) linked to a six-word story: “For sale: baby shoes, never worn.”
🖍️ Most children's picture books follow a 32-page format — it's a standard in the publishing world.
🐰 Beatrix Potter both wrote and illustrated classics like The Tale of Peter Rabbit, inspiring author-illustrators everywhere.
✏️ Many writers use a simple story outline (beginning, middle, end) to build a twist that still feels satisfying.
👪 Sharing stories aloud with family not only entertains—it helps children learn new words and understand feelings.
How do I help my child write and illustrate a short imaginative story?
What materials do I need to write and illustrate a short imaginative story?
What ages is writing and illustrating a short imaginative story suitable for?
What are the benefits and safety tips for having kids write and illustrate stories?
