Draw Without Lifting Your Pen
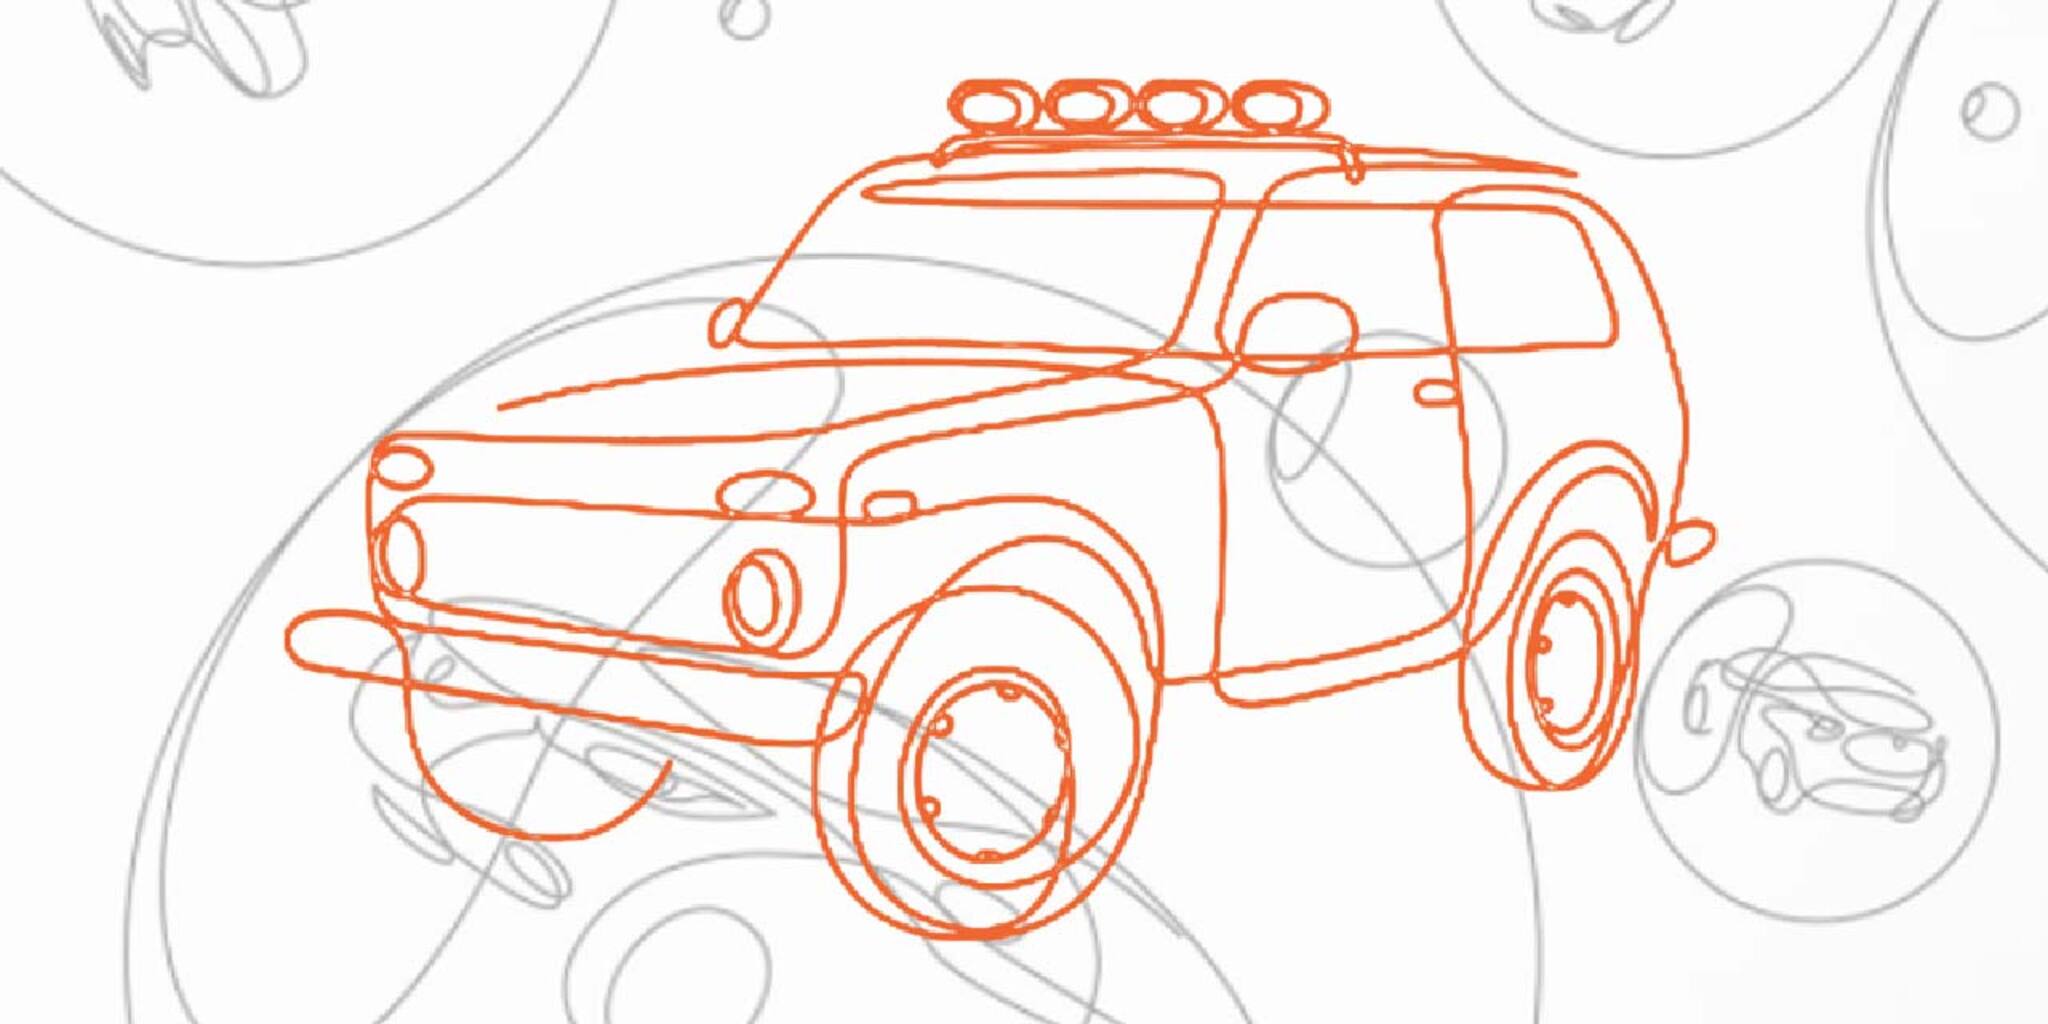
Practice drawing continuous line pictures without lifting your pen, creating animals and shapes while learning planning, spatial reasoning, and problem solving through fun drawing puzzles.
About this tutorial
Practice drawing continuous line pictures without lifting your pen, creating animals and shapes while learning planning, spatial reasoning, and problem solving through fun drawing puzzles.
What you need
Instructions
- 1
Step 1
Gather all your materials and put them on a flat table so everything is easy to reach.
- 2
Step 2
Choose an animal or simple shape you want to draw like a cat butterfly fish or tree.
- 3
Step 3
On scrap paper lightly sketch a simple route with your pencil that would draw the animal in one continuous line.
- 4
Step 4
Decide where to begin on your main paper and make a small pencil dot to mark your starting point.
- 5
Step 5
Put your pen on the starting dot and start drawing the animal in one continuous line without lifting your pen.
- 6
Step 6
Slow down and quietly imagine the next part of the line before you move so you avoid getting stuck.
- 7
Step 7
Add features like eyes legs or wings by curving and looping the same continuous line so you never lift the pen.
- 8
Step 8
Let the ink dry for a moment so it does not smear.
- 9
Step 9
Gently erase any pencil guide marks you drew so only the continuous ink line remains.
- 10
Step 10
Colour or decorate your continuous-line picture using your colouring materials.
- 11
Step 11
Share your finished continuous-line animal on DIY.org
Fun facts
How to do the activity
How do I do the 'Draw Without Lifting Your Pen' activity with my child? Start by explaining the rule: keep the pen on the paper. Demonstrate a simple continuous-line shape like a snail or house. Let your child pick a subject, choose a starting point, and imagine a route that covers each feature without lifting. Encourage loops, overlaps, and checkpoints. Beginners can practice in pencil first, then switch to ink. Keep it playful with themes, time challenges, and lots of praise.
Materials needed
What materials do I need for the 'Draw Without Lifting Your Pen' activity? You only need basic supplies: paper or a sketchbook, pencils and erasers for practice, and pens or markers for a final run. Thick markers and larger paper help younger kids. Optional items include challenge cards with animals or shapes, a timer for friendly contests, and sticky notes to mark start points. Keep scrap paper for warm-ups to reduce pressure about mistakes.
Suitable age groups
What ages is the 'Draw Without Lifting Your Pen' activity suitable for? This activity suits ages 4–12. Preschoolers (4–6) enjoy large, simple paths with thick crayons and adult help planning routes. Early elementary (6–9) can draw animals and basic scenes independently; encourage pencil practice first. Older children (9–12+) can tackle complex continuous-line puzzles, timed challenges, and abstract designs. Adapt difficulty by changing paper size, line complexity, or prompts and offer encouragem
Benefits of the activity
What are the benefits of playing 'Draw Without Lifting Your Pen' with kids? This game builds planning, spatial reasoning, and problem-solving as children map routes to represent shapes. It strengthens fine motor control, hand-eye coordination, and focus. The activity encourages creativity, flexible thinking, and confidence by valuing process over perfection. It’s low-cost and adaptable for solo or group play and supports skills useful for math, writing, and art through sequencing and visual memo
Watch & Learn
Need help?
What can we use instead of a pen if we don't have one?
If you don't have a pen, use a fine-tip marker or a sharpened pencil for step 5's continuous line, but if you use a permanent marker skip erasing in step 9 and be sure to let the ink dry in step 8 to avoid smears.
I keep getting stuck and accidentally lifting my pen—how can I fix that?
If you get stuck during step 6, pause and quietly imagine the next curve as the instructions say, rehearse the route on scrap paper from step 3, and if you do lift your pen connect the gap with a small loop so the final ink line still looks continuous before erasing pencil guides in step 9.
How can I change this activity for different ages?
For younger kids simplify the sketch in step 3 to very basic shapes and give them chunky colouring materials for step 10, while older kids can choose more detailed animals, use thinner pens for step 5, or add a time challenge to increase difficulty.
How can we make the finished continuous-line drawing more special or personal?
To enhance the result after step 8, add watercolor washes behind the dried ink, glue on small collage pieces around the edges during step 10, or write a short story about your continuous-line animal and then share it on DIY.org as instructed.