Draw a book cover
Design and draw an original book cover with title, illustration, and spine, practicing composition, color choices, and neat lettering for storytelling.


Step-by-step guide to draw a book cover
Step 1
Decide what your book will be about and write a one-sentence story idea on scrap paper.
Step 2
Choose a title you like and write that title clearly on scrap paper.
Step 3
Place your paper in front of you and use the ruler to draw a large rectangle for the front cover.
Step 4
Use the ruler to draw a narrow vertical rectangle on the left edge of the cover rectangle to mark the spine.
Step 5
Lightly draw a horizontal guideline near the top of the cover to mark where the title will go.
Step 6
Lightly sketch the main illustration inside the cover area below the title guideline using simple shapes.
Step 7
Add smaller details like background shapes or extra characters around your main illustration.
Step 8
Lightly pencil in the author name and any small text at the bottom of the cover.
Step 9
Choose a lettering style for the title and redraw the title letters in pencil so they look neat.
Step 10
Trace over your title and illustration with the black marker or pen to make them bold.
Step 11
Gently erase all remaining pencil guidelines so the ink looks clean.
Step 12
Color the cover using your coloring materials and pick colors that make the title and picture stand out.
Step 13
Write the title neatly on the spine and add a small decoration or publisher name if you like.
Step 14
Share your finished book cover on DIY.org.
Help!?
What can we use instead of a ruler, black marker, or coloring materials if we don't have them?
If you don't have a ruler, use the straight edge of a hardcover book or piece of cardboard to draw the large front-cover rectangle and spine, swap a fine-tip ballpoint pen for the black marker when you trace the title and illustration, and use crayons, colored pencils, or watered-down paints as alternative coloring materials.
What should we do if the ink smudges or pencil guidelines don't erase cleanly after tracing the title and illustration?
Allow the black marker or pen to dry completely before gently erasing pencil guidelines with a soft eraser, and if letters look uneven after tracing, lightly redraw them in pencil along the title guideline and re-trace slowly to fix jagged lines.
How can this activity be adapted for younger or older children?
For younger children, simplify by pre-drawing the large cover rectangle and spine and letting them choose colors, stickers, or simple shapes for the main illustration, while older kids can add detailed background shapes, experiment with lettering styles for the title and spine, and include a small author blurb before sharing on DIY.org.
How can we extend or personalize the finished book cover beyond the basic instructions?
Create a matching back cover with a one-sentence blurb using your scrap-paper story idea, add mixed-media textures like glued paper or fabric around the illustration, write the title neatly on the spine with a small publisher name, and photograph the finished cover to share on DIY.org.
Watch videos on how to draw a book cover
HOW TO MAKE A PICTURE BOOK COVER | your children's book cover in 5 steps
4 Videos
HOW TO MAKE A PICTURE BOOK COVER | your children's book cover in 5 steps
How to make a BOOK COVER in 5 STEPS | DIY Book Cover Design TUTORIAL using CANVA
DIY Book Cover Design for Beginners | Tips, Tools, & Examples

Create Kids Activity Books on Canva Tutorial for Beginners | Step by Step (Free Class)
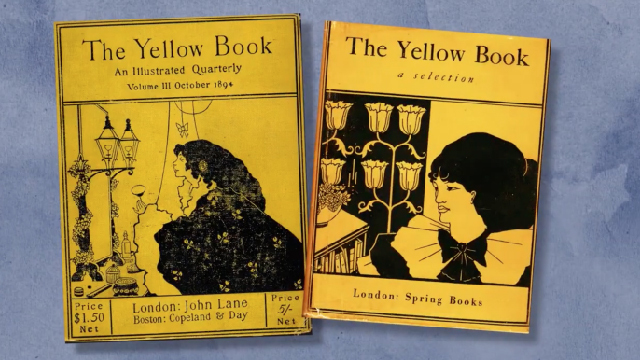
Facts about book cover design and illustration
📚 Early book covers were often plain — decorative dust jackets only became common in the 19th century.
🎨 Some cover illustrators become famous and their original artwork is displayed in museums and galleries.
✍️ The spine is the part people see on a bookshelf, so neat, readable lettering there helps a book get noticed.
🖌️ Penguin Books used a simple, color-coded cover system that made it easy for readers to spot genres at a glance.
🏆 Great cover design can win awards and make first editions collectible — some people buy books for the art!
How do I help my child design and draw an original book cover?
What materials do I need to create a DIY book cover with title, illustration, and spine?
What ages is drawing a book cover suitable for?
What are the benefits and variations of making a custom book cover?
