Draw a fantasy character
Draw and design your own fantasy character using pencil, color, and simple shapes, then write a short backstory explaining their powers and world.

Drawing Apps
Step-by-step guide to draw a fantasy character
Step 1
Decide what kind of fantasy character you want to create and choose a fun name for them.
Step 2
Lightly sketch simple shapes to build your character’s basic body like a circle for the head and ovals for the torso and limbs.
Step 3
Add one standout feature like wings horns a tail or a magic staff to your sketch.
Step 4
Draw clothing armor or accessories using simple shapes to show your character’s style.
Step 5
Draw the face with eyes nose mouth and an expression that matches their personality.
Step 6
Add small details like scales patterns jewelry or symbols that hint at their powers.
Step 7
Refine your sketch by connecting shapes and cleaning up lines so the character looks complete.
Step 8
Carefully ink your final outline with a black pen or marker and wait for the ink to dry.
Step 9
Gently erase the pencil lines after the ink has dried.
Step 10
Color your character using your coloring materials and pick colors that show their powers and mood.
Step 11
Write a short backstory of three to four sentences explaining their powers world and main goal.
Step 12
Share your finished creation on DIY.org
Help!?
What can I use instead of a black pen or marker if I don't have one, or if I lack certain coloring materials?
If you don't have a black pen or marker for the step 'Carefully ink your final outline,' substitute a fine-tip ballpoint or gel pen, a thin permanent marker, or dark colored pencil for inking and use crayons, colored pencils, watercolors, or torn paper/fabric scraps to complete 'Color your character.'
My ink smudged or the pencil lines won't erase—what should I do during the inking and erasing steps?
To prevent smudging and stubborn pencil marks, follow 'Carefully ink your final outline' by letting the ink dry completely, test dryness on scrap paper, then gently remove pencil with a kneaded or soft eraser and in future use lighter lines when you 'Lightly sketch simple shapes.'
How can I adapt this drawing activity for different age groups?
For younger kids simplify step 2 by tracing shapes or using stickers and let them color with crayons and write a one-sentence backstory instead of three to four sentences, while older kids can add complex textures in 'Add small details,' practice fine liners when they 'Carefully ink,' and expand the backstory into a longer character profile.
How can we extend or personalize the finished character beyond the basic instructions?
Personalize the project by giving the standout feature from 'Add one standout feature' a movable paper hinge, gluing real fabric or foil onto the 'Draw clothing' step, creating a short comic that uses the 'Write a short backstory' as plot, or scanning and animating the colored character before you 'Share your finished creation on DIY.org.'
Watch videos on how to draw a fantasy character
🦅 How to Draw a Simple Griffin | Step-by-Step Lesson 🐾
4 Videos
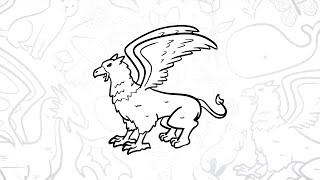
🦅 How to Draw a Simple Griffin | Step-by-Step Lesson 🐾
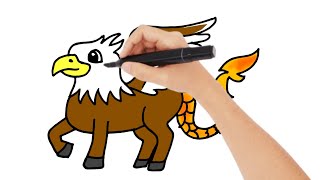
How to Draw a Cute Mythical Beast | Easy Fantasy Creature Drawing Tutorial
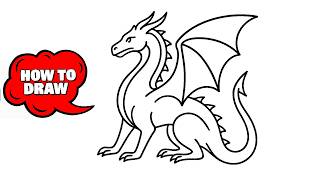
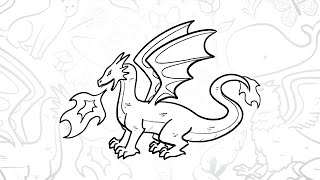
How to Draw a Dragon Easy | Step-by-Step Dragon Drawing Tutorial for Beginners
🐉 How to Draw a Simple Fire-Breathing Dragon | Step-by-Step Lesson 🔥
Facts about character design and storytelling for kids
🎨 Character designers often start with dozens of tiny thumbnail sketches to explore different silhouettes and poses before committing to a final look.
🧙 Fantasy art grew from folklore and myth and was popularized in modern times by illustrators like Arthur Rackham and artists who worked on Tolkien's worlds.
✍️ A short backstory of 2–3 sentences is powerful — it can give a character clear goals, a unique voice, and a reason for their powers.
🌍 Worldbuilders sometimes design maps, languages, and histories — J.R.R. Tolkien famously created multiple full languages for Middle-earth.
🐉 Dragon-like creatures appear in myths from cultures across the globe, where they can symbolize anything from chaos and danger to wisdom and protection.
How do I help my child draw and design their own fantasy character?
What materials do we need to draw a fantasy character?
What ages is drawing and writing a fantasy character suitable for?
What are the benefits and safety tips for drawing a fantasy character?
