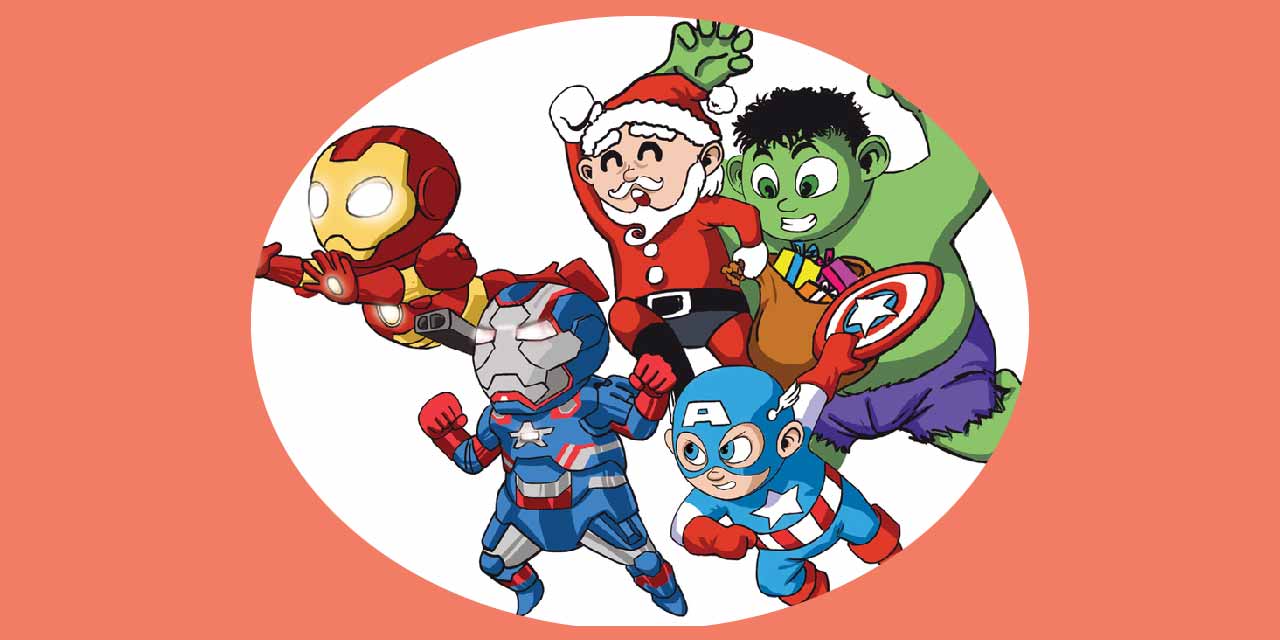
Draw Marvel Heroes Chibi Style
Draw chibi style Marvel heroes using simple shapes, bold lines, and bright colors. Practice proportions, facial expressions, and character poses while creating fun mini superheroes.

Drawing Apps
Step-by-step guide to Draw Marvel Heroes Chibi Style
Step 1
Choose one Marvel hero you want to draw as a cute chibi.
Step 2
Find a picture of that hero to look at while you draw.
Step 3
Place your paper and lightly draw a large circle near the top for the head and a small oval under it for the body.
Step 4
Draw a vertical center line and a horizontal eye line inside the head circle to guide the face.
Step 5
Draw two big simple eyes on the eye line and add a tiny nose and a small smiling mouth.
Step 6
Sketch the hero’s mask or hair shape on the head using simple rounded shapes.
Step 7
Draw short stubby arms and legs attached to the small body to make a chibi pose.
Step 8
Block in the costume shapes and draw the hero’s emblem using simple shapes.
Step 9
Add a small prop or motion lines like a tiny shield or a lightning bolt to show action.
Step 10
Trace your best pencil lines with a black marker or fine liner and let the ink dry.
Step 11
Gently erase the leftover pencil marks after the ink is dry.
Step 12
Color your chibi hero with bright colors staying inside the bold outlines.
Step 13
Add simple shading with a slightly darker color and a small white highlight in the eyes or shiny areas.
Step 14
Take a photo of your finished chibi Marvel hero and share it on DIY.org
Help!?
What can I use if I don't have a black marker or fine liner for step 10?
Use a black gel pen, a fine-point permanent marker (Sharpie), or a dark colored pencil to trace your best pencil lines in step 10 and let the ink or graphite settle before erasing.
My chibi's eyes look uneven after erasing — how can I avoid that?
Keep the vertical center line and horizontal eye line from step 4 lightly visible while placing the two big eyes on the eye line in step 5, and if an eye is off, redraw it lightly before inking.
How can I adapt this activity for different ages?
For preschoolers, make the head circle and eyes extra large and skip inking in step 10 so they color inside pencil lines, for early elementary simplify the costume shapes in step 8, and for older kids add detailed emblems and shading from step 13 plus dynamic motion lines in step 9.
How can we personalize or extend the finished chibi beyond the instructions?
Add a simple background scene, draw other chibi teammates interacting with the small prop from step 9, apply metallic or glitter highlights when coloring in step 13, or photograph multiple poses to create a mini comic before sharing on DIY.org in step 14.
Watch videos on how to Draw Marvel Heroes Chibi Style
How to Draw Iron Man step by step Chibi Marvel Superhero
4 Videos
How to Draw Iron Man step by step Chibi Marvel Superhero
Learn to Draw Marvel Chibi captain America- Drawing and Coloring Tutorial for Kids
Draw Superheroes Step by Step | Cute Marvel Heroes Drawing | Spider-Man, Iron Man, Hulk & More!

How to Draw Spiderman Chibi From Marvel Characters Easy Step by Step Video Lesson
Facts about character drawing for kids
🎨 Chibi characters have oversized heads and tiny bodies — that big-head look makes emotions pop!
🕷️ Spider-Man first swung onto the scene in Amazing Fantasy #15 (1962) and quickly became a fan favorite.
✏️ Cartoonists use simple shapes and bold lines so characters read clearly even at tiny sizes.
🌈 Early comic printing favored bright primary colors, which helped superheroes stand out on the page.
⏱️ Practicing chibi proportions (big head, small body) helps you draw characters faster and keep a consistent style.
How do I draw Marvel heroes chibi style?
What materials do I need to draw chibi Marvel heroes?
What ages is drawing Marvel chibi heroes suitable for?
What are the benefits of drawing Marvel heroes in chibi style?
