Use detector rails in a Minecraft build
Build a Minecraft railway sensor system using detector rails to trigger lights, doors, or alarms; test designs and learn redstone basics through experimentation.


Step-by-step guide to use detector rails in a Minecraft build
How To Use Detector Rail In Minecraft
Step 1
Open Minecraft and create or load a flat Creative world to build in.
Step 2
Put Detector rails Regular rails Redstone dust Redstone repeater Redstone lamp Building blocks Minecart and a Door or Note block into your hotbar.
Step 3
Use building blocks to lay a straight track at least 7 blocks long with Regular rails.
Step 4
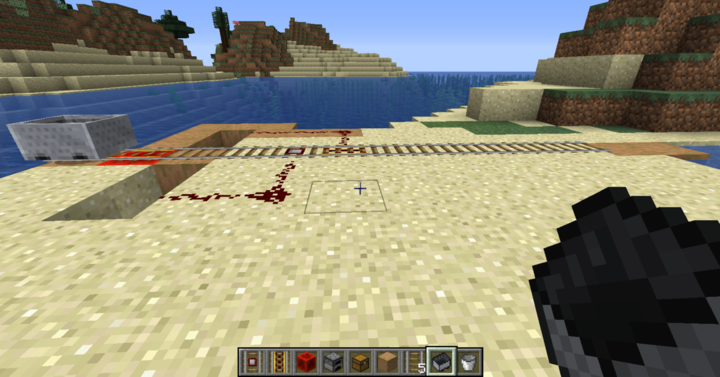
Replace the middle rail with a Detector rail so it will sense passing carts.
Step 5
Place a Redstone lamp one block to the side of the Detector rail.
Step 6
Run a line of Redstone dust from the Detector rail to the Redstone lamp so they are connected.
Step 7
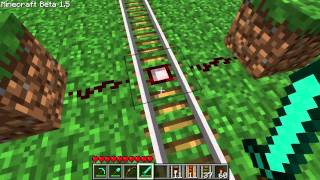
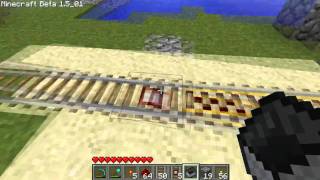
Put a Minecart on the track above the Detector rail.
Step 8
Push the Minecart so it rolls across the Detector rail and watch whether the lamp lights.
Step 9
If the lamp is too weak or turns off too fast add a Redstone repeater in the redstone line facing from the Detector rail to the lamp.
Step 10
Replace the lamp with a Door or a Note block and connect the redstone so the Detector rail will open the door or play a sound when the cart passes.
Step 11
Add a second Detector rail farther down the track and connect it to the same circuit to make a two-stage sensor.
Step 12
Share your finished railway sensor creation on DIY.org.
Help!?
What can we use instead of a Detector rail if we don't have one in the hotbar?
Place a Tripwire hook or a Wooden Pressure Plate across where the cart will pass and connect it with Redstone dust to the lamp so it acts like the Detector rail in steps 4–7.
My Redstone lamp doesn't light when the minecart passes — what should I check?
Make sure Redstone dust creates an unbroken connection from the Detector rail to the Redstone lamp (step 5), confirm the Detector rail is the middle rail on your track (step 4), and add a Redstone repeater facing from the Detector rail to the lamp if the signal is too weak or turns off too fast (step 8).
How can we make this activity easier for little kids or more challenging for older kids?
For younger kids, shorten the straight track to 3–4 blocks and just place a Detector rail and a Redstone lamp to watch it light (steps 3–7), while older kids can add the second Detector rail and chain repeaters or swap the lamp for Doors and Note blocks to build a two-stage sensor and timed outputs (steps 10–11).
How can we extend or personalize our finished railway sensor build?
Decorate the track with themed building blocks, replace the Redstone lamp with a Note block or Door as in step 10, add the second Detector rail from step 11, and use repeaters to create timed musical patterns or automatic gates.
Watch videos on how to use detector rails in a Minecraft build
Minecraft Tutorial - Powered & Detector Rails
4 Videos
Minecraft Tutorial - Powered & Detector Rails
Minecraft - How to Make and Use Power/Detector Rails!
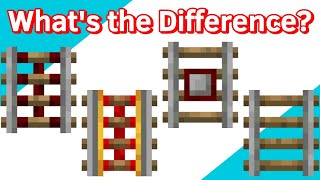
How to use all 4 different types of rails in Minecraft
Minecraft Guide: How to craft Detector Rail #shortvideo #minecraft #mctutorial #gaming #tutorial
Facts about Minecraft redstone basics
🛤️ Detector rails send a short redstone pulse whenever a minecart (or any entity in a minecart) passes over them — perfect for quick triggers!
⚡ Redstone signal strength travels up to 15 blocks along dust before it needs a repeater to go further.
🚂 Detector rails can sense all kinds of minecarts, including chest and furnace minecarts, letting you automate cargo and engines.
💡 Builders use detector rails to switch lights, open doors, ring alarms, or start complex contraptions the moment a cart arrives.
🧩 Using redstone logic gates (AND, OR, NOT) players have made everything from secret doors to working calculators inside Minecraft.
How do I build a Minecraft railway sensor system with detector rails?
What materials do I need for a detector rail railway sensor system in Minecraft?
What ages is this activity suitable for?
What are the benefits of building detector-rail systems in Minecraft?
