Create Digital Summer Tie-and-Dye!
Design a digital summer tie-dye pattern using a drawing app or simple photo editor; experiment with colors, symmetry, and layering to create bright wearable artwork.

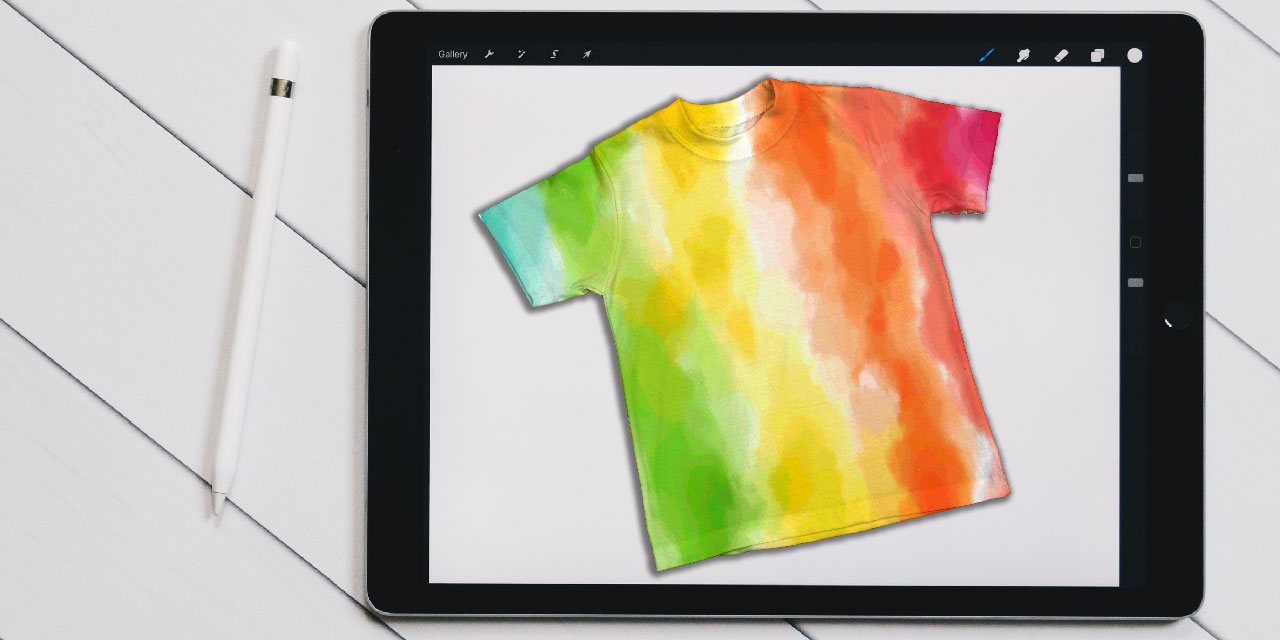

Step-by-step guide to create digital summer tie-and-dye
Step 1
Create a new square canvas or choose a t-shirt template in your app.
Step 2
Set the background to a light color like white or pale gray.
Step 3
Turn on the symmetry or mirror tool so your strokes repeat around the center.
Step 4
Pick 4 to 6 bright colors from the color picker for your tie-dye palette.
Step 5
Use a soft brush to paint large colorful blobs or rings radiating from the center.
Step 6
Duplicate or mirror your blobs across the symmetry lines to build a full radial pattern.
Step 7
Add a new layer and paint extra colors where you want more depth.
Step 8
Use the smudge or blur tool to blend the edges of overlapping colors into smooth swirls.
Step 9
Lower a layer’s opacity or change its blend mode to make colors mix like real dye.
Step 10
Paint thin lighter rings or white highlights to create dye ring details.
Step 11
Place your finished pattern onto a t-shirt or wearable template.
Step 12
Resize and position the pattern so it looks balanced on the shirt area.
Step 13
Export your design as a high-resolution image file like PNG.
Step 14
Share your finished creation on DIY.org
Help!?
I don't have a t-shirt template or a symmetry/mirror tool in my drawing app—what can I use instead?
If your app lacks a t-shirt template or symmetry tool, work on a square canvas (step 1) and duplicate or manually flip your blobs across the center using layer duplicates (step 5) and then place the finished pattern onto a photo of a blank shirt at step 10.
My colors look muddy when I blend them—how can I fix that?
If blending makes colors muddy, lower your smudge strength or use the blur tool sparingly (step 7), add extra colors on a new layer for depth (step 6), and adjust that layer’s opacity or blend mode (step 8) to keep the hues distinct.
How can I adapt this activity for younger kids or make it more advanced for older kids?
For younger kids simplify by choosing only 2–3 bright colors from the color picker (step 4), painting large soft-brush blobs (step 5) with symmetry enabled, while older kids can add multiple extra layers (step 6), experiment with blend modes (step 8), and export a high-resolution PNG for printing (step 12).
What are some easy ways to personalize or enhance the finished tie-dye shirt?
Personalize by painting thin lighter rings or white highlights for realistic dye rings (step 9), adding a name or small logo on a new top layer before placing the pattern on the t-shirt template (step 10), then resize and position it carefully (step 11) and export as PNG (step 12).
Watch videos on how to create digital summer tie-and-dye
Colorful Parenting Crafts And Cool Kids Training Techniques That Will Save Your Time
4 Videos
Colorful Parenting Crafts And Cool Kids Training Techniques That Will Save Your Time
How To Tie Dye Rocks | Crafts for Kids
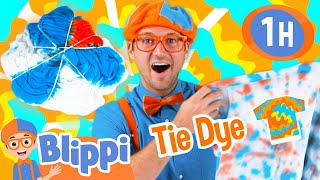
Blippi's Camp YouTube Crafts: Learn to Tie Dye T-Shirts! | Arts & Crafts Videos for Kids

COLORFUL PARENTING HACKS AND GADGETS THAT WILL AMAZE YOUR KIDS || Cute And Satisfying DIY Crafts
Facts about digital art for kids
🎨 Tie-dye techniques date back over 1,000 years in places such as India (bandhani) and Japan (shibori).
🖥️ Digital layers let you experiment with dozens of color blends and undo instantly — no messy dyes required!
🌀 Many classic tie-dye looks use radial symmetry; rotate-and-duplicate tools recreate that effect easily in apps.
🎚️ The human eye can distinguish millions of colors — using complementary (opposite) hues on the color wheel makes patterns pop.
👕 Digital tie-dye designs can be printed on fabric or turned into iron-on transfers to make wearable shirts.
How do I create a digital summer tie-and-dye pattern?
What materials or apps do I need for digital tie-and-dye?
What ages is digital summer tie-and-dye suitable for?
What are the benefits of designing digital tie-and-dye patterns?
