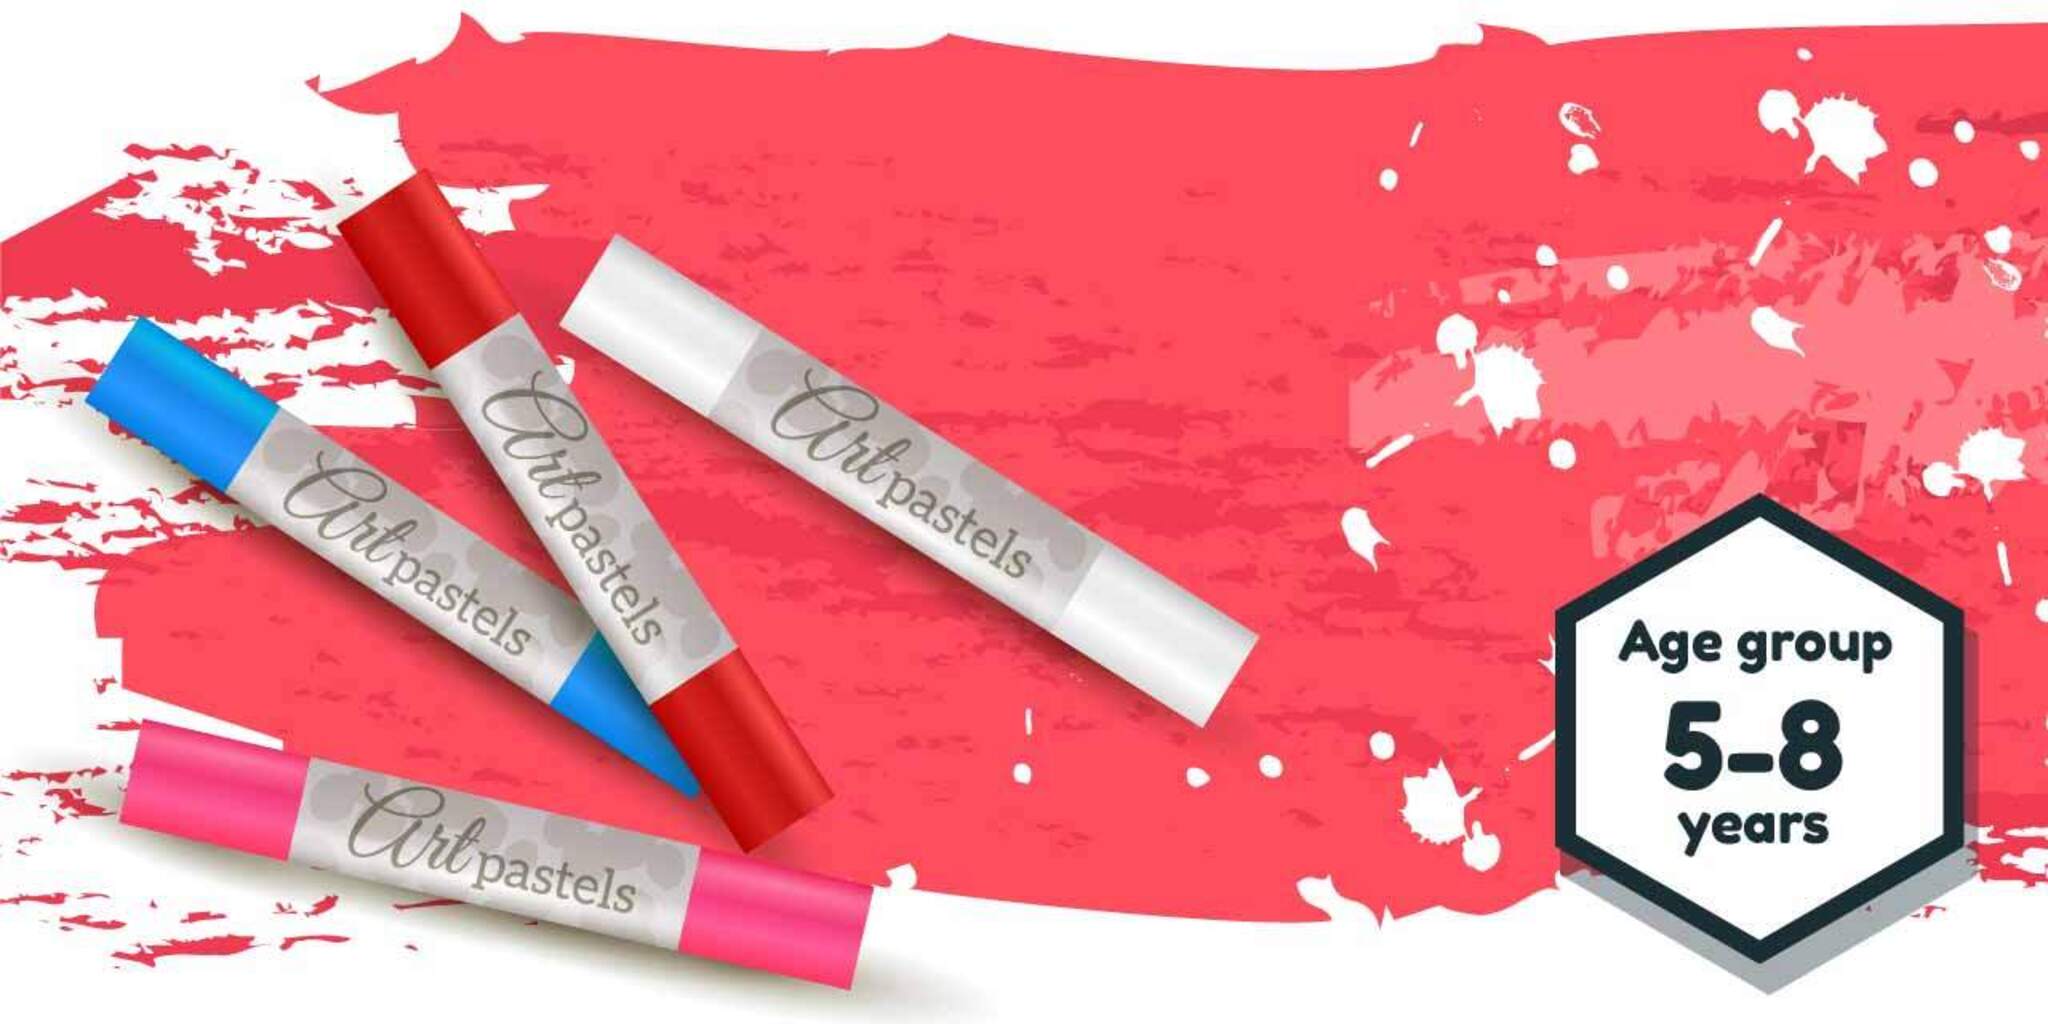
Draw With Oil Pastels
Create colorful drawings using oil pastels, learn blending and layering techniques, experiment with textures, and make a final vibrant artwork to showcase.

Drawing Apps
Step-by-step guide to draw with oil pastels
🎨 Easy Oil Pastel Tutorial for Kids & Beginners | Step-by-Step Guide 🌈
Step 1
Clear a flat workspace and lay down scrap paper to keep the area clean.
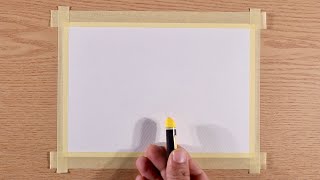
Step 2
Tape your drawing paper to the work surface so it stays still.
Step 3
Lightly sketch a simple subject or design with your pencil.
Step 4
Pick 4 to 6 main colors you want to use for your picture.
Step 5
Cover large areas with base colors using broad strokes of the oil pastels.
Step 6
Use a tissue or cotton swab to gently blend two colors where they meet.
Step 7
Add a second layer of pastel over blended areas to deepen and enrich the color.
Step 8
Make textures by drawing short strokes or tiny dots with the pastel tip.
Step 9
Create highlights by applying a lighter color or white pastel on top of raised areas.
Step 10
Clean stray pencil marks and sharpen edges gently with the eraser.
Step 11
Sign and date your artwork in a corner so people know it’s yours.
Step 12
Share your finished creation on DIY.org
Help!?
What can I use if I don't have oil pastels or a tissue/cotton swab for blending?
If you don't have oil pastels, use wax crayons or soft pastels (they blend a bit differently), and substitute a folded tissue, cotton ball, fingertip covered with a scrap of felt, or a Q‑tip for the cotton swab in step 6.
My colors aren't blending well or the paper is getting too messy—how can I fix that?
Press more lightly with broad strokes in step 5, blend gently in small circular motions with a clean tissue or cotton swab in step 6, and then add a second layer in step 7 rather than overworking the paper to avoid excess smudging.
How can I adapt this activity for different ages or skill levels?
For younger children, tape thicker paper, pre-draw a simple shape and limit them to 2–3 chunky pastels and big strokes (steps 2–5), while older kids can use 4–6 colors, finer textures (step 8), subtle blending (step 6) and multiple layers (step 7) for more detail.
How can we extend or personalize the project once the drawing is finished?
To enhance the piece, add mixed media like a light watercolor wash under your base colors (before step 5), create textured details with markers or collage along the edges, spray a fixative before sharing, and sign/date in a corner as instructed in step 10.
Watch videos on how to draw with oil pastels
Oil Pastels for Beginners - Full Step by Step Tutorial
4 Videos
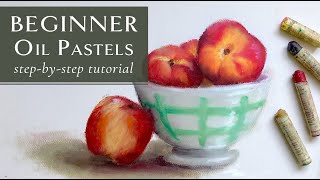
Oil Pastels for Beginners - Full Step by Step Tutorial
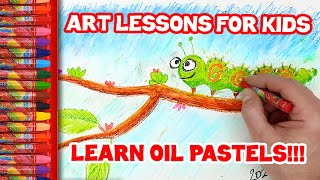
LEARN OIL PASTELS! (ART LESSONS FOR KIDS)
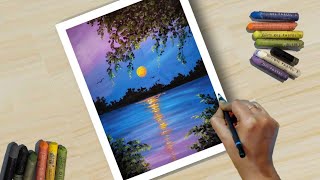
Easy OIL PASTEL Drawing For Beginners Step by Step.
Easy Drawing for Beginners / Drawing with Oil Pastels / Step by Step
Facts about oil pastel techniques
🎨 Oil pastels are creamy, oily sticks that don’t need water—great for bold, bright color layers.
🖍️ Pastel techniques have been used for centuries; famous pastel artists include Edgar Degas and Mary Cassatt.
🌈 You can blend oil pastels with your fingers, a paper stump, or a little solvent to get smooth color transitions.
✨ Try sgraffito—scratching through top layers with a toothpick or stick—to reveal hidden colors and add texture.
🪄 Oil pastels are opaque and stay vivid on dark or colored paper, so unusual backgrounds make colors pop.
How do I draw with oil pastels?
What materials do I need to draw with oil pastels?
What ages is drawing with oil pastels suitable for?
What are the benefits of drawing with oil pastels?
