Decorate Your Room With Lights!
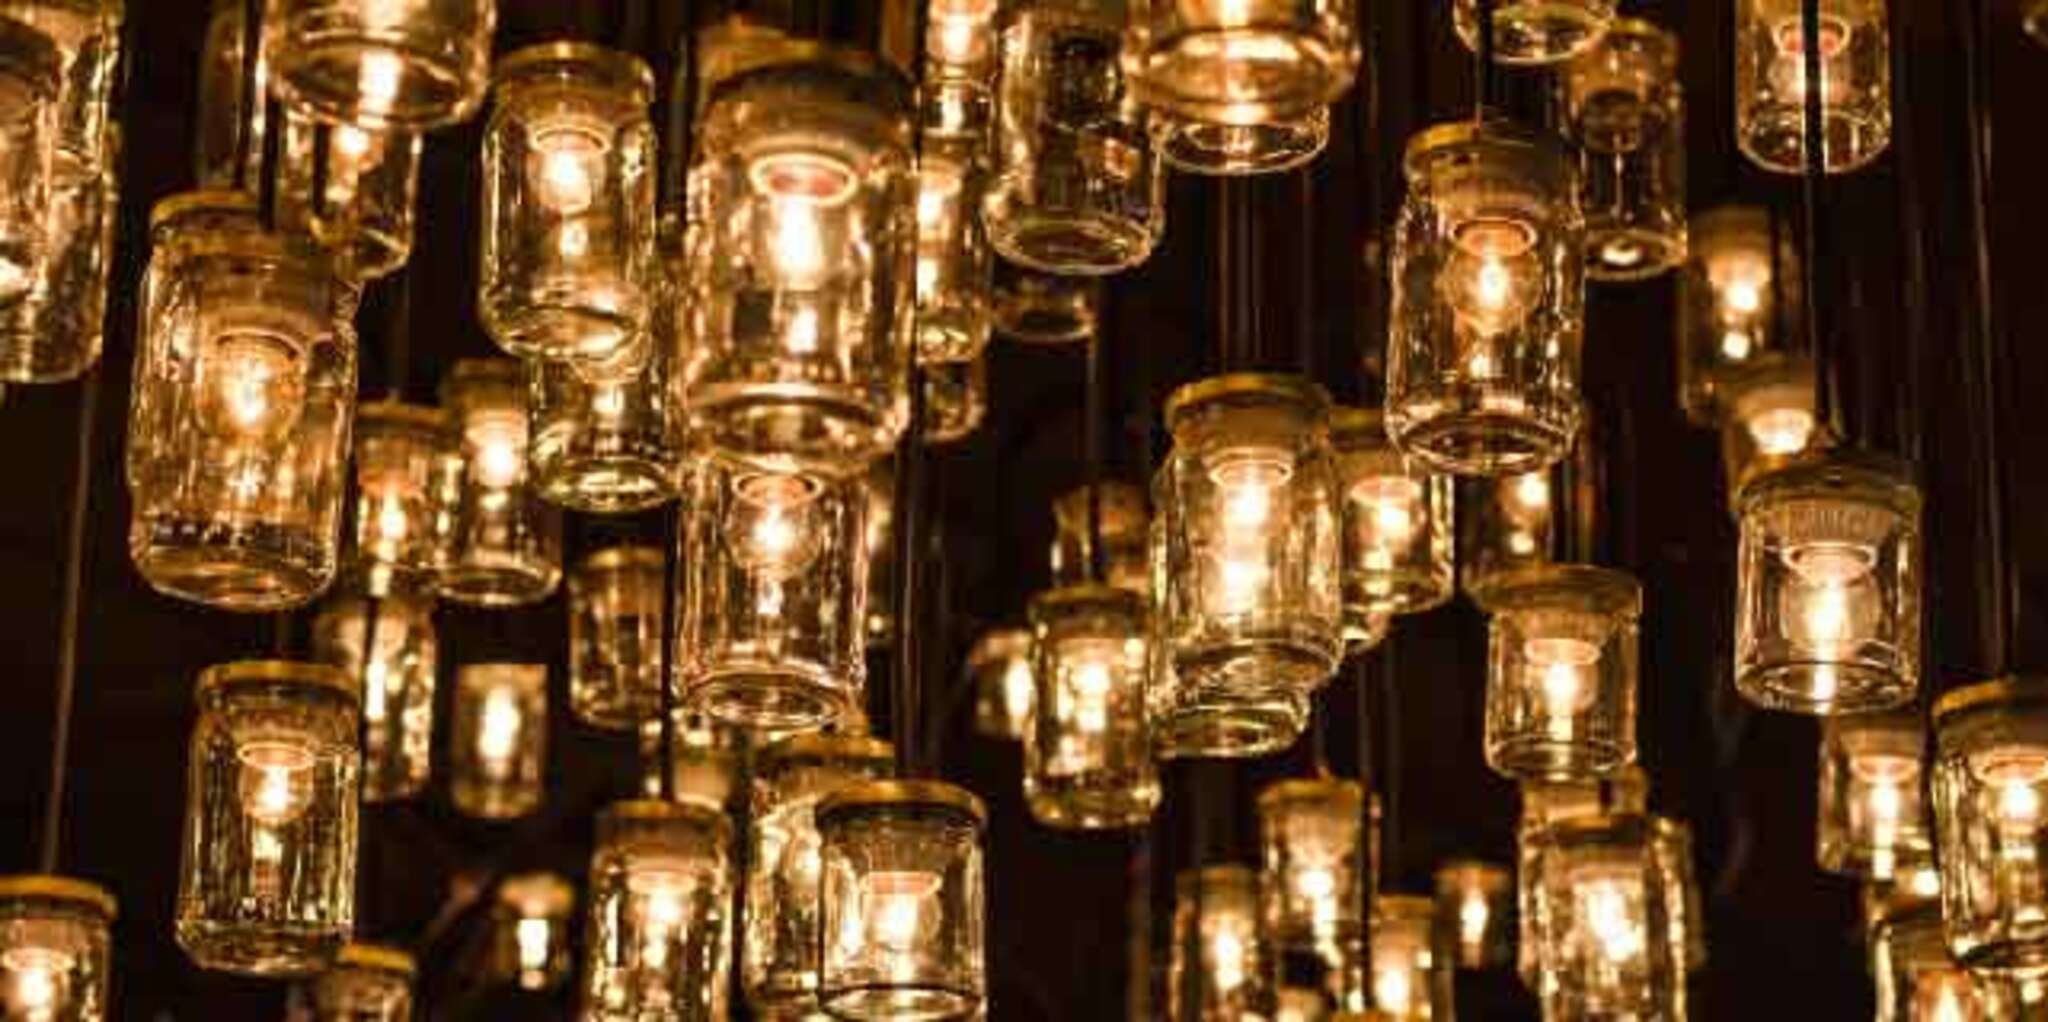
Make battery-powered fairy-light garlands and mason-jar lanterns using LED lights, jars, paper, and tape to safely decorate and personalize your room.


Step-by-step guide to Decorate Your Room With Lights!
How to Add LED Lights to Your Kids Room
Step 1
Gather all your materials and put them on a clean table so everything is ready.
Step 2
Wash each jar with soap and water to remove any dust or sticky bits.
Step 3
Dry each jar completely with a towel so the paper will stick well.
Step 4
Place a jar on a sheet of paper and trace a rectangle the height of the jar so the paper will fit inside.
Step 5
Cut out the paper rectangle carefully with scissors.
Step 6
Decorate your paper using markers stickers or washi tape to make fun patterns or scenes.
Step 7
Slide the decorated paper into a jar and press it flat against the glass.
Step 8
Pick a string of LED lights and feed the light strand into the jar while keeping the battery pack outside the jar.
Step 9
Ask an adult to make a small hole in the jar lid and have them guide the cord through the hole if you want to use the lid.
Step 10
Close the lid around the cord so the jar looks neat and the battery pack stays safely outside.
Step 11
Measure and cut a length of twine for your garland and tie a secure loop at each jar neck to make hangers.
Step 12
Attach each jar hanger to the twine to make a string of lanterns and arrange the battery packs evenly along the garland.
Step 13
Turn on the lights hang your garland in your room and share your finished creation on DIY.org
Help!?
What can we use if we can't find glass jars or an LED light string?
If you can't find glass jars or a battery LED string, use clean clear plastic food containers or cut-down plastic bottles and battery-operated tealight candles or a small string of Christmas lights with the battery pack kept outside the container just like the instructions say.
Why does my decorated paper curl or fall away from the jar, and how can I fix it?
If the paper curls or won't stay flat against the glass, make sure the jar is completely dry (step 3), trim the rectangle slightly narrower (step 4), and press or tape the top edge inside the jar rim when you slide it in (step 6).
How can I adapt this project for younger children or older kids?
For younger kids have an adult wash and dry jars and pre-cut the paper rectangles (steps 2–4) and let them stick stickers (step 5), while older kids can design complex scenes, measure and cut twine themselves and arrange multiple battery packs for a longer garland (steps 4, 5, 11).
How can we make the lantern garland more creative or durable?
To personalize and strengthen the jars, layer translucent tissue paper or colored cellophane over your decorated paper before sliding it in (step 6), use multi-color LED strings (step 7), and add small name tags or charms to each twine loop (step 11).
Watch videos on how to Decorate Your Room With Lights!
DIY FAIRY LIGHTS CURTAIN BACKDROP | HOW TO PUT UP FAIRY LIGHTS!✨
4 Videos
DIY FAIRY LIGHTS CURTAIN BACKDROP | HOW TO PUT UP FAIRY LIGHTS!✨
Kids Bedroom Ideas 2020 | Create A Room Comfortable For Kids | Children Room Decoration Ideas |

30 KIDS Room Interior Design Ideas | Fun & Stylish Spaces for Your Little Ones
Kids Room Tour | Decorating ideas | Interior design | Organization | Kids room makeover | Wall decor
Facts about safe DIY lighting for kids
💡 LEDs use up to about 80% less energy than incandescent bulbs and can last tens of thousands of hours.
🔋 Battery-powered fairy lights can often run anywhere from 6 to 48 hours depending on LED count and battery size.
🏺 The Mason jar was patented in 1858 by John Landis Mason and today is a favorite for DIY lanterns and crafts.
🎏 Paper lanterns originated in ancient China and are still a big part of global festivals like the Lantern Festival.
✨ String lights moved from candle-lit displays to electric decorations in the late 1800s and became popular for home decor.
How do I make battery-powered fairy-light garlands and mason-jar lanterns to decorate a child's room?
What materials do I need to make LED jar lanterns and fairy-light garlands?
What ages is decorating a room with battery-powered lights suitable for?
What safety tips and creative variations are there for decorating your room with fairy lights and mason-jar lanterns?
