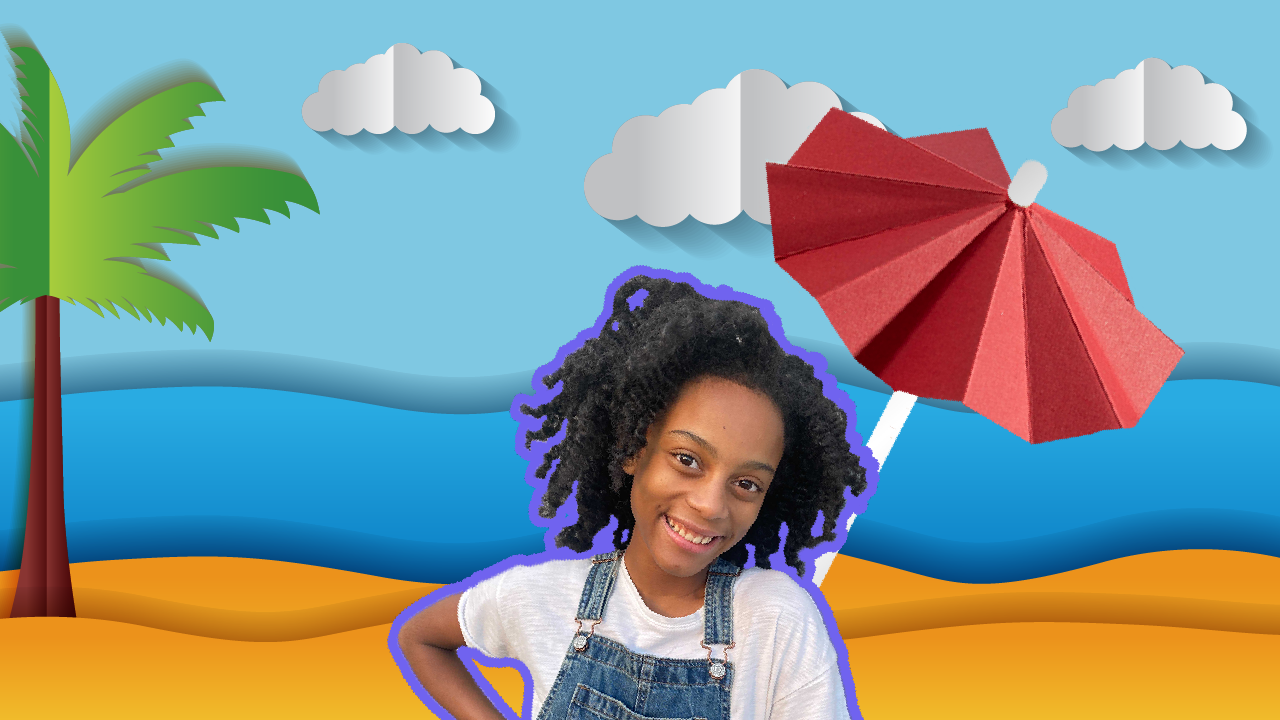
Make a Mini Beach Scene!
Create a miniature beach scene in a shoebox using sand, pebbles, paper waves, and small toys to explore scale, texture, and creativity.


Step-by-step guide to make a mini beach scene
Step 1
Place the shoebox on a flat table with the open side facing you.
Step 2
Cut the tan construction paper to fit the inside bottom of the shoebox.
Step 3
Glue the tan paper to the bottom of the shoebox so it stays flat.
Step 4
Spread a thin layer of glue over the tan paper using the glue stick or craft glue.
Step 5
Sprinkle play sand evenly over the glued area to make the sandy beach.
Step 6
Press the sand gently so it sticks to the glue.
Step 7
Tilt the shoebox and tap it gently to remove loose sand back into the sand container.
Step 8
Cut wavy shapes from the blue construction paper to make the ocean backboard.
Step 9
Tape or glue the blue waves to the back inner wall of the shoebox.
Step 10
Arrange small pebbles along the sand edge to make rocks or a shoreline.
Step 11
Place small toys shells or mini figures on the sand to create your beach scene.
Step 12
Draw a beach umbrella or towel on scrap paper then cut it out and glue it into your scene.
Step 13
Share your finished mini beach scene on DIY.org
Help!?
What can we use if we don't have a shoebox, tan construction paper, or play sand?
If you don't have a shoebox, use a cereal box or sturdy cardboard cut and folded like a shoebox, substitute brown craft paper or a painted paper bag to cut to fit the inside bottom where the tan construction paper goes, and use kinetic sand, clean sandbox sand, or torn brown tissue as a sand substitute to sprinkle over the glued area.
The sand keeps falling off — how can we fix that?
Follow step 4 and spread a thin even layer of glue, press the sand gently as in step 6, let it dry fully before tilting and tapping in step 7, and for extra hold seal the sand with a clear-drying glue or Mod Podge.
How can I adapt this mini beach for different age groups?
For toddlers, pre-cut the tan paper and blue waves and use glue dots and large shells to avoid scissors and small pieces, elementary kids can complete every step including cutting wavy blue paper and arranging pebbles, and older kids can paint the shoebox interior, add layered cellophane waves and tiny model figures for more detail.
How can we extend or personalize the finished mini beach scene?
Personalize your scene by painting or attaching a photo to the backboard behind the blue waves, adding tiny LED fairy lights behind the waves, gluing a handmade sign or name tag from scrap paper near the drawn umbrella, or arranging extra shells and pebbles into patterns along the shoreline.
Watch videos on how to make a mini beach scene
HOW TO MAKE MINIATURE BEACH SUMMER diy craft polymer clay epoxy resin tutorial sandcastle
4 Videos
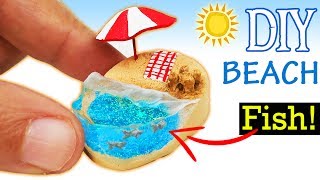
HOW TO MAKE MINIATURE BEACH SUMMER diy craft polymer clay epoxy resin tutorial sandcastle
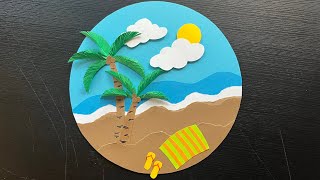
Beach scene paper craft | Beach paper scenery | Paper collage ideas
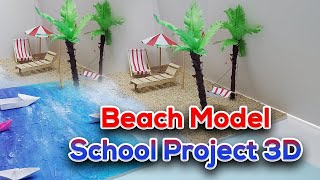
Beach Craft | School Project | Beach 3D model
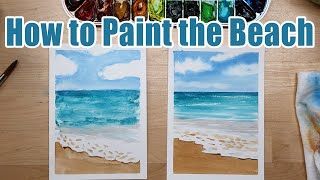
How to Paint a Beach Landscape Kids Watercolor Art Tutorial
Facts about diorama making for kids
🏖️ Some beaches are pink — tiny coral and shell fragments give the sand rosy shades in places like Bermuda and the Bahamas.
🐚 Seashells were once the homes of animals called mollusks; the empty shells you find were someone’s house!
🪨 Pebbles get smooth and rounded because waves tumble and polish rocks together over many years.
📏 Miniature makers often use 1:12 scale (1 inch = 1 foot) for dollhouse-style detail — a handy rule for shoebox scenes.
📦 Shoebox dioramas are a classic school project and are used by museums and artists to tell tiny stories and teach scale.
How do I make a mini beach scene in a shoebox?
What materials do I need to make a mini shoebox beach scene?
What ages is a mini shoebox beach scene suitable for?
What safety tips should I follow when making a mini beach scene?
