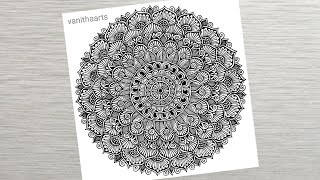
Draw a Line Mandala Design
Draw a symmetrical line mandala using pencils and markers, practicing pattern repetition and radial symmetry while experimenting with different line styles and spacing.


Step-by-step guide to Draw a Line Mandala Design
Step 1
Gather all your materials and bring them to a flat workspace.
Step 2
Lay your paper flat and smooth out any wrinkles.
Step 3
Lightly mark the exact center of the paper with a small pencil dot.
Step 4
Use the compass or trace the round object to draw a light outer circle around the center.
Step 5
Use the ruler to draw eight straight radiating guideline spokes from the center to the outer circle, spacing them evenly.
Step 6
Draw two or three light concentric circles inside the outer circle to create rings.
Step 7
Lightly sketch a simple line pattern such as straight wavy zigzag or dotted in one wedge of the innermost ring.
Step 8
Repeat that same pencil line pattern in every wedge of the innermost ring to make it symmetrical.
Step 9
Lightly sketch a different line pattern in one wedge of the next ring outward.
Step 10
Repeat that new pattern in every wedge of that ring to keep the radial symmetry.
Step 11
Repeat adding and repeating line patterns ring by ring until every ring has a repeating line design.
Step 12
Carefully trace over your final pencil lines with the fine-tip black marker.
Step 13
Gently erase any remaining pencil guidelines after the marker ink is dry.
Step 14
Use markers or colouring materials to color or thicken lines and make your mandala bright and bold.
Step 15
Share a photo of your finished mandala on DIY.org
Help!?
What can we substitute if we don't have a compass, ruler, or fine-tip black marker?
Trace a cup or lid to draw the outer circle, use the straight edge of a book as a ruler to draw the spokes, and substitute a thin black gel pen or felt-tip pen for the fine-tip black marker when tracing final lines.
My spokes or wedges look uneven or my pencil smudged when I erased—what should I do?
Lightly mark every 45° around the center with the ruler before drawing the eight radiating guideline spokes to keep wedges even, and wait until the marker ink is fully dry before gently erasing pencil guidelines to prevent smudging.
How can I adapt this mandala activity for younger or older children?
For younger kids, pre-draw the center, outer circle, and spokes and let them repeat simple patterns with crayons, while older children can add extra concentric rings, more complex line motifs, and use a compass and fine-tip pens for finer detail.
How can we enhance or personalize the mandala after finishing the basic black-line design?
After tracing and erasing, personalize by thickening selected lines with a chisel marker, adding color gradients or metallic markers in each ring, labeling pattern names in the wedges, or mounting the finished mandala on colored cardstock before photographing it to share on DIY.org.
Watch videos on how to Draw a Line Mandala Design
How to draw a Mandala Art for Beginners Step-by-Step Tutorial | Easy Mandala Drawing | #vanithaarts
4 Videos
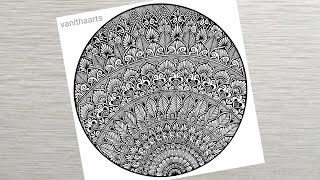
How to draw a Mandala Art for Beginners Step-by-Step Tutorial | Easy Mandala Drawing | #vanithaarts
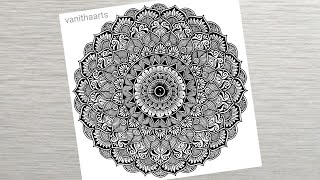
How to draw a Mandala Art for Beginners Step-by-Step Tutorial | Easy Mandala Drawing | #vanithaarts
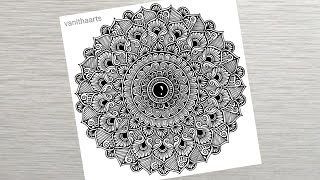
How to draw a Mandala Art for Beginners Step-by-Step Tutorial | Easy Mandala Drawing | #vanithaarts
How to draw a Mandala Art for Beginners Step-by-Step Tutorial | Easy Mandala Drawing | #vanithaarts
Facts about drawing and symmetry for kids
🎨 Mandalas have been used for centuries in Hinduism and Buddhism as spiritual and ritual symbols representing the universe.
🔁 Radial symmetry shows up in nature all the time — think of starfish, sunflowers, and snowflakes — and it makes mandalas feel perfectly balanced.
✏️ Many artists draw mandalas by dividing a circle into equal ‘slices’ (like slicing a pizza) so patterns repeat evenly around the center.
🧠 Coloring or drawing mandalas is used in art therapy to help people relax, focus, and reduce stress.
🔢 Mandalas often use repeated segment counts like 6-fold, 8-fold, or 12-fold symmetry — pick a number first to guide your repeating patterns.
How do you draw a symmetrical line mandala design?
What materials do I need for a line mandala design?
What ages is this activity suitable for?
What are the benefits of drawing symmetrical line mandalas?
