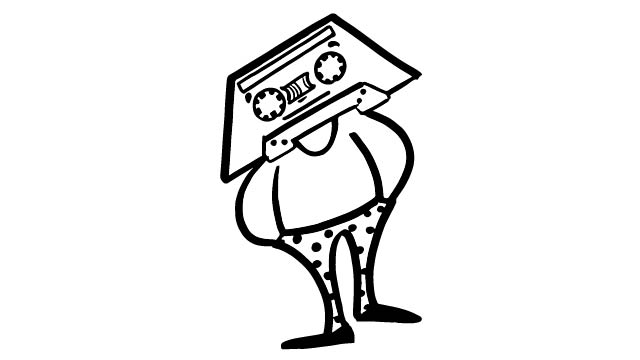
Turn A Cassette Tape Into A Cartoon
Repurpose an old cassette tape strip to draw sequential frames, assemble a flipbook or looping strip, and watch your simple cartoon come alive.


Step-by-step guide to Turn a Cassette Tape Into a Cartoon
Step 1
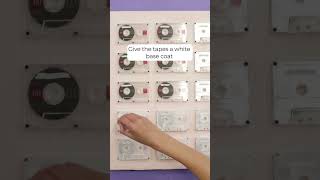
Gather all the materials from the list and bring them to your workspace.
Step 2
Carefully pry open the cassette shell to access the magnetic tape inside.
Step 3
Gently pull out about a 30 cm strip of tape from the spool.
Step 4
Cut the strip with scissors so the ends are straight and it won’t tangle.
Step 5
Use a ruler to make tiny tick marks across a sheet of paper every 1 to 2 cm to plan your frames.
Step 6
Cut small equal rectangles from the paper following your tick marks to make frame cards.
Step 7
Lay the tape flat on your table so it won’t twist while you work.
Step 8
Attach each paper rectangle along the tape with a tiny piece of clear adhesive tape across the top edge.
Step 9
Lightly pencil-sketch the first image on the first paper rectangle to start your story.
Step 10
Color the first frame using your colouring materials to make it pop.
Step 11
Draw small changes with your pencil on each following rectangle so the picture moves step by step.
Step 12
Color each of the drawn frames so the motion reads clearly from one frame to the next.
Step 13
Carefully join the two ends of the tape together with clear adhesive tape to make a looping strip.
Step 14
Hold the loop taut and flip or spin it between your fingers to watch your cartoon come alive.
Step 15
Share your finished creation on DIY.org.
Help!?
What can we use if a cassette tape or clear adhesive tape is hard to find?
If you can't find a cassette tape use a 30 cm strip of thin plastic from packaging or ribbon laid flat like the magnetic tape, and if you lack clear adhesive tape attach the paper rectangles with tiny staples or double-sided tape across the top edge.
My frames keep slipping or the loop tangles when I try to flip it — how can I fix this?
Prevent slipping and tangling by keeping the tape flat on the table while you gently pull the 30 cm strip from the spool, cutting straight ends with scissors, and securing each paper rectangle firmly across the top edge with a tiny piece of clear adhesive tape before joining the two ends.
How can this activity be adapted for different age groups?
For younger kids pre-cut larger paper rectangles, use wider ruler tick marks and stickers instead of detailed pencil-sketching and fine colouring materials, while older kids can mark every 1 cm for more frames, draw finer incremental changes, and colour each frame for clearer motion.
How can we enhance or personalize our finished cassette cartoon?
Personalize and enhance your cartoon by adding character names and backgrounds on the paper rectangles, using sequenced stickers or glitter to emphasize motion, decorating the opened cassette shell, and mounting the joined loop on a pencil or small motor to spin it steadily before sharing on DIY.org.
Watch videos on how to Turn a Cassette Tape Into a Cartoon
How to Draw a Cassette Tape
4 Videos
How to Draw a Cassette Tape
DIY: make a cassette tape insert (with labels) templates included
Cassette tape Craft Ideas | Art and craft from Waste | Cassette tapes Upcycling
Retro wall art with cassette tapes ✨📼 Full tutorial is on our channel 🎨
Facts about flipbook animation for kids
📼 The compact cassette was introduced by Philips in 1963 — these retro tapes are awesome for crafty upcycling!
🎞️ Your brain stitches still pictures into motion at around 16–24 frames per second, which is why quick drawings on a strip look animated!
✂️ Cassette tape ribbon is very narrow (about 3.81 mm wide), so you can fit lots of tiny frames on a long strip.
📚 Flip books, also called kineographs, were patented in 1868 by John Barnes Linnett — people loved pocket-sized moving pictures long before films!
🔁 Tape strips are easy to loop or join end-to-end so your little cartoon can play over and over like a tiny movie reel.
How do I turn a cassette tape into a cartoon?
What materials do I need to make a cassette tape cartoon?
What ages is turning cassette tape into a cartoon suitable for?
What are the benefits of making a cassette tape cartoon?
