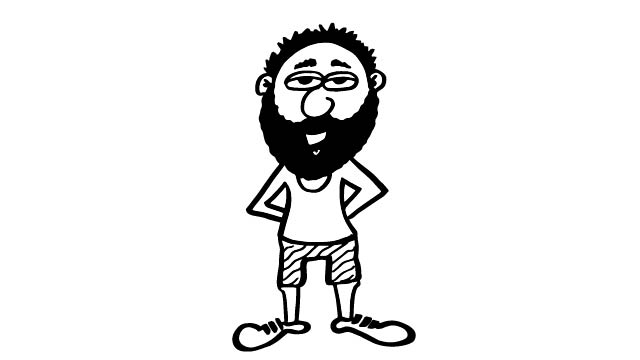
Draw A Cartoon With Facial Hair
Draw a cartoon character with facial hair using pencil and markers, experimenting with beard and mustache styles while learning facial proportions and expressions.


Step-by-step guide to draw a cartoon with facial hair
Step 1
Gather all materials and find a comfy drawing spot.
Step 2
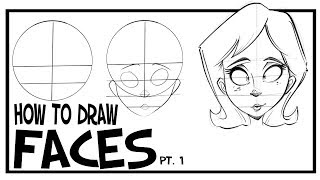
Decide on a face shape and lightly draw an oval square or heart outline with your pencil.
Step 3
Draw a vertical center line and a horizontal eye line to help place features.
Step 4
Place and draw the eyes on the horizontal line.
Step 5
Draw the nose on the center line below the eyes.
Step 6
Draw the mouth showing the expression you want your character to have.
Step 7
Sketch the hairline and chin so you can see where facial hair will sit.
Step 8
Try different beard and mustache styles by sketching several shapes and lengths with your pencil.
Step 9
Add short pencil strokes to the beard and mustache to create hair texture.
Step 10
Outline your favorite lines with the black marker to make the cartoon pop.
Step 11
Gently erase the extra pencil guidelines so only the clean drawing and ink remain.
Step 12
Color the face hair and clothes with your colored markers to finish the cartoon.
Step 13
Write your name and give your character a fun name or title.
Step 14
Share your finished creation on DIY.org.
Help!?
What can I use if I don't have a black marker or colored markers?
If you don't have a black marker for step 8, substitute a fine-tip black pen or dark gel pen for outlining, and use colored pencils, crayons, or washable markers instead of the colored markers in step 11.
My beard texture looks flat or my ink keeps smudging—how can I fix that?
If your beard looks flat after step 7, add short layered pencil strokes and vary stroke direction before outlining in step 8, and if ink smudges when you erase in step 9, wait for the marker to dry fully and erase gently with a soft eraser.
How can I adapt this activity for different age groups?
For preschoolers, provide pre-drawn face shapes to color during steps 1–2; elementary kids can follow steps 2–7 and practice three quick beard sketches in step 6; older kids can refine hair texture in step 7, try inking techniques in step 8, and add shading while coloring in step 11.
How can we extend or personalize the cartoon beyond the basic steps?
To extend the activity, design a themed background and patterned clothes with colored markers in step 11, try adding mixed-media facial hair like glued yarn on top of step 7 pencil sketches, and create a set of characters with different beard styles from step 6 to share on DIY.org with unique names from step 12.
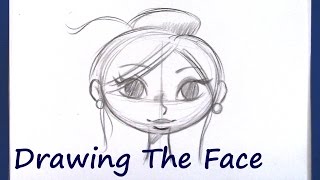
Watch videos on how to draw a cartoon with facial hair
How to Draw A Cartoon Face (Beginner Level)
4 Videos
How to Draw A Cartoon Face (Beginner Level)
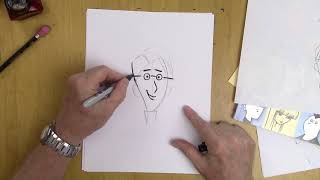
How to Draw a Cartoon Face - For Beginners
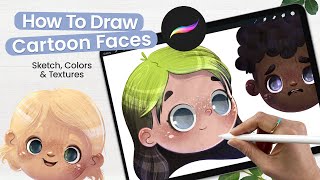
How To Draw Cartoon Faces + Adding Texture To Illustrations • Cute Art • Procreate Tutorial
How To Draw Faces- Front View: CARTOONING 101 #1
Facts about drawing and character design for kids
🧔 Beard and moustache styles have fun names like "handlebar", "goatee", and "pencil" — great inspiration for cartoon characters!
✏️ Many cartoonists start with simple shapes (circles and ovals) to map out facial proportions before adding details.
🎭 Changing just the eyebrows or the curve of a mouth can turn a smile into a scowl — tiny tweaks make big expressions in cartoons.
📏 A handy drawing trick: place the eyes about halfway down the head to keep facial proportions looking natural.
🎨 Line thickness and marker color can make a drawn beard look fluffy, scruffy, or shiny — experiment to create different personalities!
How do I draw a cartoon character with facial hair step by step?
What materials do I need to draw a cartoon with beards and mustaches?
What ages is drawing a cartoon with facial hair suitable for?
What are the benefits and safe variations of this facial-hair cartoon activity?
