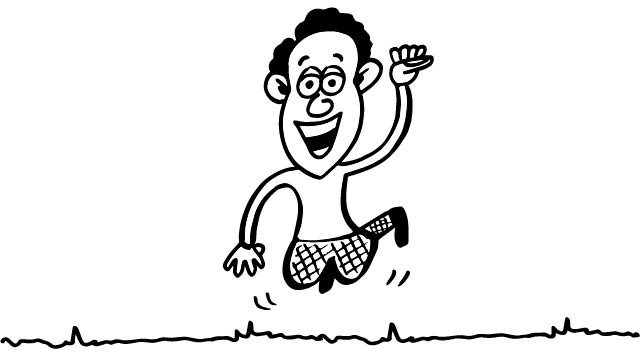
Draw A Jumping Cartoon
Draw a jumping cartoon character using simple shapes, practice motion lines and proportions, add color, and experiment with different poses to show movement.


Step-by-step guide to draw a jumping cartoon
Step 1
Gather all your materials and find a comfy spot to draw.
Step 2
On the scrap paper draw three tiny quick gesture sketches of different jumping poses using simple shapes.
Step 3
Pick your favorite thumbnail pose to turn into a big drawing on the blank paper.
Step 4
Lightly draw a curved motion arc on the blank paper to show the path of the jump.
Step 5
Sketch the character on the blank paper using simple shapes following the motion arc.
Step 6
Adjust the sizes of the head torso and limbs so the character looks balanced and proportional.
Step 7
Add motion lines near the arms legs and behind the body to show speed and direction.
Step 8
Draw the face and small details like hair clothing or accessories to give your character personality.
Step 9
Trace over your final lines with the black marker to ink your drawing.
Step 10
Let the ink dry completely before you touch the paper.
Step 11
Gently erase the pencil lines to clean up the drawing.
Step 12
Color your jumping character with your colouring materials and add color streaks to emphasize movement.
Step 13
Share your finished jumping cartoon on DIY.org
Help!?
What can we use if we don't have a black marker, scrap paper, or special colouring materials?
If you don't have the black marker called for in step 10, trace final lines with a fine-tipped permanent pen or dark gel pen, use any clean printer paper or the back of a cereal-box cardstock in place of the blank paper, and substitute crayons or colored pencils for other colouring materials in step 13.
My drawing keeps looking off-balance—what should I do during the proportion step?
When adjusting head, torso, and limbs in step 6, lightly compare sizes to your chosen thumbnail from step 3, redraw the body parts as simple geometric shapes, and align the torso so the character's center of mass follows the motion arc from step 4 to restore balance.
How can I adapt this activity for different ages or skill levels?
For younger kids simplify steps 2–6 by sketching only two big shapes (head and body) along the motion arc and using chunky crayons for step 13, while older kids can add foreshortening, extra motion lines in step 6, and detailed inking and shading during steps 10–12.
What are some ways to enhance or personalize the jumping cartoon once it's finished?
Extend the activity by creating a short flipbook with repeated versions of steps 2–13 along the motion arc to animate the jump, or add a background, props, and unique clothing details in steps 7 and 13 before inking in step 10 and sharing on DIY.org.
Watch videos on how to draw a jumping cartoon
How To Draw A Spring Kid Jumping Into A Puddle
3 Videos
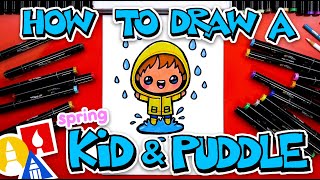
How To Draw A Spring Kid Jumping Into A Puddle

How to Draw a Jumping Spider 🕷Lucas
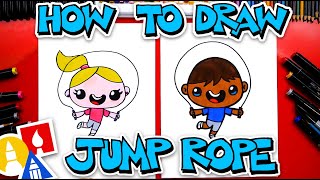
How To Draw A Kid Playing Jump Rope
Facts about cartoon drawing for kids
🏃♀️ Speed lines (motion lines) are a comic trick that make characters look like they're zipping through the air.
✏️ Gesture drawing is often done in 30–60 second poses to capture movement and energy fast.
🧸 Squash and stretch is an animation rule that makes objects feel bouncy and alive—even simple shapes gain personality.
🔺 Starting with basic shapes (circles, ovals, rectangles) helps keep proportions right while you try different poses.
🌈 Bright colors, contrast, or a bold outline can make a jumping pose pop and feel more energetic.
How do you draw a jumping cartoon character step by step?
What materials do I need to draw a jumping cartoon with my child?
What ages is drawing jumping cartoons suitable for?
What are the benefits, safety tips, or variations for the jumping cartoon activity?
