Draw A Sad Face
Draw a sad face using pencil, eraser, and shading techniques; practice expressing emotions through facial features and exploring basic drawing skills.


Drawing Apps
Step-by-step guide to draw a sad face
Step 1
Clear a flat space and lay out your paper and materials.
Step 2
Lightly sketch a simple oval for the face using soft pencil strokes.
Step 3
Draw a light vertical line down the center and a light horizontal line across the middle to place features.
Step 4
Put two small marks on the horizontal line where the centers of the eyes will go.
Step 5
Draw two slightly droopy almond-shaped eyes on the marks with the outer corners angled down.
Step 6
Sketch eyebrows that slant upward toward the middle above the eyes to make the face look sad.
Step 7
Draw a small simple nose between the eyes using a short vertical line and a tiny curve.
Step 8
Draw a mouth that curves down at both ends to make a clear frown.
Step 9
Add a single teardrop shape under one eye to show sadness.
Step 10
Carefully erase the light guideline lines so only the face features remain.
Step 11
Shade softly under the eyes and along the sides of the nose using light pencil strokes to add depth.
Step 12
Gently blend the shaded areas with your tissue or cotton swab for a smooth look.
Step 13
Darken the main lines you like to make the face stand out.
Step 14
Write your name and the date neatly on the corner of the paper.
Step 15
Take a photo or scan your finished sad face and share your creation on DIY.org.
Help!?
What can I use if I don't have a soft pencil, tissue/cotton swab, or a scanner?
Use a regular HB pencil drawn very lightly for the initial oval and features instead of a soft pencil, blend shaded areas with a folded tissue, fingertip, or paper towel in place of a cotton swab, and take a clear smartphone photo of your finished drawing when the instructions say to 'Take a photo or scan your finished sad face.'
My guidelines and shading keep smudging when I erase—what should I do?
Hold a scrap sheet under your drawing hand to prevent smudges, erase the guideline lines gently with a kneaded eraser as instructed in 'Carefully erase the light guideline lines,' and wait a moment after blending before darkening main lines so the graphite won't smear.
How can I adapt this activity for different age groups?
For preschoolers pre-draw the oval and guidelines and let them use crayons or stickers for eyes and a teardrop, while older kids can follow the full steps including 'Shade softly under the eyes...' and 'Gently blend...' to practice tonal shading and blending techniques.
How can we extend or personalize the finished sad face drawing?
Create a mini-gallery by repeating the steps to draw faces showing different emotions, add color or patterns after you 'Darken the main lines you like,' write a short caption next to each, and upload the set to DIY.org as a personalized series.
Watch videos on how to draw a sad face
How to Draw a Sad Crying Girl Face - Easy Step by Step Pencil Sketch
4 Videos
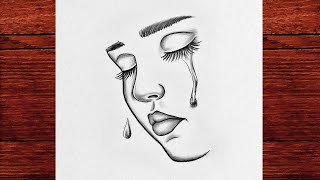
How to Draw a Sad Crying Girl Face - Easy Step by Step Pencil Sketch
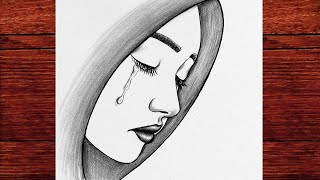
How to Draw a Sad Girl Face with Tears - Easy Pencil Sketch for Beginners
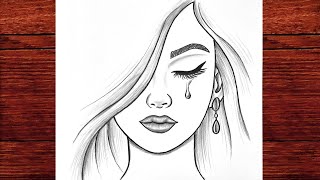
How to Draw a Crying Girl | Easy Pencil Drawing Tutorial Step by Step
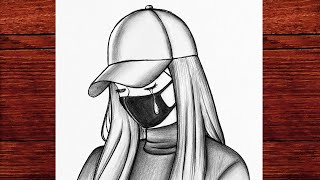
Easy Sad Girl Drawing with Mask and Cap | Step by Step Pencil Sketch Tutorial
Facts about drawing facial expressions
😢 Many people worldwide recognize sadness from similar cues—downturned mouth and drooping eyelids are classic, universal signs.
✏️ For smooth shading, build layers with light strokes: H-series pencils make lighter tones, B-series pencils make darker tones.
🧠 The Facial Action Coding System (FACS) breaks facial expressions into small muscle movements called "action units" for precise study.
👁️ Tiny tweaks—like raising the inner eyebrows or lowering the mouth corners—can turn a neutral face into a sad one.
🎨 Practicing drawing emotions sharpens observation and empathy—artists often study photos to learn subtle facial cues.
How do you do the Draw A Sad Face activity?
What materials do I need for Draw A Sad Face?
What ages is the Draw A Sad Face activity suitable for?
What are the benefits of drawing a sad face?
