Make a Paper Boat!
Fold and decorate a paper boat from a single sheet of paper, then test its buoyancy in water and observe how it floats.


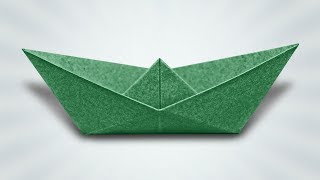
Step-by-step guide to make a paper boat
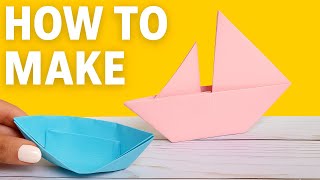
How to Make a Paper Boat that Really Floats | Easy Step-by-Step Tutorial
Step 1
Gather all your materials and bring them to a clear workspace near the water source.
Step 2
Fold the paper in half by bringing the top edge down to meet the bottom edge and crease firmly.
Step 3
Fold the top left corner down so its point meets the middle of the folded edge and crease.
Step 4
Fold the top right corner down so its point meets the middle of the folded edge and crease.
Step 5
Fold the bottom flap up over the front of the triangle and crease along the base.
Step 6
Turn the paper over and fold the bottom flap up on the back to match the first flap and crease.
Step 7
Open the middle by gently pulling the two layers apart and flatten the shape into a square.
Step 8
Fold the bottom corner of the square up to make a triangle and crease.
Step 9
Turn the paper over and fold the other bottom corner up to match and crease.
Step 10
Open the triangle by pulling the two layers apart and gently shape it into a boat with an open top.
Step 11
Decorate your boat using markers crayons or stickers but avoid covering the very bottom where the water will touch.
Step 12
With an adult present fill the basin sink or bathtub with a shallow safe depth of water for testing.
Step 13
Gently place your decorated paper boat on the water and watch how it floats.
Step 14
Carefully add one small coin or paperclip at a time to the center of the boat and count how many it holds before it tilts or sinks.
Step 15
Share a photo of your finished paper boat and what you observed about how it floated on DIY.org.
Help!?
What can we use if we don't have plain printer paper to fold the boat?
Use a newspaper sheet, magazine page, or light origami paper cut to a similar rectangle, but avoid heavy cardstock that won't fold well or float.
My paper won't open into the square at the 'open the middle' step—how do I fix that?
At step 7, reinforce the existing creases, hold the folded edges, and gently pull the two layers apart while pinching the outer corners to guide the shape into a square.
How can I adapt this activity for younger children or make it more challenging for older kids?
For younger children have an adult pre-fold to step 7 and supervise at the water, while older kids can experiment with different paper types and record how many coins each design holds in step 14.
How can we extend or personalize the boat beyond decorating?
After shaping the boat (step 10) attach a small removable sail made from a toothpick and scrap paper and then race multiple decorated boats to compare which design holds more coins in step 14.
Watch videos on how to make a paper boat
How To Make a Paper Boat | 2 Different Paper Boat | Easy Origami Boat Making Tutorial For Kids
4 Videos
How To Make a Paper Boat | 2 Different Paper Boat | Easy Origami Boat Making Tutorial For Kids
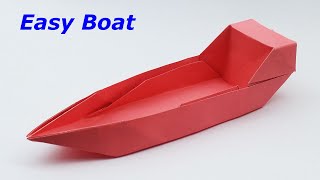
How To Make a Paper Boat - Origami Paper Boat Tutorial
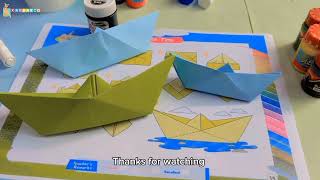
Easy Origami Boat Tutorial for Kids | Step-by-Step Folding Guide
How to Make a Paper Boat (Origami Instructions)
Facts about paper folding and buoyancy
📄 The classic paper boat is a basic origami model you can fold from just one rectangular sheet of paper.
🛶 Boats float because buoyancy pushes up on them — the water supports their weight if they displace enough water.
🌊 Surface tension and air pockets under the hull can help a paper boat stay afloat a bit longer before the paper soaks.
🧪 Try adding small weights (like paperclips) to your boat to see how much it can carry before it sinks — a fun buoyancy test!
💡 Using thicker or water-resistant (coated) paper and waterproof markers for decoration can make your paper boat last longer on the water.
How do I fold and decorate a paper boat to test buoyancy?
What materials do I need to make a paper boat and test it in water?
What ages is making a paper boat suitable for?
What are the benefits, safety tips, and fun variations for paper boat play?
