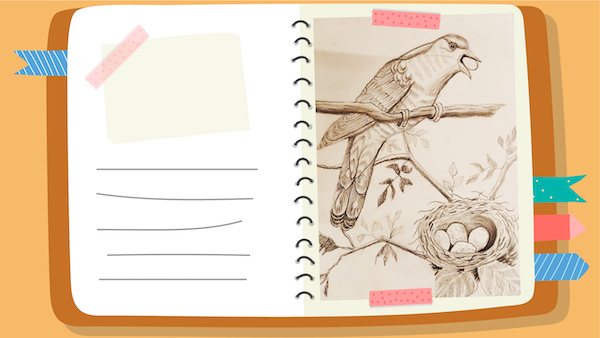
Sketch a Realistic Bird with a Nest
Sketch a realistic bird perched in a nest using pencil, shading, and simple measurements. Observe bird shapes, textures, and nest materials as you draw.

Drawing Apps
Step-by-step guide to Sketch a Realistic Bird with a Nest
Step 1
Pick a bird reference and look at it for one minute to notice its overall shape.
Step 2
Decide which direction the light is coming from on your reference so you know where shadows will fall.
Step 3
Use your ruler and pencil to lightly mark the bird's main proportions on the paper.
Step 4
Sketch simple shapes for the body head tail and beak using light lines.
Step 5
Connect the simple shapes into a smooth outer outline of the bird.
Step 6
Lightly draw the nest base beneath the bird to fit the bird's size on the paper.
Step 7
Add nest materials by sketching overlapping twigs grasses and soft lining inside the nest.
Step 8
Draw groups of feathers with short directional strokes that follow the curves of the bird's body.
Step 9
Add small details like the eye beak nostril and toes with careful lines.
Step 10
Shade the bird using light pencil strokes on the areas opposite the light source to show roundness.
Step 11
Darken the deepest shadow areas to increase contrast and make the bird look three dimensional.
Step 12
Shade the inside of the nest to give it depth and make the bird appear perched.
Step 13
Gently blend shaded areas with a tissue or cotton swab to smooth transitions.
Step 14
Use your eraser to lift tiny highlights and remove any stray pencil marks.
Step 15
Share your finished realistic bird-with-a-nest drawing on DIY.org
Help!?
What can I use instead of a ruler, tissue, or cotton swab if I don't have them?
Use the straight edge of a book or credit card to lightly mark proportions instead of a ruler, blend shaded areas with a clean fingertip, a cotton ball, or a soft cloth in place of a tissue or cotton swab, and lift highlights with any clean eraser as in the 'Use your eraser to lift tiny highlights' step.
My bird looks flat—what should I check and fix?
Re-check the 'Decide which direction the light is coming from' step, add value by shading the bird 'on the areas opposite the light source,' darken the deepest shadow areas to increase contrast, and gently blend those transitions with a tissue or cotton swab to create roundness.
How can I adapt this activity for younger or older kids?
For younger children simplify the task by having them trace or sketch big 'simple shapes for the body head tail and beak' and focus on basic coloring, while older kids can refine accuracy with the ruler, draw 'groups of feathers with short directional strokes,' and work more on 'shade the bird' and deepen shadows for realism.
How can we extend or personalize the finished bird-and-nest drawing?
After completing shading and lifting highlights, personalize the piece by adding color with colored pencils or watercolor, sketching a background or multiple poses from different references, or create a series of species to 'Share your finished realistic bird-with-a-nest drawing on DIY.org.'
Watch videos on how to Sketch a Realistic Bird with a Nest
How To Draw A Bird's Nest With Eggs
4 Videos

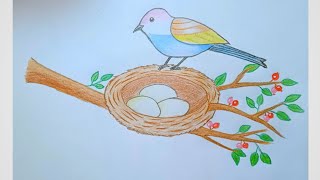
How To Draw A Bird's Nest With Eggs
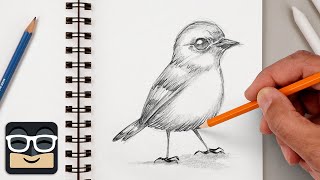
How to Draw a Realistic Bird | Step by Step Art Lesson for Beginners
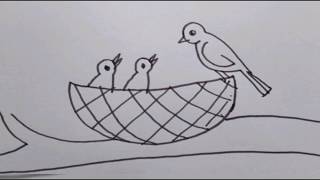
How To Draw Bird With Nest Step By Step (Very Easy) Drawing Video
How to draw a bird nest/ Drawing step by step /Kids topic
Facts about observational drawing for kids
🐦 About 10,000 bird species live on Earth, so you'll find lots of shapes and poses to practice drawing.
🪶 Feathers are made of keratin—the same protein as human hair and nails—and their textures make great shading practice.
🪵 Some birds, like sociable weavers, build huge communal nests that can house hundreds of birds and weigh over a ton.
✏️ Artists often hold a pencil at arm's length to measure and compare proportions—an easy trick for accurate sketches.
👀 A bird's silhouette, beak shape, and feather patterns are the fastest clues for recognizing and sketching species.
How do you sketch a realistic bird perched in a nest?
What materials do I need to sketch a realistic bird and nest?
What ages is sketching a realistic bird with a nest suitable for?
What are the benefits of sketching realistic birds and how can we vary the activity?
