Learn the Baseball Step
Practice the baseball step for throwing and fielding by learning correct foot placement, balance, and simple drills to improve accuracy and safe movement.


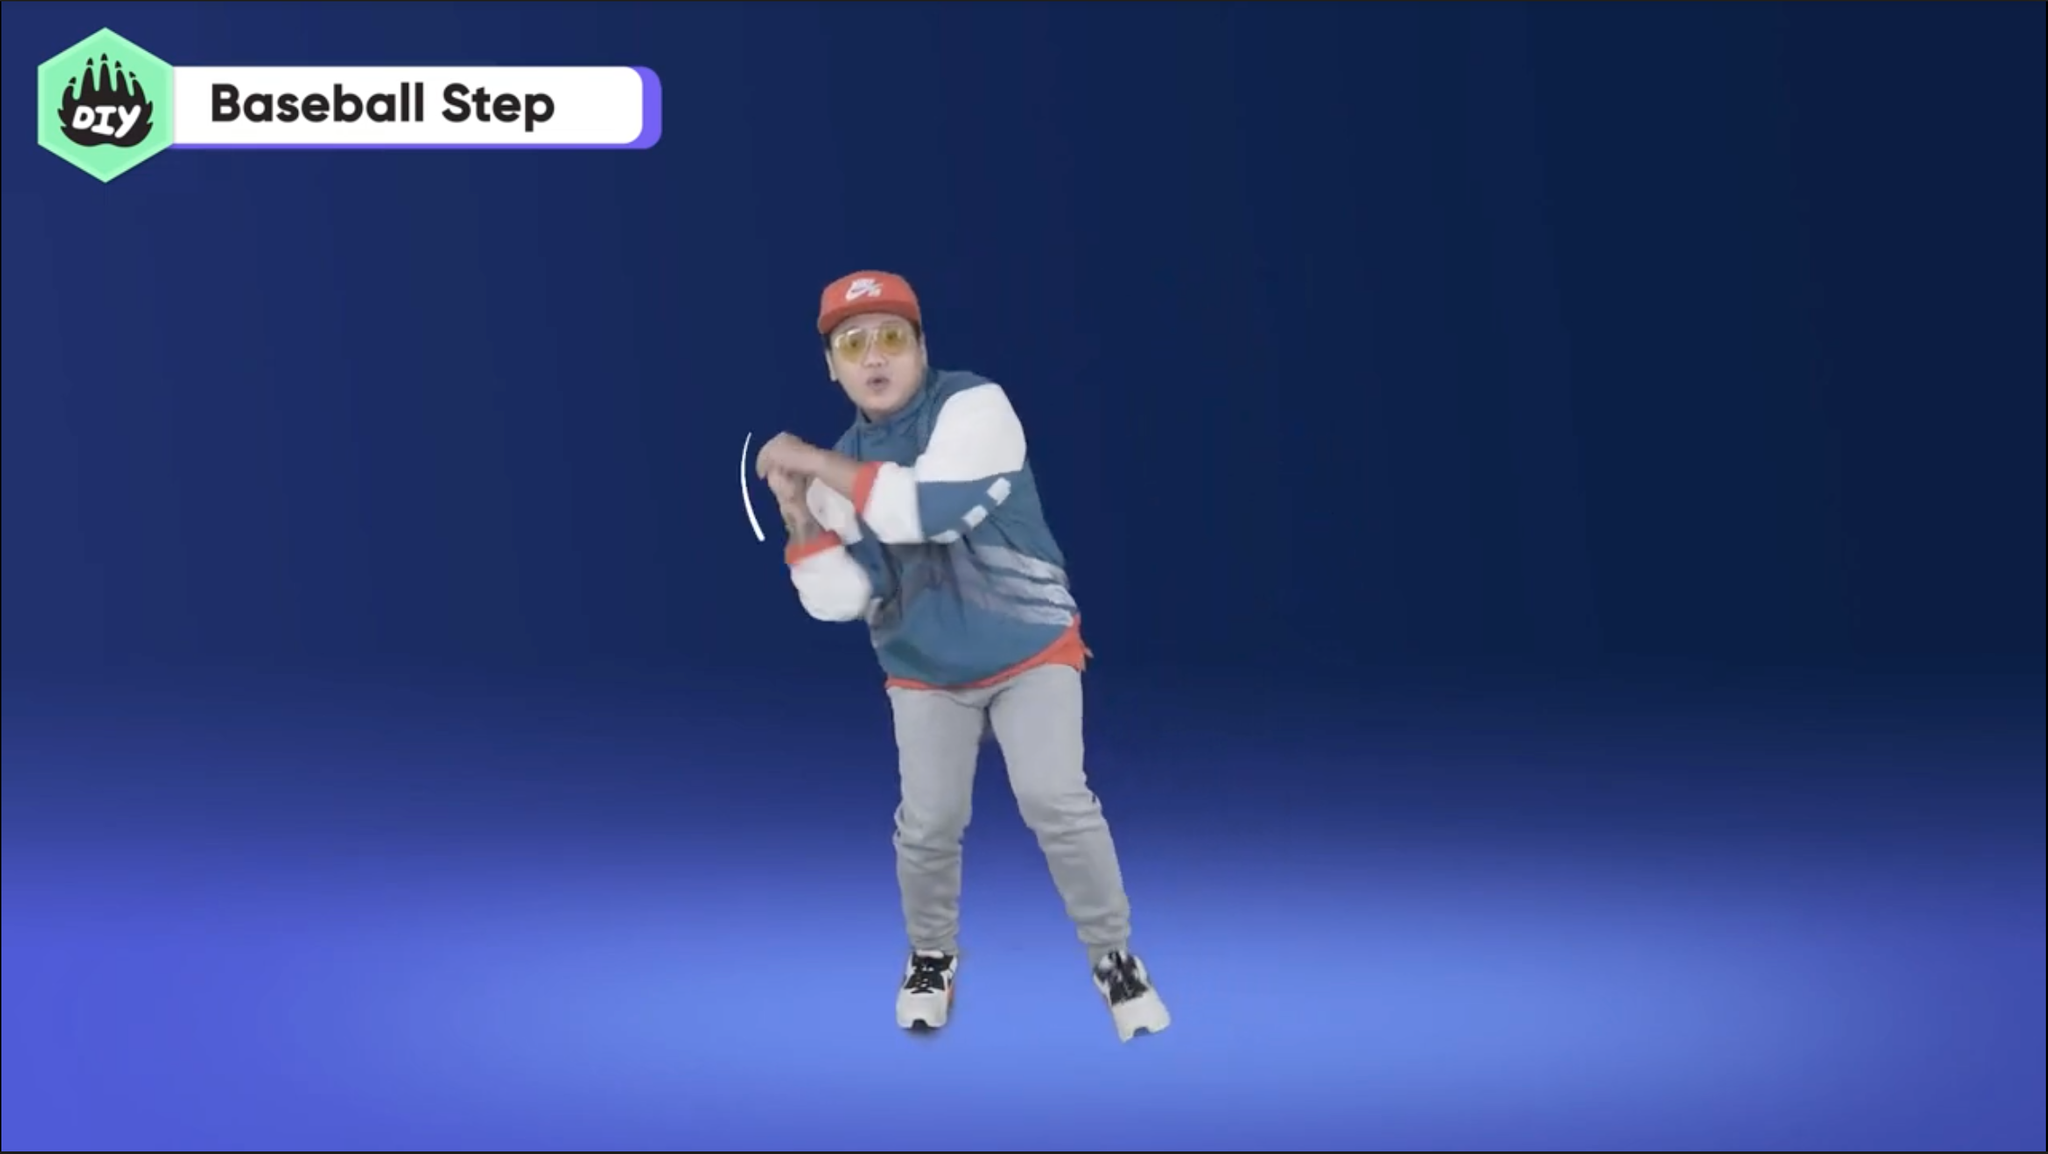

Step-by-step guide to Learn the Baseball Step
Step 1
Put on your sneakers to protect your feet.
Step 2
Place two flat markers about 8 feet apart to mark your starting spot and your target.
Step 3
Stand at the starting marker in a ready athletic stance with knees slightly bent.
Step 4
Hold the ball in your throwing hand.
Step 5
Choose your front foot: if you throw right pick your left foot; if you throw left pick your right foot.
Step 6
Step toward the target with your front foot in one small controlled motion.
Step 7
Shift your weight forward onto your front foot after the step.
Step 8
Throw the ball to the target.
Step 9
Repeat the step-then-throw 10 times to build consistency.
Step 10
Do small quick side-to-side steps for 20 seconds to improve balance and foot speed.
Step 11
When a ball rolls to you, step toward it with your glove-side foot.
Step 12
Put your glove down or cup your hands and scoop the rolling ball into it.
Step 13
Throw the ball back to your partner or target using the same small front-foot step you practiced.
Step 14
Share a photo or short note about your baseball step practice on DIY.org.
Help!?
What can I use instead of flat markers if I don't have them?
Use rolled-up socks, small cones, a pair of shoes, or tape on the ground placed about 8 feet apart to mark your starting spot and your target as the instructions say.
If I keep losing my balance when I step, what should I try?
Make the front-foot movement smaller and more controlled, keep knees slightly bent, concentrate on shifting your weight forward after the step, and practice the 20-second side-to-side foot-speed drill to improve balance.
How can I adapt the drill for younger or older kids?
For younger kids move the markers closer (about 3–5 feet), use a softer ball and reduce to 5 step-then-throw repetitions, while older kids can increase the 8-foot distance, add a moving target, or do more than 10 reps for extra challenge.
How can we make the Baseball Step drill more challenging or personal?
Add a visible target to aim for, time how long it takes to complete 10 accurate step-then-throw repetitions, include the glove-side scoop of rolling balls from the instructions, and share your favorite photo or short note on DIY.org to track progress.
Watch videos on how to Learn the Baseball Step
Baseball for Kids - Basic Rules
4 Videos

Baseball for Kids - Basic Rules
Batting Basics #1 | Teaching Young Players How To Bat | Hitting a Baseball for 3, 4, 5, 6 year-olds
Baseball Rules for Beginners | Easy Explanation
How to Play Baseball for Beginners in 8 Minutes | Ultimate Guide
Facts about baseball footwork and throwing fundamentals
⚾ Proper baseball footwork transfers power from your legs through your hips and torso to your arm — good steps make throws stronger and safer.
🦶 Pointing your lead foot toward the target helps align your body and greatly improves throwing accuracy.
🎯 Practicing short, accurate throws and footwork drills often improves fielding accuracy more than just trying to throw harder.
🧠 Better balance and proprioception (awareness of your body in space) help you react faster and reduce injury risk on quick plays.
⏱️ Just 5–10 minutes of focused step-and-throw drills each day builds muscle memory and steady improvement.
How do you teach a child the baseball step for throwing and fielding?
What materials do I need to practice the baseball step with my child?
What ages is learning the baseball step suitable for?
What are the benefits and safety tips for practicing the baseball step?
