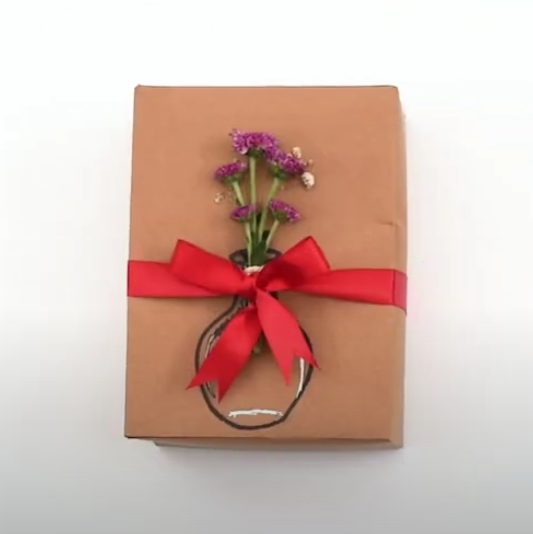
Design a vase with flowers
Design and build a simple vase from recycled materials, then arrange real or paper flowers to explore shape, balance, color, and creativity.


Step-by-step guide to design a vase with flowers
Step 1
Gather all the materials from the list and put them on your work table.
Step 2
Choose a fun vase shape and size and sketch your idea on a scrap piece of paper.
Step 3
Rinse the recycled container inside and out to remove any dirt or leftover liquid.
Step 4
Dry the container completely with a towel so it is ready to work on.
Step 5
Ask an adult to help you cut or trim the container to the height you sketched.
Step 6
Pour small pebbles rice or sand into the bottom of the container to add weight for stability.
Step 7
Cover any sharp edges with tape or folded cardboard so the vase is safe to handle.
Step 8
Paint or color the outside of the vase using paints markers or coloring materials.
Step 9
Let the paint or any glue dry completely before touching the vase again.
Step 10
Glue stickers ribbons or buttons onto the vase to add extra decoration and texture.
Step 11
Cut petal shapes from scrap paper to create paper flowers if you are not using real flowers.
Step 12
Attach the petals to stems using tape or glue to build complete paper flowers.
Step 13
Arrange real or paper flowers in the vase and try different heights and colors to explore balance and shape.
Step 14
Share a photo and story of your finished vase and flowers on DIY.org
Help!?
What can we use instead of small pebbles, rice, or sand if we don't have them?
Use dried beans, clean bottle caps, pennies, or tightly balled aluminum foil to add weight in step 5 so the vase stays stable.
My cut edge is sharp or the vase keeps tipping—what should I do?
If cutting in step 5 creates sharp edges or the vase tips, have an adult smooth or re-trim the rim, then follow step 6 to cover edges with tape or folded cardboard and add more pebbles, rice, or sand for stability.
How can I adapt this activity for different age groups?
For 3–5-year-olds skip step 5 and use a pre-cut recycled cup while focusing on painting and stickers from steps 7 and 9, for 6–8-year-olds include supervised trimming and simple paper flowers from steps 10–11, and for 9+ let them do the full sketch in step 2, cutting, and more detailed decorations in step 9.
How can we make the vase fancier or longer-lasting after finishing it?
After decorating in steps 7–9, seal the outside with a coat of clear glue or mod podge, line the inside with a small plastic bag or waterproof tape if you plan to use real flowers with water from step 12, and add LED fairy lights or extra layered paper flowers for personalization.
Watch videos on how to design a vase with flowers
How to make a flower vase with color paper||step by step||easy and simple craft
4 Videos
How to make a flower vase with color paper||step by step||easy and simple craft
Create a Lovely Summer Flower Vase 🌼
How to Draw a Cute Flower Vase Step by Step | Easy Flower Drawing for Kids & Beginners
DIY Flower Vase: Transform Simple Items into Stunning Decor || WooGlobe
Facts about recycled crafts
🏺 Vases have been used for thousands of years — archaeologists found decorated vases in Egyptian tombs over 4,000 years old.
🌸 Flower arranging (Ikebana in Japan) focuses on shape, balance, and empty space as much as the flowers themselves.
♻️ Upcycling jars, bottles, and cardboard into vases turns trash into treasure and keeps materials out of the landfill.
✂️ You can make paper flowers with simple folding and cutting—some designs start from just one sheet of paper.
⚖️ A wider base and lower center of gravity make a vase harder to tip, so shape matters for stability when arranging blooms.
How do I guide a child to design and build a simple vase from recycled materials and arrange flowers?
What materials do I need to make a recycled vase and arrange real or paper flowers?
What ages is this vase-and-flowers activity suitable for?
What are the benefits and safety tips for designing a recycled vase and arranging flowers?
