Build a zig zag ramp
Build a cardboard zig zag ramp and test rolling toys down each section to explore angles, speed, and how surfaces affect motion.


Step-by-step guide to build a cardboard zig zag ramp
Step 1
Gather all your materials and bring them to a clear floor space.
Step 2
Draw three long rectangles on the cardboard about the length of your arm and half as wide.
Step 3
Cut out the three cardboard rectangles using scissors.
Step 4
Place the first cardboard rectangle flat on the floor.
Step 5
Prop the top end of the first rectangle on a book to make a gentle ramp.
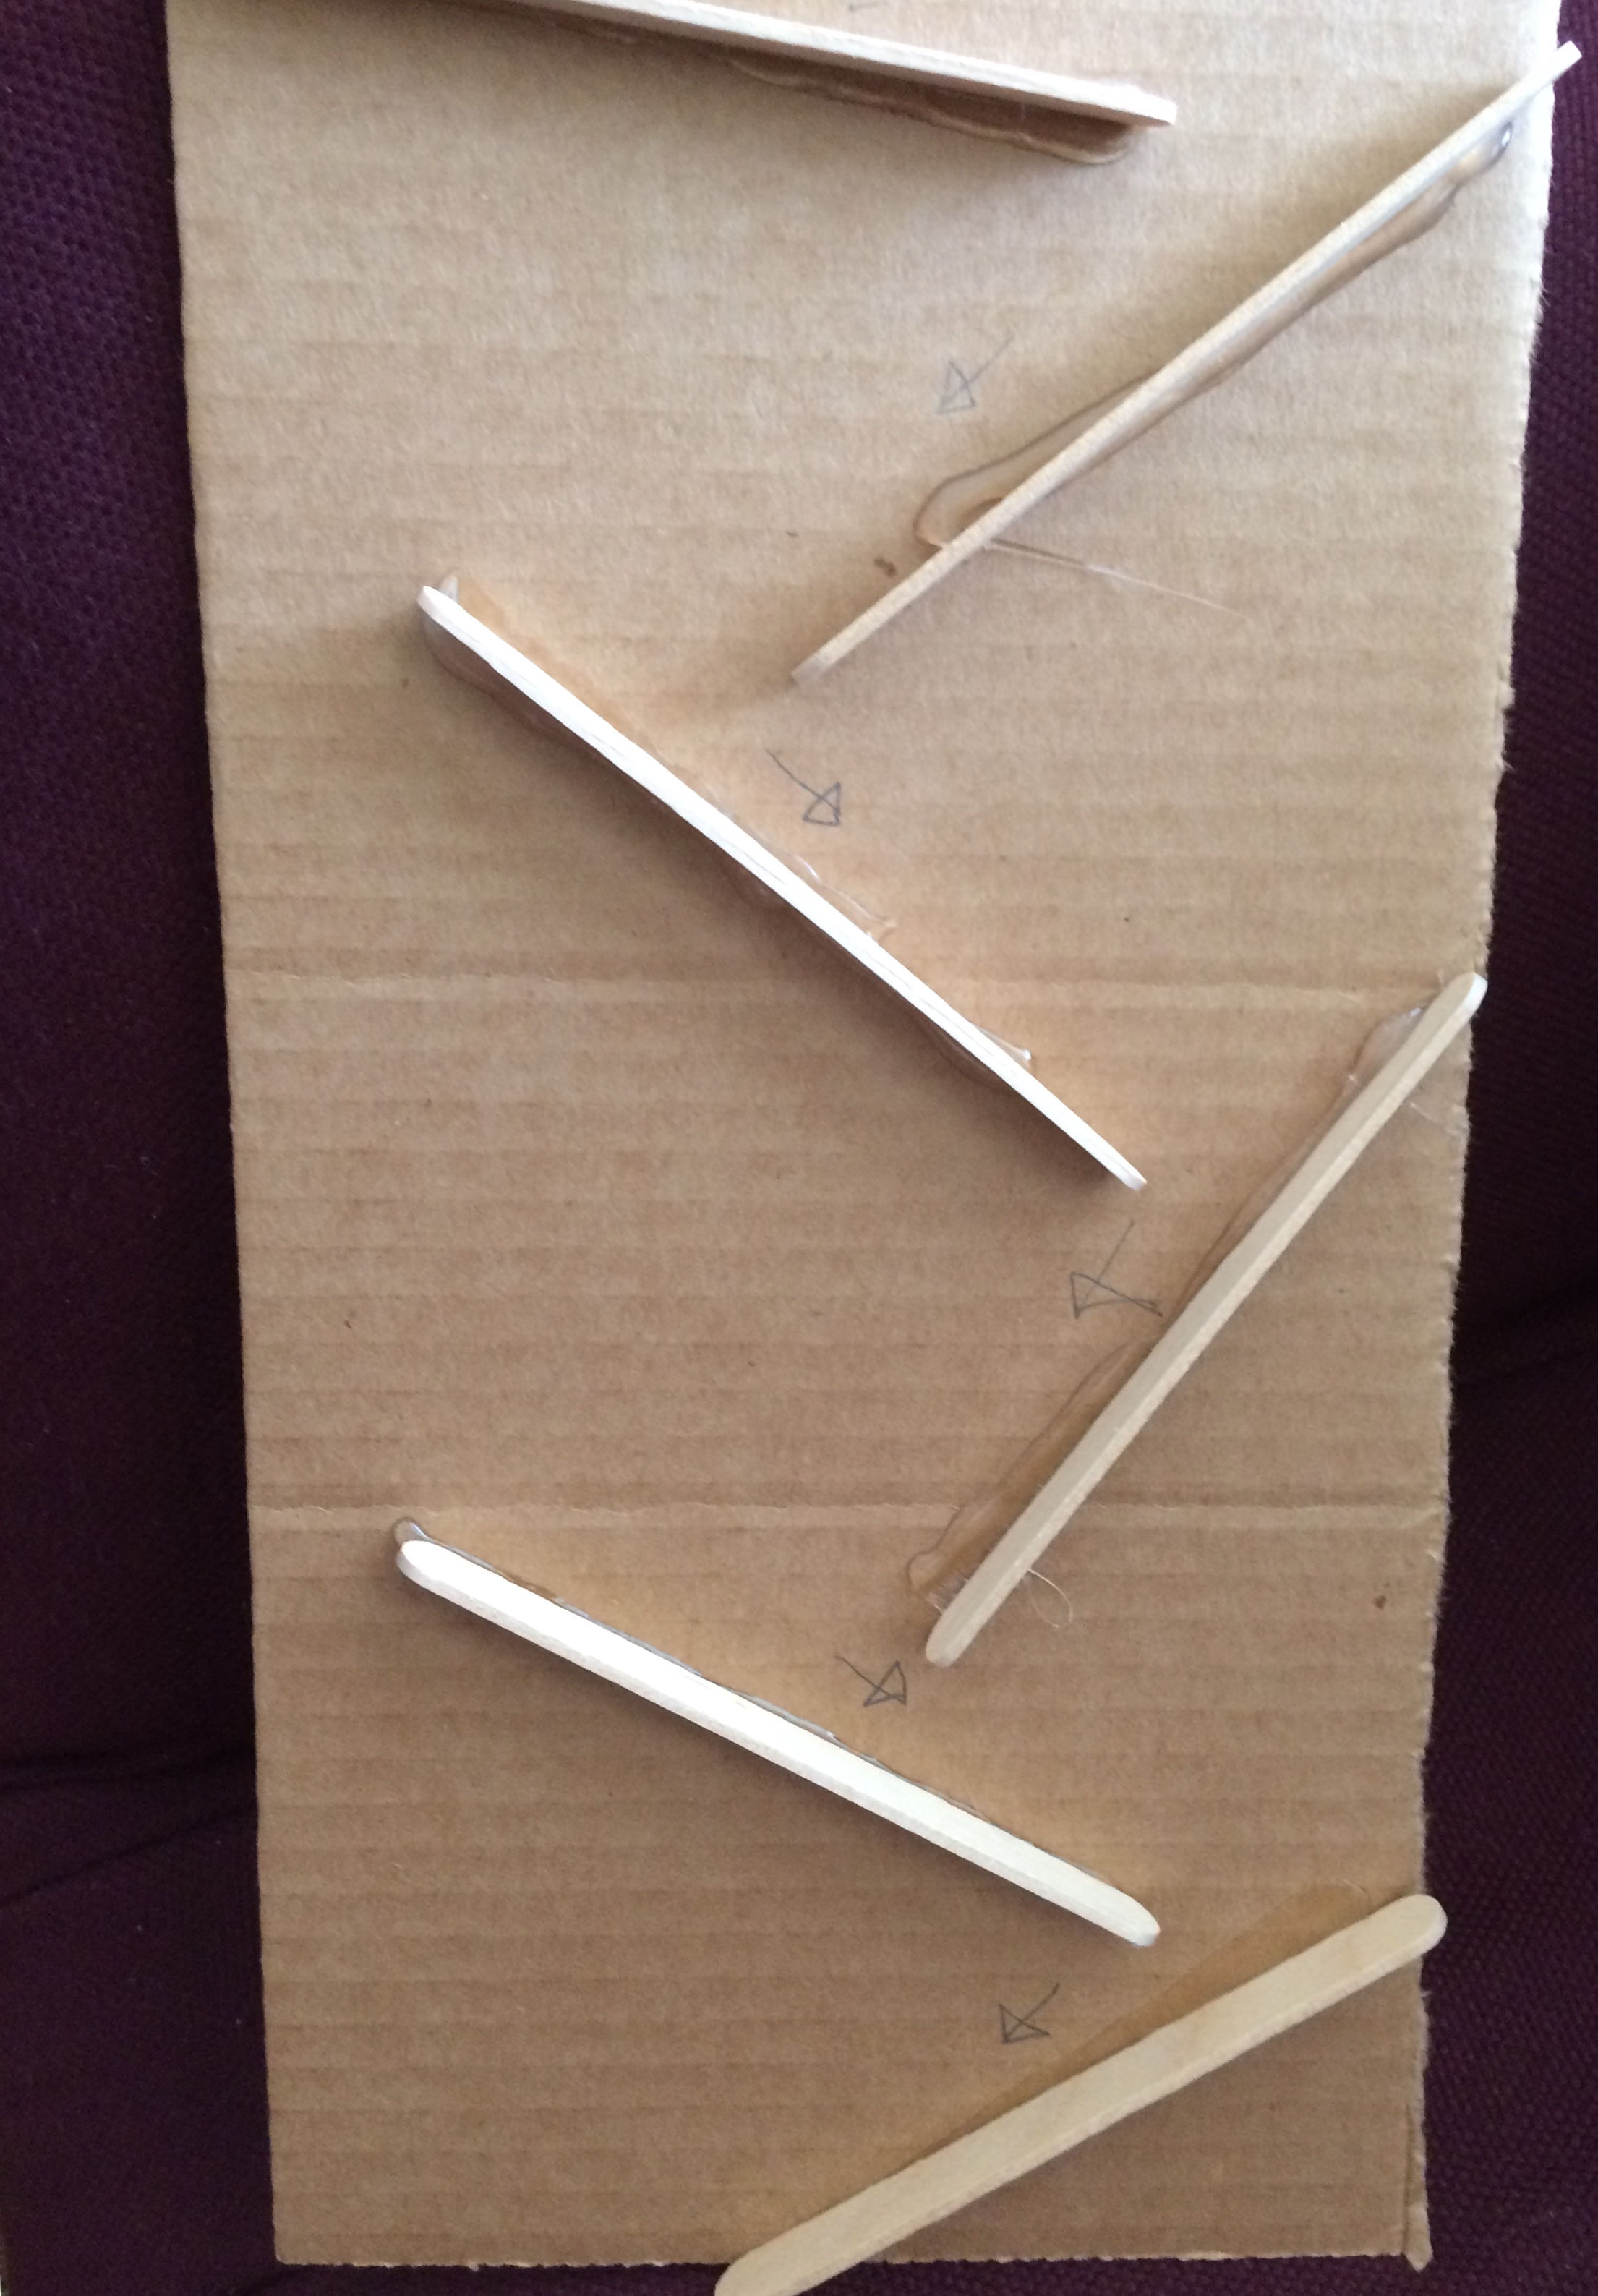
Step 6
Position the second rectangle so it overlaps the bottom edge of the first at a small angle.
Step 7
Tape the overlapping edges so the two pieces form a smooth path.
Step 8
Prop the joined spot on a second book so the track angles and creates a zig zag.
Step 9
Attach a different surface sample to each ramp section using tape.
Step 10
Draw a starting line at the top of the first ramp with your pencil.
Step 11
Place your toy at the starting line.
Step 12
Release the toy without pushing so it rolls down the zig zag track.
Step 13
Change the height of the middle book to make the middle section steeper or shallower and run the toy again to observe how angle and surface affect speed.
Step 14
Share a photo or description of your finished zig zag ramp and what you learned on DIY.org.
Help!?
What can I use instead of the large cardboard, scissors, tape, books, or surface samples if I don't have them?
Use flattened cereal or shipping boxes for the cardboard rectangles, a utility knife or adult help instead of scissors, duct or masking tape for the taping steps, stacked magazines or a shoebox to prop the ramps in place of books, and fabric scraps, foil, or sandpaper as surface samples to attach in step 9.
My toy stops at the overlap or the ramp seams are bumpy—how do I fix that?
Make the overlapping edges lie flush by trimming any uneven cardboard, increase the overlap and apply extra tape across the seam, press the taped seam flat so the toy doesn't catch, and adjust the book props (steps 5–7) to smooth the transition.
How can I adapt this activity for younger children or make it more challenging for older kids?
For younger children, have an adult draw and pre-cut the three rectangles and use wider, lower-angle ramps with supervision during the scissors step, while older kids can precisely measure ramp lengths and book heights, time runs with a stopwatch, and vary the surface samples attached in step 9 to analyze speed differences.
What are some ways to extend or personalize the zig zag ramp project?
Personalize by painting and labeling each cardboard section, add guard rails from extra cardboard or tape to keep toys on track, test different toys and surface samples from step 9 while changing the middle book height to record speeds, and share photos and findings on DIY.org as suggested in the final step.
Watch videos on how to build a cardboard zig zag ramp
How to make zigzag stairs with popsicle sticks
3 Videos
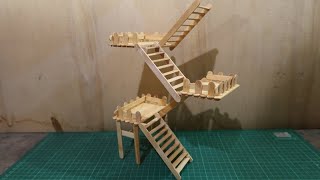
How to make zigzag stairs with popsicle sticks
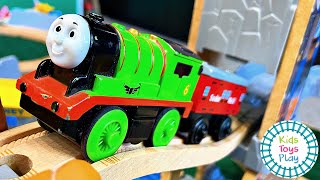
Thomas Wooden Railway Zig Zag Track Build & Crashes
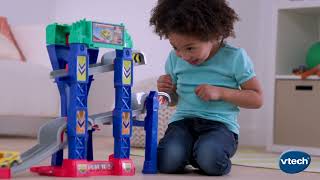
Go! Go! Smart Wheels® 4 in 1 Zig Zag Raceway™ | Demo Video | VTech®
Facts about ramps and motion
🛝 Inclined planes let you move something up using less push than lifting it straight up — that’s why ramps are handy!
⚡ Steeper ramps make rolling toys speed up faster because gravity pulls more along the slope.
🧲 Surface matters: smooth plastic wheels glide farther than wheels rolling on rough cardboard.
🔄 Zig-zag ramps add turns that slow toys down a bit each time because of tiny bumps and rubbing.
📏 Angle rules: the steeper the angle (bigger θ), the stronger the downhill pull — scientists use this to predict speed.
How do I build a cardboard zig zag ramp to test rolling toys?
What materials do I need for a cardboard zig zag ramp activity?
What ages is a cardboard zig zag ramp suitable for?
What are some variations and experiments to try with a cardboard zig zag ramp?
