Animate using Tweening
Create a short digital animation using tweening in a simple editor, placing keyframes and adjusting easing to make smooth motion and expressive movement.


Step-by-step guide to create a short digital animation using tweening
Beginner at Animating? | Easy Guide to Tweening Animation! | Alight Motion 💗
Step 1
Open your tweening animation editor.
Step 2
Create a new blank project.
Step 3
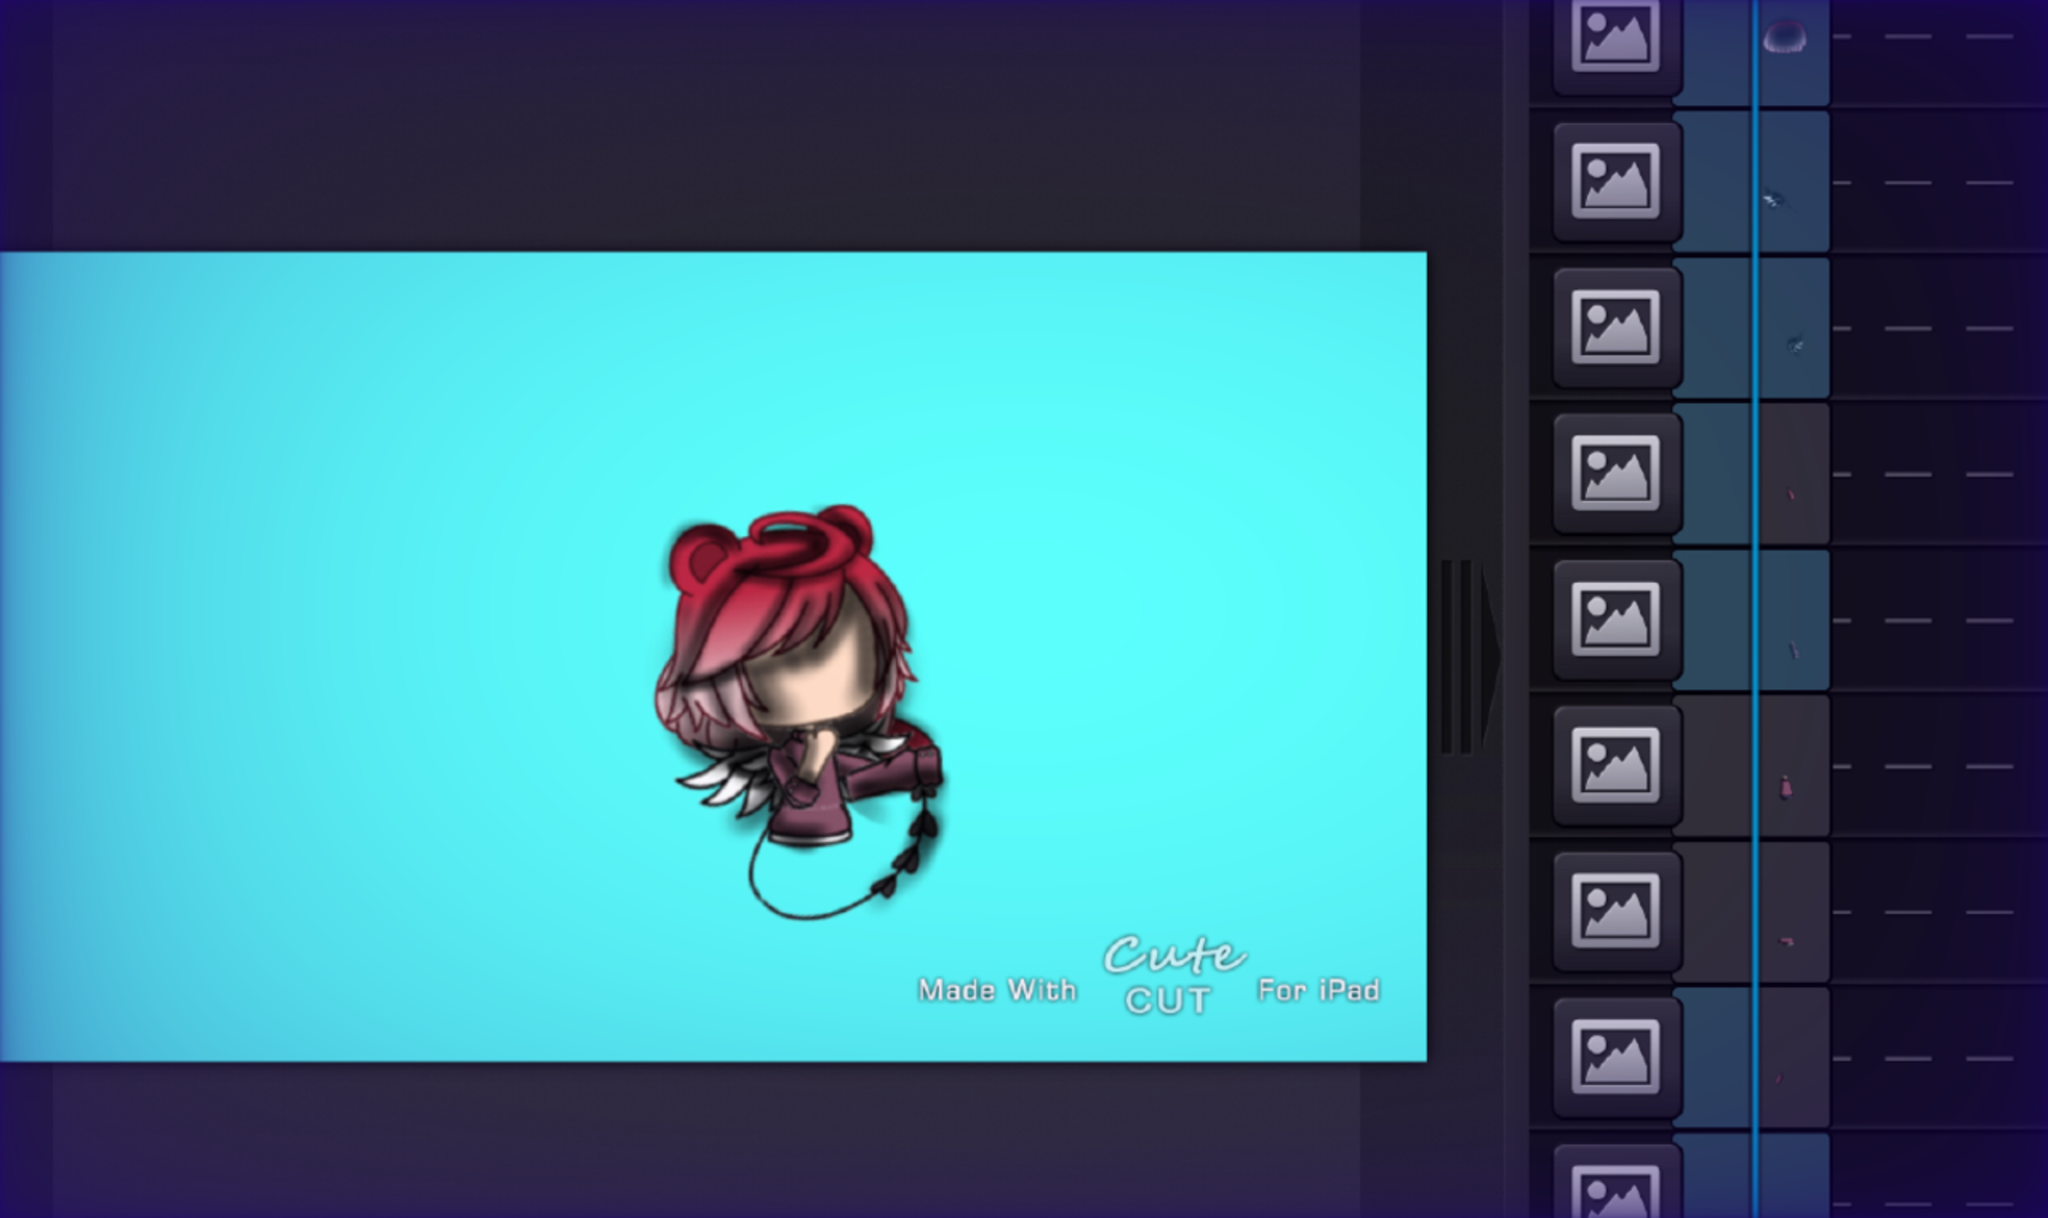
Add or draw a simple sprite or shape on the stage.
Step 4
Move the sprite to the place where you want it to start.
Step 5
Add a keyframe at frame 1 for your sprite.
Step 6
Add a second keyframe near the end of the timeline for the final pose.
Step 7
Move the sprite to its final position at that second keyframe.
Step 8
Create a motion tween between the first and second keyframes.
Step 9
Set the easing to ease in or ease out to make the motion feel natural.
Step 10
Add a middle keyframe halfway through the timeline.
Step 11
Change the sprite scale or rotation at the middle keyframe to add a little expression like a bounce or twist.
Step 12
Press play to preview your animation and watch how it moves.
Step 13
Tweak the keyframe positions timing or easing until the motion looks smooth.
Step 14
Export or save your animation as a GIF or MP4.
Step 15
Share your finished animation on DIY.org.
Help!?
What can we use if we don't have the specific tweening animation editor the instructions mention?
Open a free alternative like Wick Editor, FlipaClip, or an online editor and then follow the first step to 'Open your tweening animation editor' so you can create a new blank project and add a sprite.
The sprite isn't moving or easing doesn't seem to work — what should we check?
Confirm you added a keyframe at frame 1 and a second keyframe near the end, created a motion tween between them, and enabled the easing option on that tween so the sprite will interpolate and ease correctly.
How can we change the activity to suit different ages or skill levels?
For younger children, keep it simple with only start and end keyframes and a big shape to move, and for older kids, add the middle keyframe, change scale or rotation, experiment with easing curves, and tweak timing for more advanced motion.
How can we extend or personalize the animation after finishing the basic tween?
Add background layers and extra sprites with staggered keyframes, include sound, refine the middle keyframe's scale or rotation for expression, then export as a GIF or MP4 and share the finished animation on DIY.org.
Watch videos on how to create a short digital animation using tweening
What Is Tweening In Animation? - The Animation Reel
3 Videos
What Is Tweening In Animation? - The Animation Reel
What Is Tweening? - The Animation Reel
MASTER The Art Of Tweening ANIMATION In 2025 | A Complete GUIDE for Beginners
Facts about digital animation and tweening
🎞️ Inbetweening (often called "tweening") started as a studio job where assistants drew the frames between major poses to speed hand-drawn animation.
🎯 Keyframes mark the important poses in a motion — modern editors can interpolate hundreds of in-between frames from just a few keyframes.
⚙️ Easing functions like "ease-in" and "ease-out" mimic real-world acceleration and deceleration, making motion feel more natural.
🕒 Traditional film runs at 24 frames per second, TV often uses 30 fps, and many smooth interactive animations target 60 fps.
✏️ Classic animation principles (squash-and-stretch, anticipation, follow-through) are used with tweening to make movement expressive.
How do you create a short tweening animation in a simple editor?
What materials and software do I need to teach a child tweening animation?
What ages is tweening animation suitable for children?
What are the benefits of teaching kids tweening animation?
