Decorate a tree
Decorate a small indoor or outdoor tree using homemade paper ornaments, natural decorations, safe string lights, and recycled materials to practice creativity and planning.
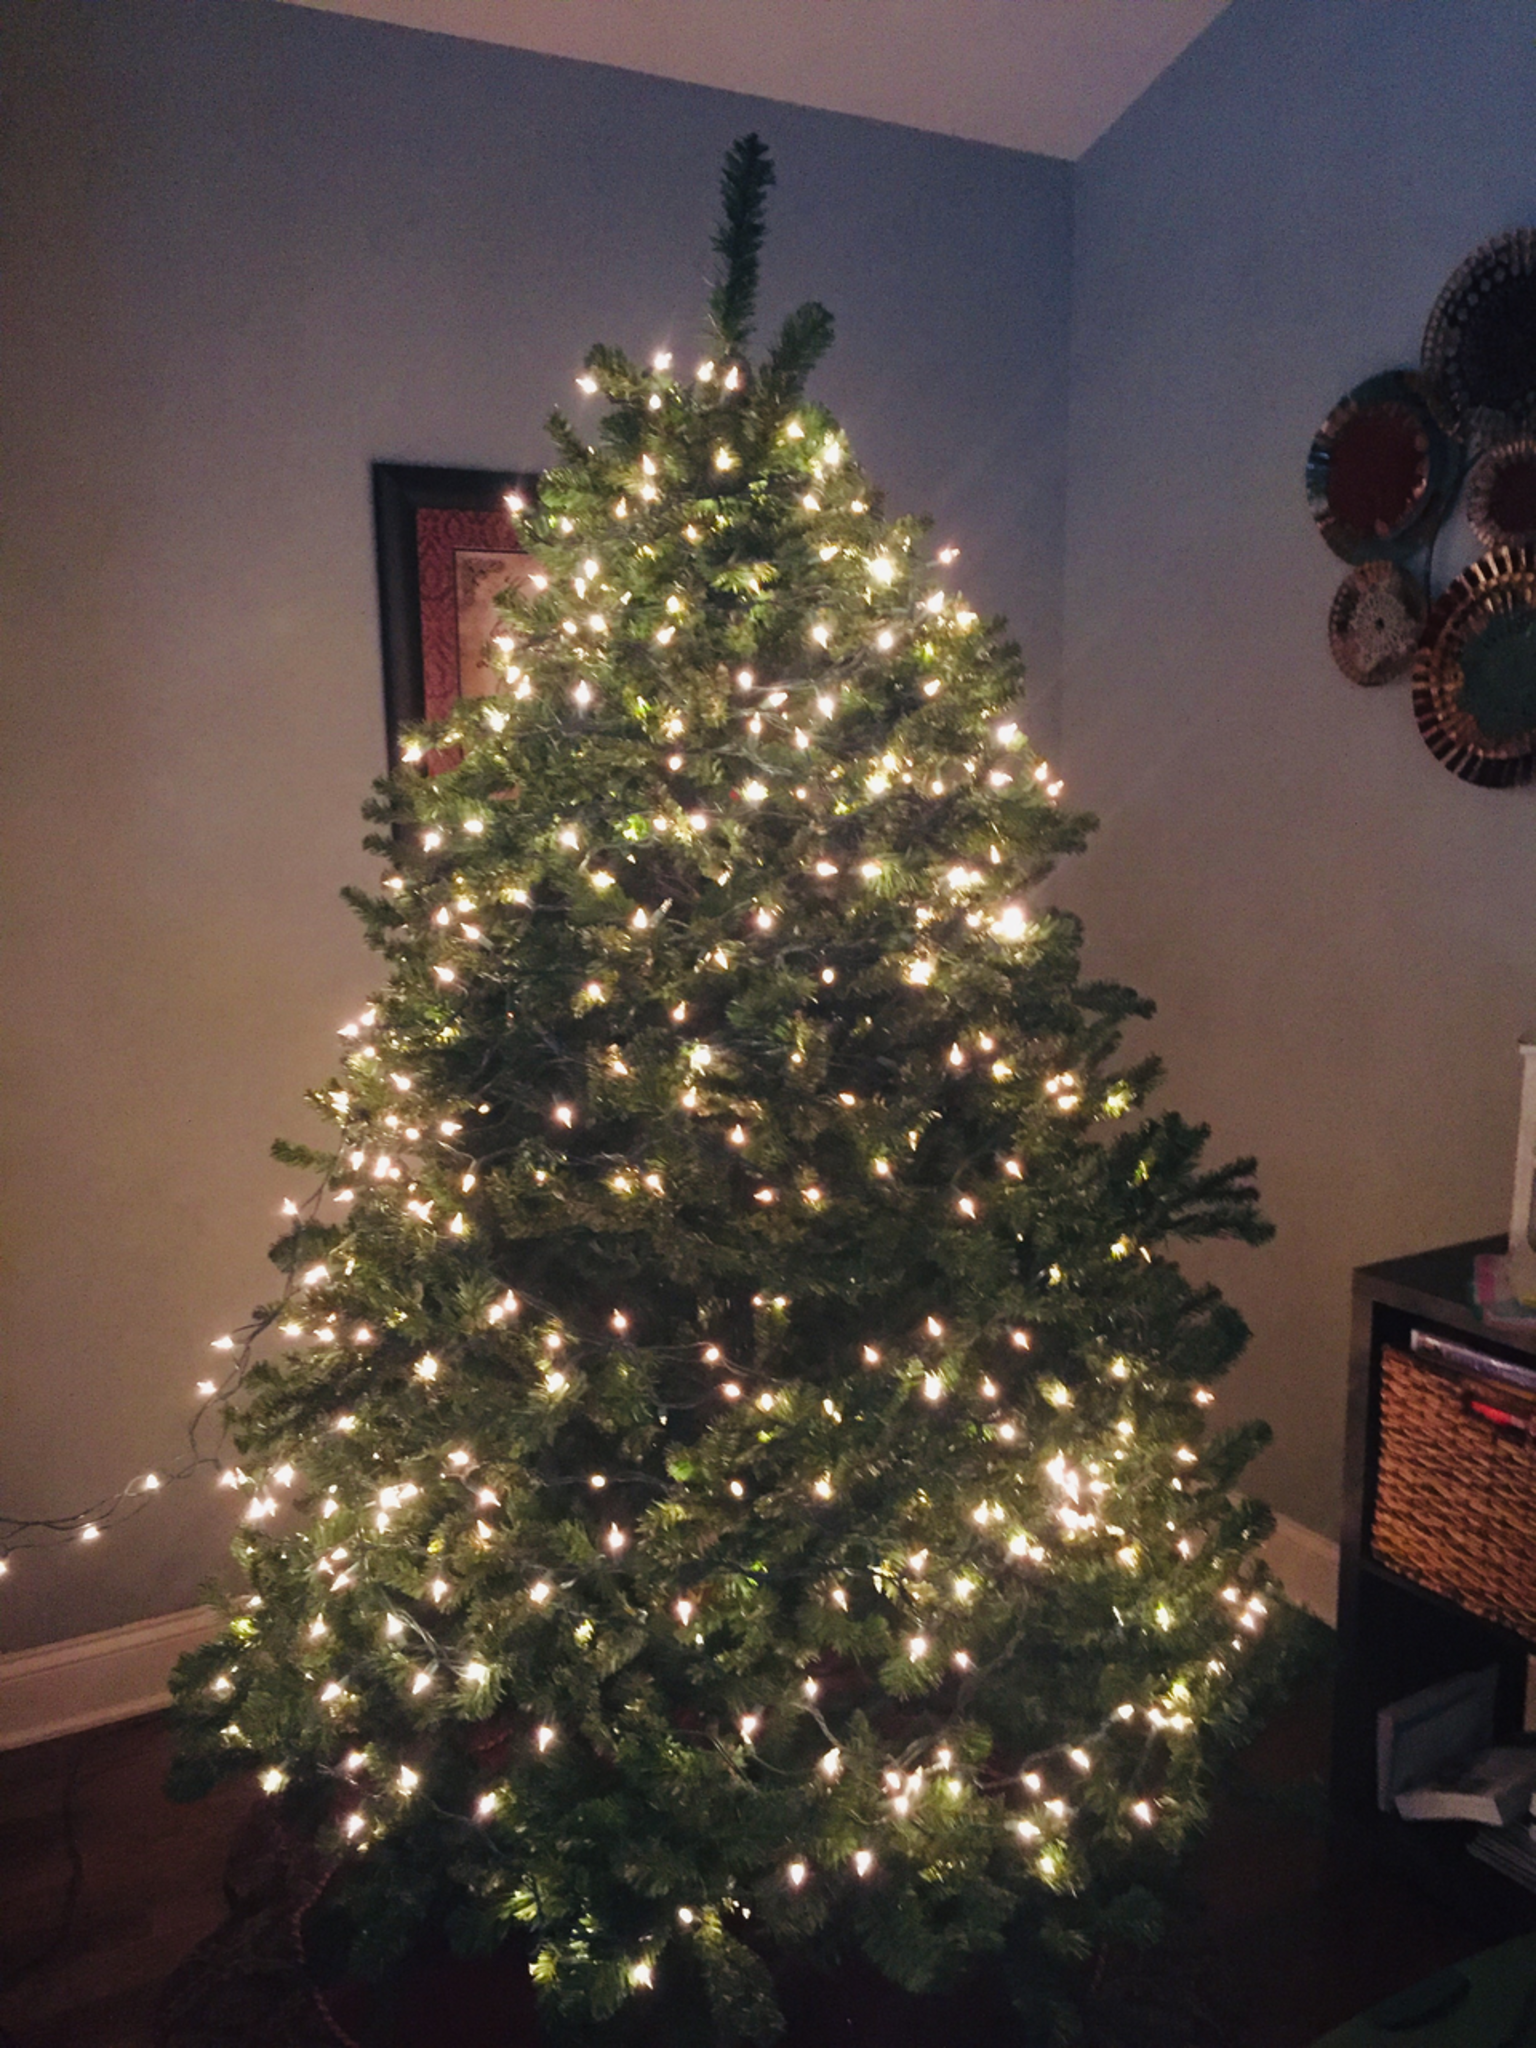
About this activity
Decorate a small indoor or outdoor tree using homemade paper ornaments, natural decorations, safe string lights, and recycled materials to practice creativity and planning.
What you need
Step by step
- 1
Step 1
Place your small tree or sturdy branch where you want to decorate.
- 2
Step 2
Gather all your materials in one spot so they are easy to reach.
- 3
Step 3
Go outside and collect natural decorations like pinecones leaves and acorns.
- 4
Step 4
Fold a sheet of paper and draw simple ornament shapes like hearts stars or circles.
- 5
Step 5
Cut out the ornament shapes carefully with scissors.
- 6
Step 6
Decorate each paper ornament using colouring materials and glue or tape on recycled bits.
- 7
Step 7
Poke a small hole at the top of each paper ornament for hanging.
- 8
Step 8
Thread string through each hole and tie a loop to make a hanger.
- 9
Step 9
Tie loops of string onto pinecones leaves or other natural decorations to make them hangable.
- 10
Step 10
Make a few recycled decorations by assembling cardboard bottle caps fabric scraps or other bits with glue or tape.
- 11
Step 11
Carefully wrap safe battery string lights around the tree starting at the bottom and moving up.
- 12
Step 12
Ask an adult to check the lights and position the battery pack safely before turning them on.
- 13
Step 13
Share your finished creation on DIY.org
Fun facts
How do I help my child decorate a small indoor or outdoor tree with homemade paper ornaments?
Start by choosing a small, stable indoor or outdoor tree and agreeing on a theme. Make simple paper ornaments—cut shapes from cardstock, decorate with crayons, paint, or collage, punch a hole and attach twine. Add natural decorations like pinecones, dried orange slices, and safe recycled items (bottle caps, paper chains). Use battery-operated LED string lights and clip or tie ornaments securely. Let your child plan placement and supervise all cutting and hanging.
What materials do I need to decorate a small tree with paper ornaments, natural decorations, and recycled materials?
You'll need cardstock or recycled paper, child-safe scissors, crayons or tempera paints, glue or glue sticks, a hole punch, twine or safe ribbon, battery-operated LED string lights, clothespins or small clips, natural items (pinecones, twigs, dried fruit), recycled bits (magazine strips, bottle caps), tape, and optional clear sealant. Include a small bowl of water and wipes for clean-up and a first-aid kit nearby for quick attention to minor cuts.
What ages is decorating a small tree with homemade and natural decorations suitable for?
This activity suits toddlers with close adult help (around 2–3 years) for simple hanging or sticker placement, preschoolers (3–5) for cutting and decorating with supervision, and school-aged kids (6–12) who can design, cut shapes, and safely use low-temp glue. Teens can lead planning and craft more intricate recycled ornaments. Always match tasks to fine-motor skills and supervise small parts and lights for younger children.
What safety tips should I follow when decorating a small indoor or outdoor tree with children?
Prioritize safety: use battery-operated LED lights (no open flames), choose shatterproof or paper ornaments, secure hooks and tie strings firmly, and keep small choking hazards away from children under three. Supervise cutting and gluing, store scissors when not used, and check outdoor setups for weatherproofing and stable anchoring. Teach children to avoid pulling on branches and turn lights off when unsupervised. These steps reduce risk while encouraging independent creativity.
Watch & Learn
Need help?
If I can't find battery string lights, what can we use instead to light the tree?
If you don't have battery string lights, substitute solar-powered fairy lights, clip-on LED lights, or reflective paper and glow sticks and still follow the instruction to wrap lights or decorations from the bottom up around the tree.
My paper ornaments keep tearing when I poke a hole—how can we fix that?
Reinforce the top of each paper ornament before step 'Poke a small hole...' by adding a small square of tape or a paper washer (or use a hole punch) so the string you thread won't rip the paper.
How can we adapt this activity for younger or older kids?
For younger children, have an adult pre-cut the shapes and supervise gluing and tying loops onto pinecones, while older kids can design more detailed recycled decorations using glue, sewing fabric scraps, or complex ornament shapes.
What are easy ways to personalize or extend the project after we've finished decorating?
Personalize by writing names and dates on each paper ornament, add scented elements like cinnamon to pinecones, varnish or laminate recycled bottle-cap crafts for durability, or create a themed set to share on DIY.org as suggested.