Take a landscape photo featuring wildlife
Take a landscape photo featuring wildlife using a camera or phone, practicing composition, patience, and respectful distance while observing animals in nature.


Step-by-step guide to take a landscape photo featuring wildlife
Take Amazing Animal Pictures! 📸 | Photography Tutorial for Kids
Step 1
Gather your materials and pack them into a small backpack so everything is ready.
Step 2
Choose a nearby natural spot where you might find wildlife like a park trail a pond or a field.
Step 3
Pick a good time of day to go like early morning or late afternoon when animals are often more active.
Step 4
Tell an adult where you are going and ask for their permission and company if needed.
Step 5
Walk quietly to your chosen spot and sit down on your blanket or a safe place to watch without disturbing nature.
Step 6
Look and listen calmly for animals and let your eyes scan the scene without sudden movements.
Step 7
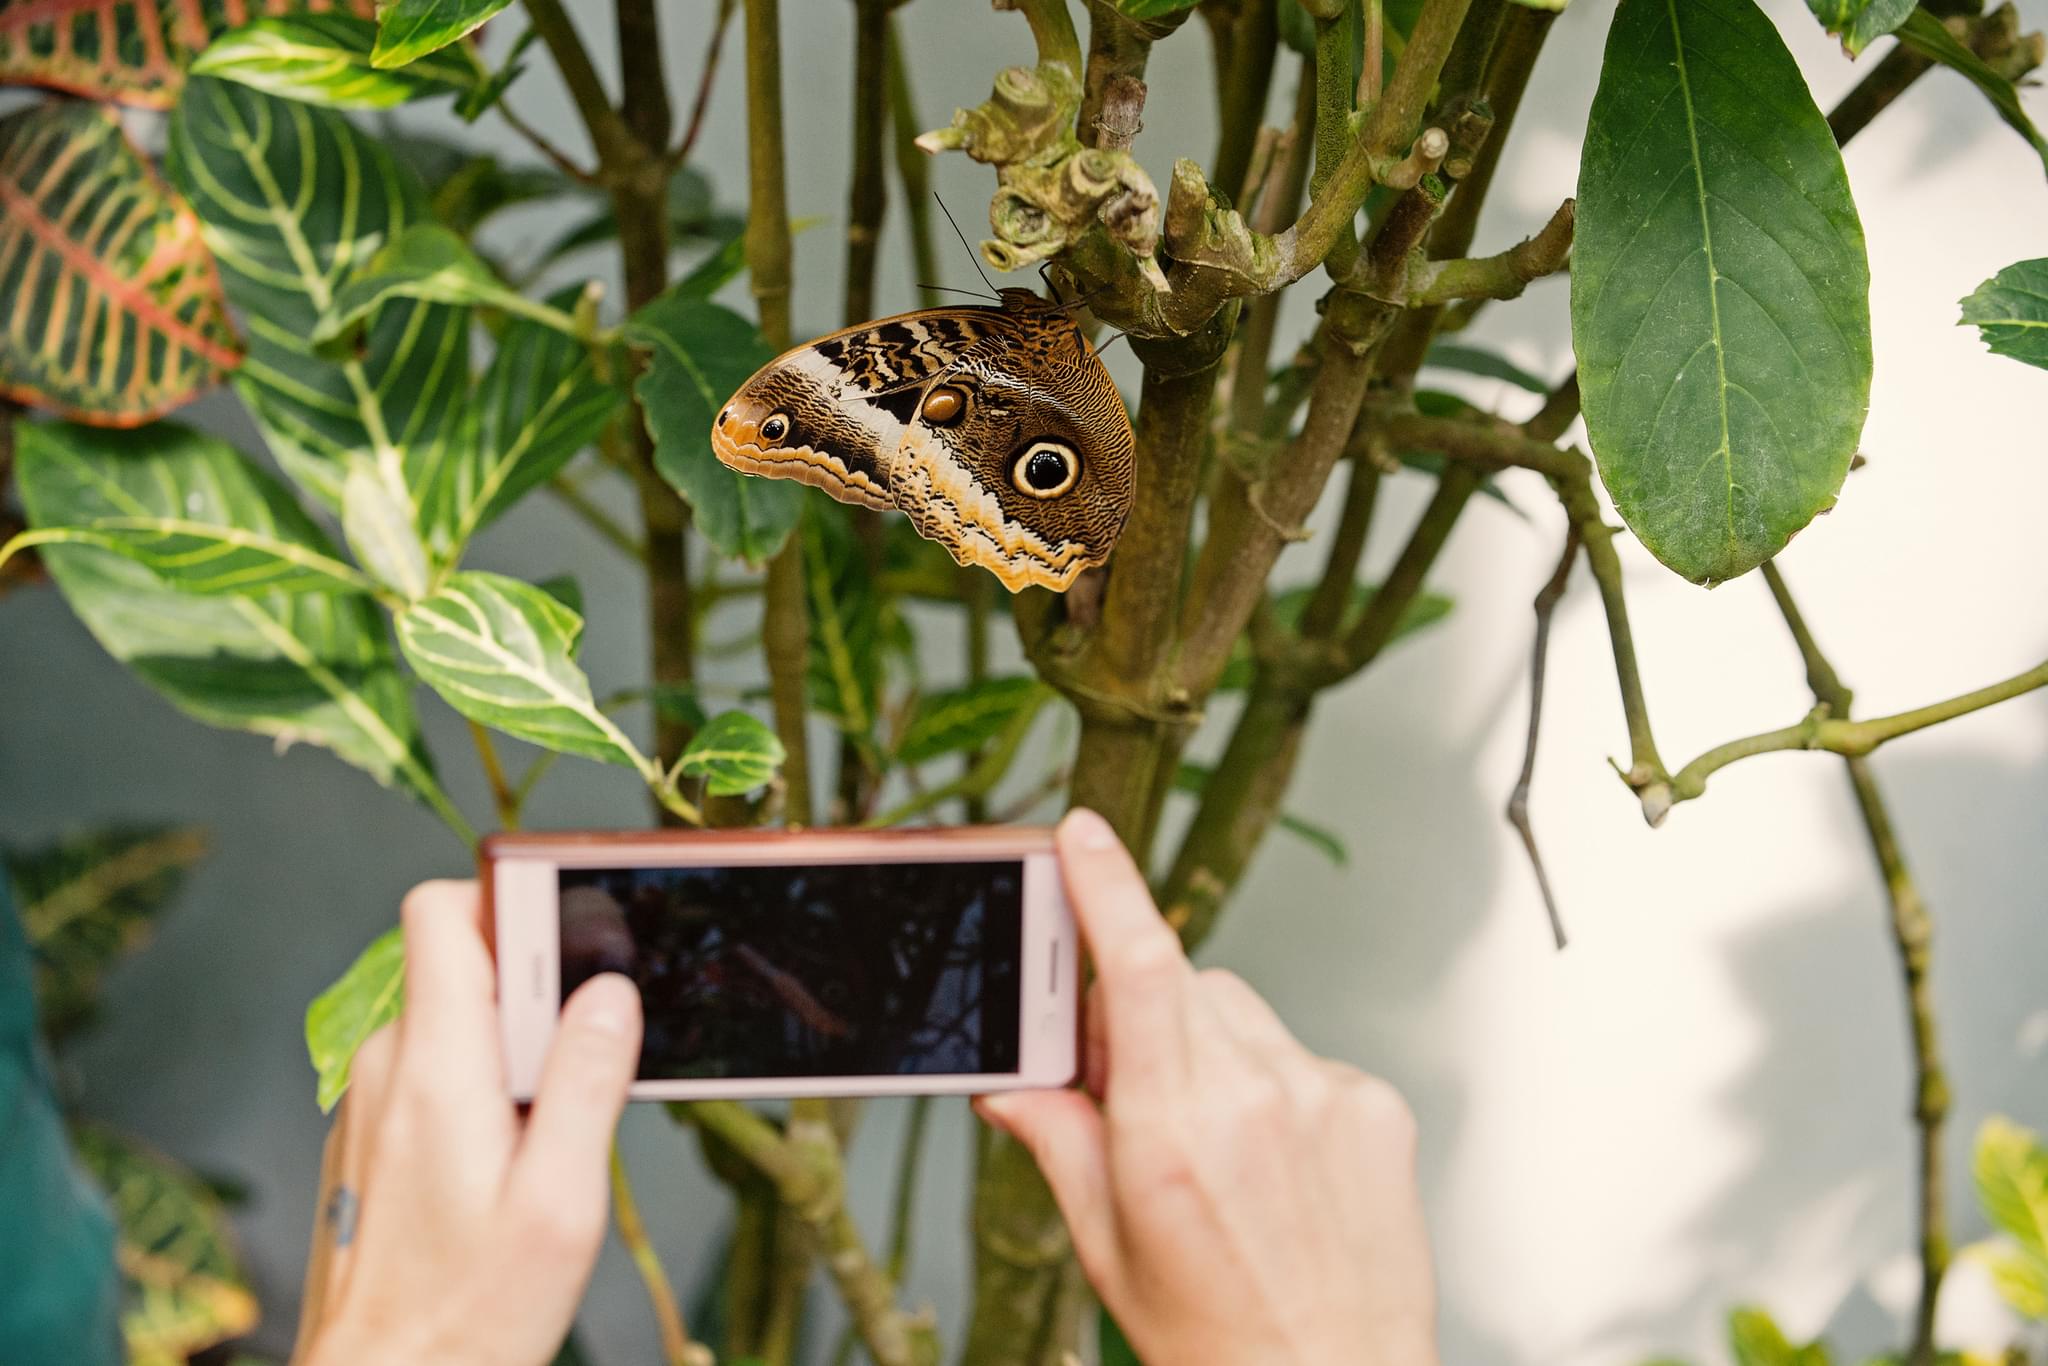
Set your camera or phone to landscape orientation so your picture will be wide like the landscape.
Step 8
Turn on the camera grid lines to help you place things in the scene using the rule of thirds.
Step 9
Frame your shot by placing the animal near a grid intersection and include a foreground object like a rock or plant.
Step 10
Stay a respectful distance away and use your camera zoom instead of walking closer to the animal.
Step 11
Take several photos as the animal moves or looks interesting to increase your chance of a great shot.
Step 12
Look through your photos and choose your favorite image that shows the animal and the landscape best.
Step 13
Make small edits on your phone like cropping or adjusting brightness if you want the picture to look its best.
Step 14
Share your finished wildlife landscape photo on DIY.org so others can see your great nature work.
Help!?
What can we use if we don't have a small backpack, blanket, or a camera?
If you don't have a small backpack, blanket, or camera, pack your gear into a tote bag or fanny pack, use a beach towel for your blanket, and borrow a smartphone or tablet to set to landscape orientation as your camera.
My pictures are blurry or I didn't see any animals — what should we do differently?
If photos are blurry or animals are scarce, go early morning or late afternoon, walk quietly and sit on your blanket to wait, steady your camera on a rock or the packed backpack when using zoom instead of moving closer, and take several photos as the animal moves.
How can we change the activity for younger children or older kids?
For younger children, shorten the outing, have an adult accompany them and help set the phone to landscape and grid lines while they watch, and for older kids, try longer trails, practice placing the animal on a rule-of-thirds grid intersection and experiment with manual or editing tools before sharing on DIY.org.
How can we improve or personalize our final wildlife landscape photo?
To enhance the final image, include a foreground object like a rock or plant when you frame the shot, take a series of photos to choose the best one, make small edits such as cropping and brightness adjustments, and add a caption or print the photo before uploading it to DIY.org.
Watch videos on how to take a landscape photo featuring wildlife
Learn Landscape Photography in 10 Minutes! Absolute Beginner's Guide
4 Videos
Learn Landscape Photography in 10 Minutes! Absolute Beginner's Guide
HOW TO PHOTOGRAPH CHILDREN: NATURAL LIGHT, TIPS, SETTINGS, LENS, LOCATION
What is a Landscape for Kids
Photography Tips For Kids
Facts about wildlife photography for kids
🐦 Birds can see ultraviolet light, so they sometimes appear in colors we can't see — wildlife have secret hues!
📷 The 'rule of thirds' helps composition: imagine a tic-tac-toe grid and place your subject along the lines for balanced photos.
⏳ Wildlife photographers often wait quietly for hours — patience is one of the best tools for getting the perfect shot.
🌅 The 'golden hour' (just after sunrise or before sunset) gives soft, warm light that makes landscapes look magical.
🛑 Never chase, touch, or feed wild animals — keeping a respectful distance keeps them safe and wild.
How do I take a landscape photo featuring wildlife with my child?
What materials do we need to take a landscape wildlife photo?
What ages is taking landscape wildlife photos suitable for?
What are the benefits and safety tips for wildlife landscape photography with children?
