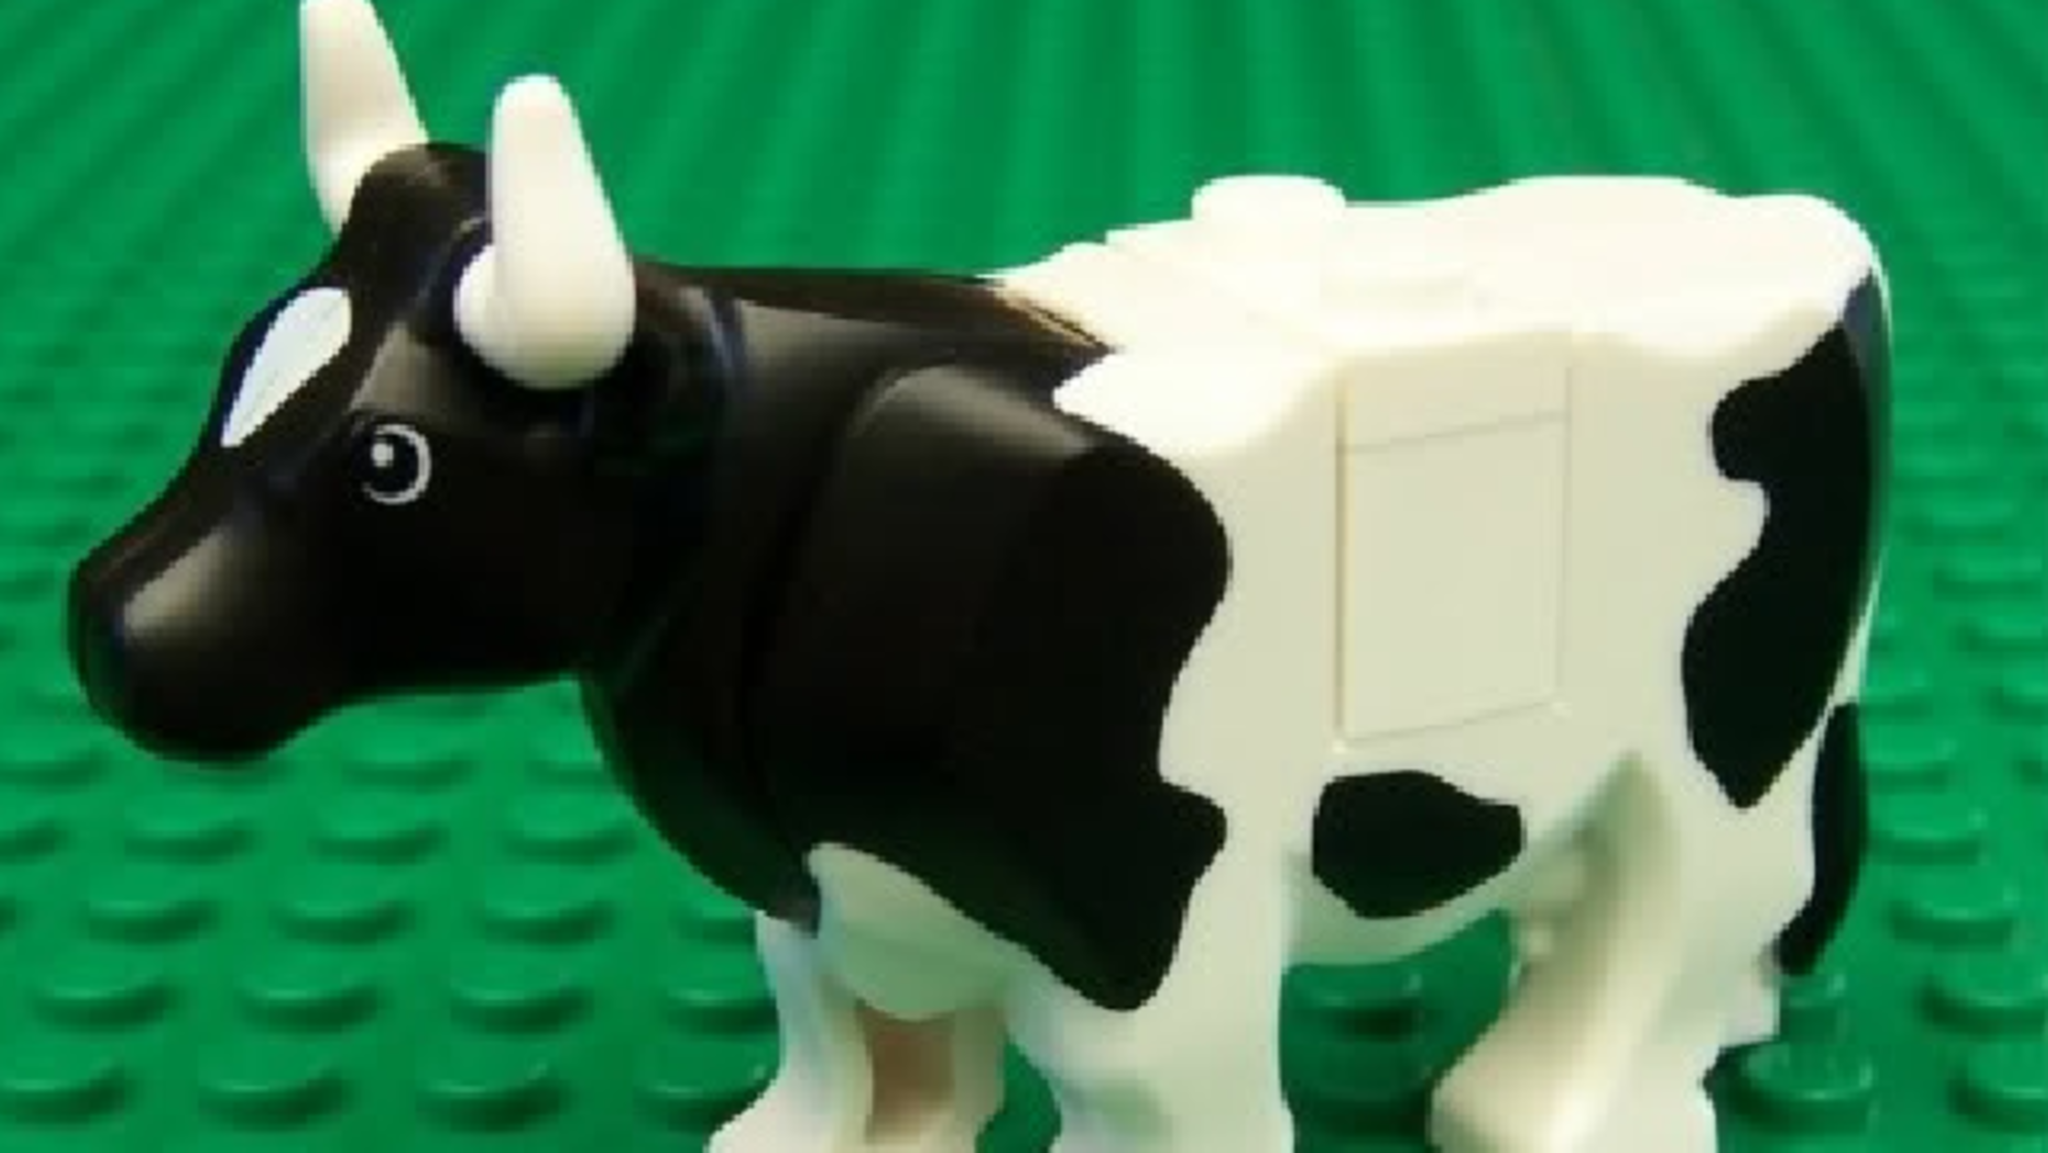
Make a cow using LEGO®
Build a LEGO cow using bricks and simple instructions, assemble body, head, legs and tail, then customize colors and patterns.


Step-by-step guide to make a cow using LEGO®
How to Build a Cow with LEGO Bricks
Step 1
Gather all your LEGO pieces and place them on a flat workspace so you can see everything.
Step 2
Choose the main color for your cow and set aside the bricks you want to use for the body.
Step 3
Build a rectangular body by stacking plates and bricks until the shape is about twice as long as it is tall.
Step 4
Build a smaller blocky head using smaller bricks so it looks like a cow head size for your body.
Step 5
Press two 1x1 round studs into the head to make the cow’s eyes.
Step 6
Attach the head to the front of the body so it sits snugly on top.
Step 7
Make four legs by stacking identical short columns of bricks for each leg.
Step 8
Attach all four legs to the underside of the body so the cow can stand upright.
Step 9
Build a tail by connecting a hinge or stacking thin plates to make a thin flexible tail piece.
Step 10
Attach the tail to the rear of the body so it points out behind your cow.
Step 11
Customize your cow by adding black spots an udder horns or colorful patches using extra bricks and studs.
Step 12
Share your finished LEGO cow on DIY.org.
Help!?
What can we use instead of a hinge or the 1x1 round studs if we don't have them?
If you don't have a hinge for the tail or 1x1 round studs for the eyes, substitute a short chain or string attached with a clip or a 1x1 round plate and use a small sticker or printed tile for the eyes instead.
My cow keeps falling over after I attach the legs—how can I fix that?
If the cow won't stand after you attach the legs to the underside of the rectangular body, widen each foot with a 2x2 plate or add longer bricks inside the body as internal weight and bridge the legs with plates to stabilize them.
How can I adapt this build for toddlers or older kids?
For younger children use Duplo or large bricks and pre-build the head and legs so they only attach pieces, while older kids can improve proportions, add horns, an articulated hinge tail, or create detailed spot mosaics with extra 1x1 studs.
How can we extend or personalize the LEGO cow after finishing it?
Personalize and extend your cow by adding colored patches and a pink udder made from round 1x1 bricks, building horns from small slopes, mounting it on a baseplate with a mini barn, and then share photos on DIY.org.
Watch videos on how to make a cow using LEGO®
Lego Cow Building Instructions - Lego Classic 10692 "How To"
4 Videos
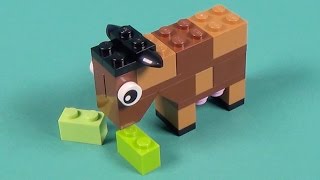
Lego Cow Building Instructions - Lego Classic 10692 "How To"
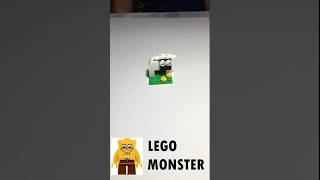
LEGO Mini Cow Build | Easy & Fun Animal Model #Shorts

LEGO Baby Cow Build | Cute and Easy LEGO Short
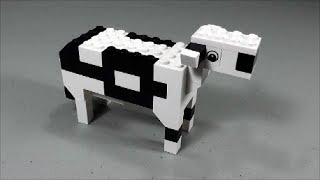
LEGO Cow (How to Build)
Facts about building with LEGO bricks
🧱 LEGO's classic stud-and-tube brick design (introduced in 1958) keeps pieces compatible across decades — old and new bricks snap together!
🐮 Cows have nearly 360° vision (about 330°), so a LEGO cow would still be great at watching over a tiny farm scene.
🎨 LEGO has produced more than 60 official brick colors, so your cow can be traditional black-and-white or wildly colorful!
🧩 You can build a simple, recognizable LEGO cow with as few as 6–12 bricks — great for quick creations or beginners.
🚜 Many LEGO sets are farm-themed and include cows, making them one of the most common barn animals in LEGO history.
How do I build a LEGO® cow?
What materials do I need to make a LEGO® cow?
What ages is making a LEGO® cow suitable for?
What are the benefits of building a LEGO® cow?
