Draw a Food Monster
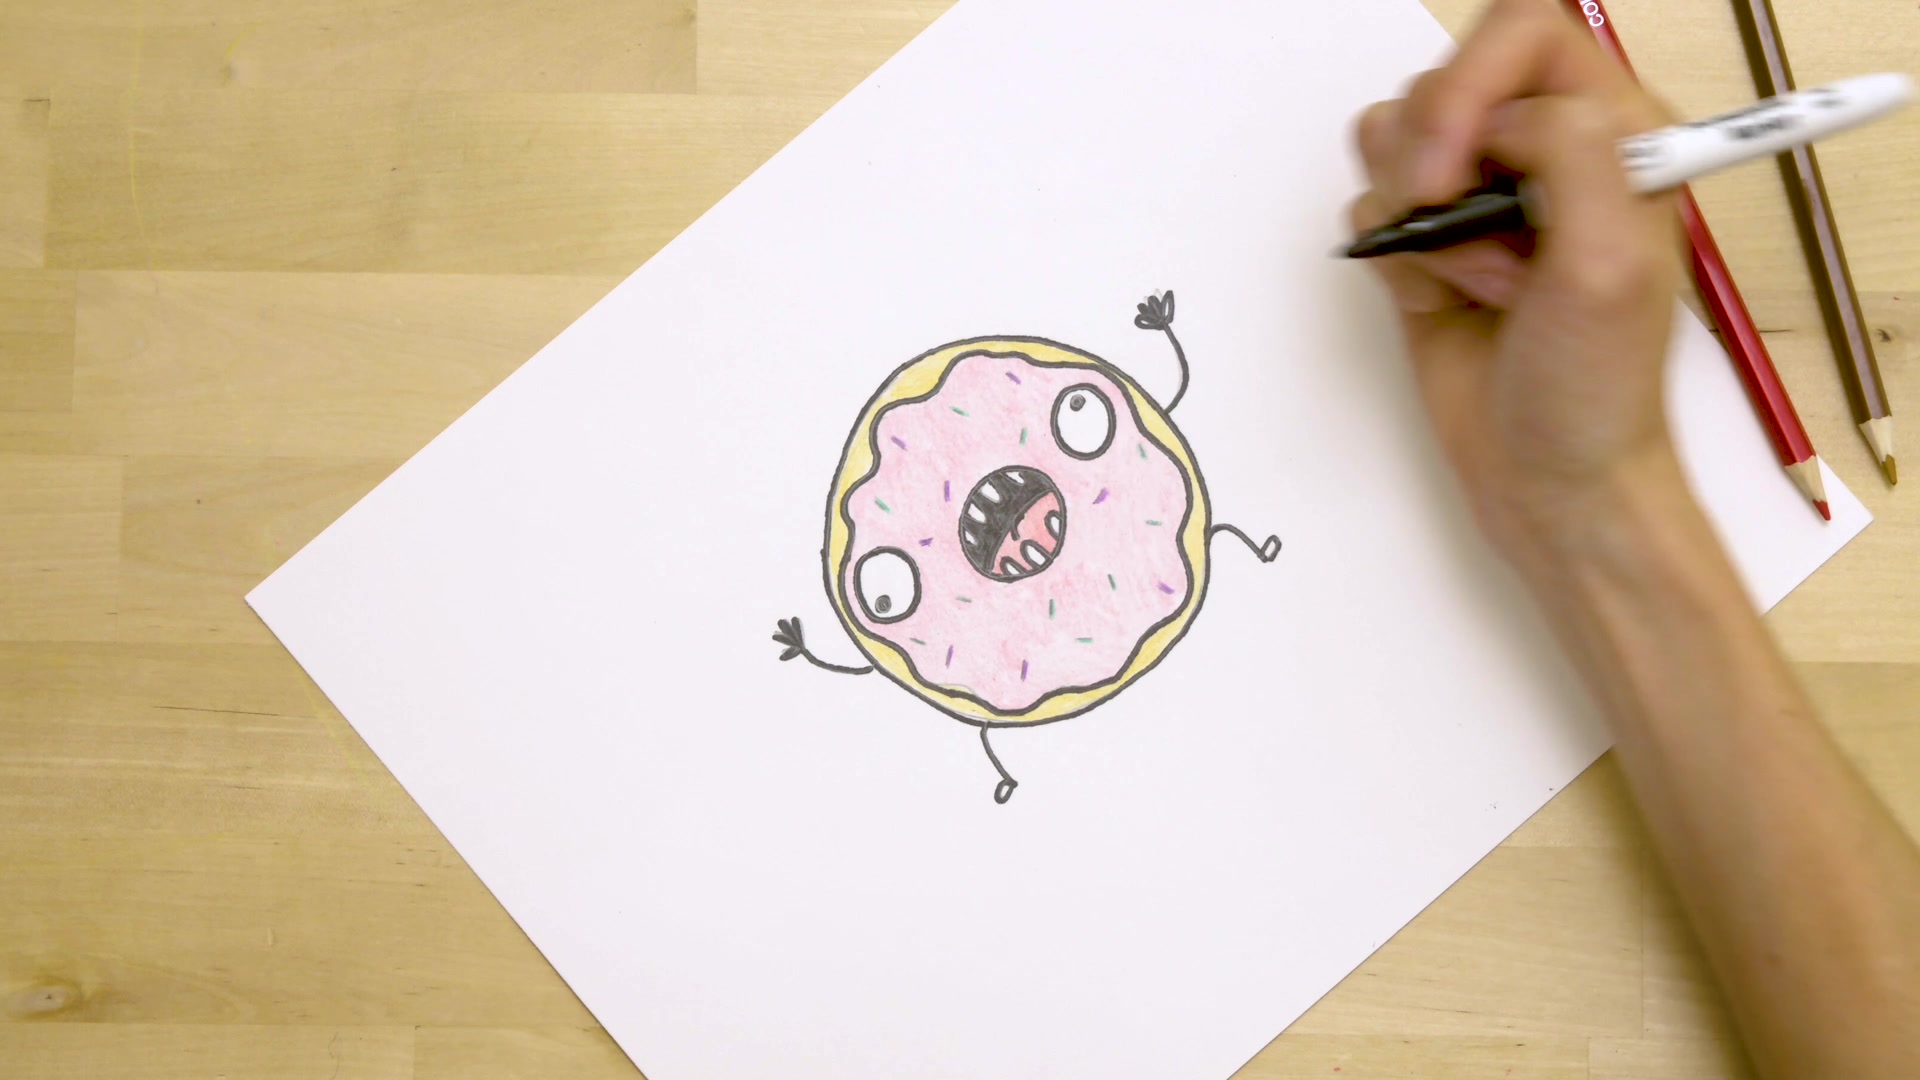
Draw and decorate a food monster using pencils, markers, and paper cutouts; explore shapes, colors, and imagination while describing its favorite foods.
About this tutorial
Draw and decorate a food monster using pencils, markers, and paper cutouts; explore shapes, colors, and imagination while describing its favorite foods.
What you need
Instructions
- 1
Step 1
Pick one food you want to turn into a monster like pizza banana or cupcake.
- 2
Step 2
Draw a light pencil outline of the food shape in the middle of your paper.
- 3
Step 3
Draw big eyes and a mouth on the outline using simple shapes like circles and ovals.
- 4
Step 4
Add arms legs or other fun parts using different shapes to make your monster silly.
- 5
Step 5
Cut colorful paper shapes for scales spots clothes or other decorations from your cutouts.
- 6
Step 6
Glue the paper shapes onto your drawing to add texture and fun pieces.
- 7
Step 7
Color the monster with markers and colouring materials to make it bright and bold.
- 8
Step 8
Use a darker marker to outline the monster so its features stand out.
- 9
Step 9
Add tiny details like teeth freckles sprinkles or seeds with a fine marker for personality.
- 10
Step 10
Write a name for your food monster at the top of the page.
- 11
Step 11
Write two or three favorite foods your monster loves and add one short reason for each.
- 12
Step 12
Take a photo of your finished food monster and share your creation on DIY.org
Fun facts
How do I draw a food monster with my child?
Start by setting up a flat workspace with paper and pencils. Ask your child to imagine a monster made of food and sketch simple shapes for the body—circles, triangles, or ovals. Add eyes, a mouth, and food details like pizza arms or carrot teeth. Use markers to outline and color, then glue paper cutouts for texture. Encourage your child to name the monster and describe its favorite foods and textures to spark storytelling and vocabulary.
What materials do I need to draw and decorate a food monster?
You’ll need plain paper or cardstock, pencils for sketching, erasers, washable markers or crayons for coloring, and colored paper for cutouts. Also have child-safe scissors, glue sticks, stickers, and optional items like googly eyes or scrap fabric. A mat or newspaper protects the table. For younger kids choose blunt scissors and washable supplies; for older children, add watercolors or textured materials for extra sensory detail.
What ages is this activity suitable for?
This activity works for a wide range: toddlers (2–3) can scribble and choose colors with adult help; preschoolers (3–5) practice basic cutting, pasting, and simple shapes with supervision; early elementary (6–9) can draw more detailed monsters, use markers independently, and tell stories about favorite foods; older kids (10+) can design complex creatures, mix media, and write a short description or menu for their monster.
What are the benefits of drawing and decorating food monsters?
Drawing food monsters boosts creativity, fine motor skills, and color and shape recognition. Describing favorite foods builds vocabulary and expressive language, while cutting and gluing improve hand-eye coordination. The activity encourages imaginative play and storytelling, reduces screen time, and can make trying new foods fun by exploring textures and flavors in a playful way. It’s also a low-pressure chance for parent-child bonding and shared creativity.
Watch & Learn
Need help?
What can we use if we don't have colorful paper cutouts or glue?
If you don't have colorful paper, use torn magazine pages, tissue paper, stickers or fabric scraps and attach them with a glue stick or double-sided tape when you 'Cut colorful paper shapes' and 'Glue the paper shapes.'
My paper shapes keep tearing or the outline smudges — how can I fix that?
To prevent tearing or smudging during the 'Draw a light pencil outline' and 'Glue the paper shapes' steps, redraw the outline lightly with a fresh eraser, punch or pre-cut tiny shapes, and apply glue sparingly or use a glue stick to avoid wrinkles.
How can I change the activity to suit different ages?
For toddlers, pre-draw the food outline and provide large pre-cut shapes and stickers with washable markers, while older kids can add fine-marker tiny details, shading, mixed-media textures, and write a monster backstory when they 'Add tiny details' and 'Write two or three favorite foods.'
How can we make the finished food monster more special or shareable?
Enhance your monster by gluing on fabric, sequins or googly eyes, creating a background scene, writing a funny name and favorite-food reasons, then 'Take a photo' from a few angles to share on DIY.org.