Build a water vehicle
Build a small water vehicle (raft or boat) from recycled bottles, corks, or foam; test buoyancy, stability, and speed safely in a tub or pool.


Step-by-step guide to build a small water vehicle (raft or boat)
Science Max | BUILD IT YOURSELF | Water Car! | Education
Step 1
Gather all the Materials Needed from the list and bring them to a clear workspace.
Step 2
Decide whether you want to build a raft or a boat and imagine how many bottles you will use.
Step 3
Choose 2 to 4 empty bottles for your hull and set the rest aside.
Step 4
Pull off any labels from the bottles so they are smooth.
Step 5
Rinse each bottle inside and out to remove sticky residue.
Step 6
Dry each bottle completely with a towel so tape will stick well.
Step 7
Tape the bottles together side by side to make the base of a raft or tape end to end for a boat hull.
Step 8
Tape corks or foam pieces under the bottles or on the sides to add extra buoyancy.
Step 9
Tape a foam piece on top of the bottles to make a deck or cabin for strength and a place to add a mast.
Step 10
Make a simple mast by taping a skewer or straw upright to the deck if you want a sail.
Step 11
Put one small weight in the center of the deck to check how your craft balances.
Step 12
Gently place your craft in the tub water to test buoyancy and watch if it stays level for stability.
Step 13
Give your craft a gentle push and count the seconds it moves to test its speed.
Step 14
If the craft tilts or sinks move one weight or tape another small foam piece to improve balance.
Step 15
Share a photo and a description of your finished water vehicle and what you learned on DIY.org.
Help!?
What can we use if skewers, corks, or foam pieces are hard to find?
If skewers are missing use a sturdy straw or a wooden stick for the mast, and substitute corks or foam pieces with sealed bottle caps, folded waterproof packing foam, or tightly taped small plastic containers under the bottles for buoyancy.
My raft keeps tilting or the tape won't hold — how do I fix it?
Follow the steps to pull off labels and dry each bottle thoroughly so tape sticks, press tape firmly along the seams when taping bottles together, then use the small weight test and move the weight or tape an extra foam piece under the bottles if the craft tilts or sinks during the tub water test.
How can I adapt this activity for different ages?
For younger kids limit the project to 2 bottles with an adult helping to remove labels and handle scissors and tape, while older kids can use 3–4 bottles, build a taller mast from a skewer, experiment with weight placement, and time speed by counting seconds after a gentle push.
What are simple ways to improve or personalize the finished water vehicle?
Decorate or waterproof the deck with markers or tape, add a cloth sail to the taped skewer mast, attach a cardboard rudder to the back for steering, try different bottle arrangements to compare seconds of motion, and share a photo and description of the results on DIY.org.
Watch videos on how to build a small water vehicle (raft or boat)
Water Vehicles - Boats & Ships - The Kids' Picture Show (Fun & Educational Learning Video)
4 Videos
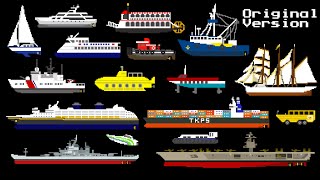
Water Vehicles - Boats & Ships - The Kids' Picture Show (Fun & Educational Learning Video)
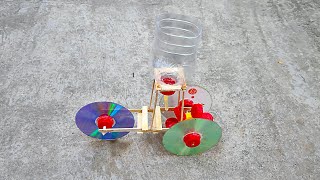
How to Make Water Powered Car | DIY Water Powered Car Project | Science Project | @Creative fest
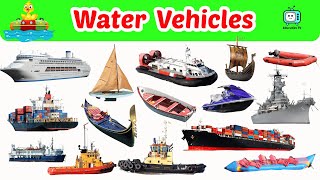
Water Vehicles for Kids 🚤 | Water Transport Names & Sounds for Kids | Fun Learning Video
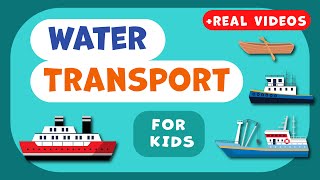
Water Transportation for Kids 🌊🚢 Learn About Boats & Ships!
Facts about buoyancy and simple boat design
🧪 Archimedes' principle: an object floats if it displaces water equal to its weight — that's why empty bottles keep rafts afloat.
♻️ Over 1 million plastic bottles are sold every minute worldwide — turning bottles into boats is a fun way to reuse them.
🛶 Catamaran-style designs (two hulls) are more stable than single-hull boats, a handy trick for bottle rafts.
🧴 Corks float because their cellular structure traps air, making them lighter than water — perfect tiny buoyant blocks.
⚖️ Small shifts in weight can flip or sink a tiny watercraft — keep the center of mass low and centered for stability.
How do I build and test a small recycled-bottle water vehicle with my child?
What materials do I need to build a recycled-bottle raft or boat?
What ages is a recycled water-vehicle activity suitable for?
What safety tips, benefits, and fun variations are there for making water vehicles?
