Develop steady controls
Build a simple handheld controller from cardboard, elastic bands, and a pencil, then practice steady controls by guiding a marble along a narrow track.


Step-by-step guide to develop steady controls by building a handheld controller and guiding a marble along a narrow track
How To Make A Video Game - GDevelop Beginner Tutorial
Step 1
Gather all the materials and put them on a clear table so everything is ready.
Step 2
Use the ruler and marker to draw a rectangle about the size of a small book on the cardboard.
Step 3
Cut out the rectangle from the cardboard using scissors with adult help.
Step 4
Attach the pencil along the center of the underside of the cardboard with tape so the pencil can roll freely like a pivot.
Step 5
Stretch one elastic band across the top of the cardboard and tape each end under the board to make a finger loop.
Step 6
Stretch a second elastic band a little above or below the first and tape its ends under the board to make a second finger loop.
Step 7
Use tape to make a narrow straight track on a flat table surface about as wide as the marble.
Step 8
Put the marble in the middle of your cardboard controller platform.
Step 9
Slip two fingers under the elastic bands so you are holding the controller steadily.
Step 10
Tilt the controller very gently to roll the marble off the platform and onto the start of the taped track.
Step 11
Guide the marble along the track by making only tiny tilts and slow wrist movements to practice steady control.
Step 12
Make the challenge harder by narrowing the tape track or making it longer and try guiding the marble again.
Step 13
Take a photo or video and share your finished controller and marble run on DIY.org.
Help!?
What can we use instead of a marble or elastic bands if we can't find them?
If you don't have a marble use a small round button, bead, or coin of similar size and for elastic bands use hair ties or strips of fabric taped under the cardboard to create finger loops, making sure the taped track still fits the substitute 'marble'.
My pencil pivot won't roll and the controller feels stiff—what should I try?
If the pencil pivot sticks, remove some tape, reposition the pencil exactly along the center underside of the cardboard, and slip a tiny folded piece of paper under the pencil as a spacer so it can roll freely.
How can I adapt this activity for a 3-year-old, a 7-year-old, or a 10-year-old?
For ages 3–4 have an adult cut the cardboard and use a wide taped track and a larger bead while supervising the finger loops, for ages 5–8 follow the original steps with guided help, and for ages 9–12 narrow or lengthen the taped track and add timing challenges to increase difficulty.
How can we make the controller and marble run more fun or challenging?
Decorate the cardboard with the marker, add ramps or turns with folded paper glued beside the taped track, create multiple parallel tracks or narrow the tape to increase difficulty, and take a photo or video to share on DIY.org.
Watch videos on how to develop steady controls by building a handheld controller and guiding a marble along a narrow track
Make your own steady hand game.
4 Videos
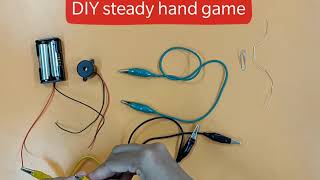
Make your own steady hand game.

TOUCH CONTROLS in Unity!
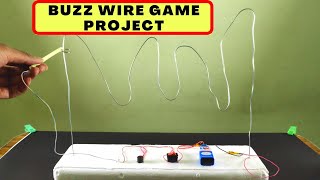
How to make Buzz Wire Game with LED & Buzzer indicator
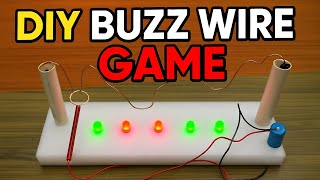
"DIY Buzz Wire Game 🎉 | How to Make a Fun & Easy Electric Game at Home!"
Facts about fine motor skills and hand-eye coordination
🧠 Hand–eye coordination gets stronger with practice — simple games like guiding a marble build control and timing in kids.
🎥 Marble racing videos (like Jelle's Marble Runs) have drawn millions of views — marbles are more thrilling online than you might expect!
📦 Cardboard is lightweight, easy to cut and fold, and recyclable, which is why makers love it for quick prototypes and toys.
🟢 The rubber band was first patented in 1845, and its stretchy force is perfect for DIY mechanisms and simple controllers.
✏️ A single pencil can draw a line tens of miles long (a commonly shared estimate is about 35 miles) — great for marking tracks and guides!
How do I build a simple handheld controller and practice steady controls with a marble track?
What materials do I need to make a cardboard, elastic band, and pencil controller?
What ages is this steady-control marble activity suitable for?
What safety tips should I follow when making and using the marble controller?
