Create a solar powered device
Build a simple solar-powered fan using a small solar panel, motor, propeller, and recycled materials to explore how sunlight creates electricity.

Step-by-step guide to build a simple solar-powered fan
Amazing Solar Power Irrigation System Project Model for school science
Step 1
Gather all the materials listed and bring them to a clear workspace.
Step 2
Cut a flat rectangle from the cardboard or the side of a plastic bottle to make the base.
Step 3
Cut a second strip of cardboard and fold it into a triangle shape to make a stand for the solar panel.
Step 4
Tape or glue the triangle stand onto one end of the base so it will hold the solar panel at an angle.
Step 5
Attach the DC motor to the other end of the base using tape or glue so the motor shaft points away from the stand.
Step 6
Push the propeller or fan blade firmly onto the motor shaft until it is snug.
Step 7
Clip one end of each wire to the two metal terminals on the motor and secure with tape if needed.
Step 8
Tape the solar panel to the triangle stand so its wires can reach the motor easily.
Step 9
Clip the other ends of the wires to the solar panel terminals so the motor and panel are connected.
Step 10
Place your fan in bright sunlight and watch the propeller spin.
Step 11
If the fan is slow or not moving, tighten any loose clips and tilt the solar panel so it points directly at the sun until the fan spins faster.
Step 12
Take a photo or video and share your finished solar-powered fan on DIY.org
Help!?
What can we use instead of a small DC motor, propeller, or solar panel if those are hard to find?
If you can't find a small DC motor or propeller, salvage a motor and fan blade from an old battery-powered toy and use them in steps 5–6, and if you lack a solar panel you can temporarily test the motor with a 1.5–3V battery while wiring as in steps 7–9 before buying a proper panel.
The fan doesn't spin even in bright sun—what should we check first?
Follow the instructions: tighten any loose clips on the motor terminals, make sure the propeller is pushed snugly onto the motor shaft per step 5, and re-angle the solar panel taped to the triangle stand (steps 4 and 10–11) so it points directly at the sun.
How can we adapt the steps for different ages so the child stays safe and engaged?
For preschoolers, have an adult prepare and cut the cardboard base and triangle stand while the child tapes the panel and pushes on the propeller (steps 1–5), and for older kids let them do the cutting, folding of the stand (step 3), and wiring or add a switch when connecting wires to the motor and panel (steps 6–8).
What are simple ways to improve or personalize our finished solar-powered fan?
You can decorate and reinforce the cardboard base from step 2, add a second solar panel wired in parallel to the panel taped to the triangle stand for more power, or mount the whole assembly on a lazy susan so it can rotate toward the sun.
Watch videos on how to build a simple solar-powered fan
solar energy working model for school science project - ecofriendly physics energy | DIY pandit
4 Videos
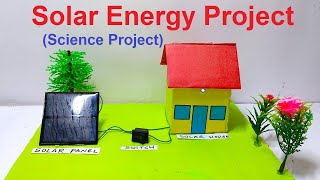
solar energy working model for school science project - ecofriendly physics energy | DIY pandit
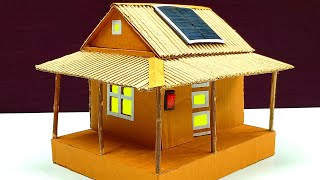
How to make science project | Solar energy cardboard house | Free Energy | Green Energy Project

Educational Solar Robot | Build your own robot Project | Educational Robot kit
Homemade Solar Power Projects | How to make a Solar Energy School Project For Students
Facts about solar energy and simple circuits
☀️ In just one hour the Sun sends more energy to Earth than the entire world uses in a year!
🧪 The photovoltaic effect was noticed in 1839, but the first practical silicon solar cell was made in 1954.
⚡ Tiny solar panels can power small motors directly — some toy fans start spinning with less than one volt of sunlight!
♻️ Using recycled materials is helpful: recycling one aluminum can saves enough energy to run a TV for about three hours.
📈 Small consumer solar panels usually convert around 15–22% of sunlight into electricity, so brighter sun = faster fan!
How do I make a simple solar-powered fan with my child?
What materials do I need to build a solar-powered fan?
What ages is this solar-powered fan project suitable for?
What safety precautions should I take when making a solar-powered fan?
