Navigate with a chart
Create a simple map using a compass, landmarks, and a scale; practice following directions and navigating a short outdoor route with friends.

Step-by-step guide to navigating with a chart
Maps for Kids | Learn how to read a map and other skills in this fun introduction to maps
Step 1
Choose a safe outdoor area to map with an adult and get ready for a mini adventure.
Step 2
Place your paper on the clipboard so you have a flat surface to draw on.
Step 3
Put a dot near the bottom of the paper and label it Start.
Step 4
Walk 10 normal steps and measure that distance with the measuring tape to find your average step length.
Step 5
Make a scale on your paper using your step length for example write 1 cm = 2 steps.
Step 6
Stand at the Start spot and use your compass to point toward the first landmark.
Step 7
Write the compass heading you found next to the Start dot on your map.
Step 8
Count the steps from Start to the landmark and write that number on your map.
Step 9
Draw a simple symbol for the landmark at the correct direction and distance using your ruler and scale.
Step 10
Repeat finding a compass direction counting steps and drawing symbols for at least three more landmarks.
Step 11
Use your compass to draw a north arrow so your map matches real north.
Step 12
Color each landmark and write clear labels so friends can read your map.
Step 13
Lead a friend along the route by following the compass headings and counting steps to practice navigation.
Step 14
Fix any mistakes you find and update your map so it becomes even better.
Step 15
Share your finished map and a photo of your navigation adventure on DIY.org
Help!?
I don’t have a clipboard, measuring tape, or a physical compass—what can I use instead?
Use a hardcover book as a flat clipboard, a length of string or ribbon marked every 10 steps to measure step length, and a compass app on a phone to find headings for the 'Stand at the Start spot' and landmark steps.
What should I do if my compass points seem wrong or my step counts don’t match the map?
Move at least a few meters from metal or electronics that can affect your compass, repeat 'Walk 10 normal steps and measure that distance with the measuring tape' to re-calculate your average step length, and mark counted steps on the ground before drawing with your ruler and scale.
How can I adapt this navigation activity for younger or older children?
For younger kids, shorten the route, use stickers for drawing symbols, and have an adult hold the clipboard, while older kids can add more than three landmarks, record exact compass headings, and convert step-based scale into centimeters for finer measurements.
How can we make the finished map more interesting or useful after coloring and labeling landmarks?
Enhance the map by adding a legend and scale bar, gluing small photos of each landmark, laminating the paper, and then 'Lead a friend along the route' to test and refine the map before sharing the photo on DIY.org.
Watch videos on how to navigate with a chart
NORTH, SOUTH, EAST, WEST - Cardinal Directions for Kids | Learn Directions for Children the Easy Way
3 Videos
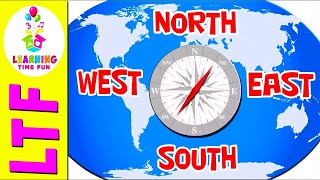
NORTH, SOUTH, EAST, WEST - Cardinal Directions for Kids | Learn Directions for Children the Easy Way
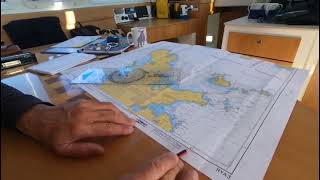
Day Skipper theory - Charts the magic of the maps
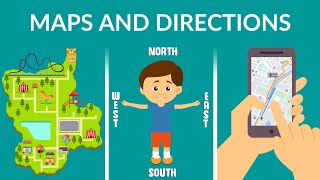
Maps and Directions | Types of Maps | Cardinal Directions | Video for Kids
Facts about map reading and compass navigation for kids
🧭 The magnetic compass was used by Chinese sailors by the 11th century to help navigate open seas.
🗺️ The word "map" comes from the Latin word "mappa," meaning a cloth — early maps were often drawn on cloth or animal hide.
📏 A map scale of 1:10,000 means 1 unit on the map equals 10,000 units in real life (so 1 cm on the map = 100 m in the real world).
🏞️ Natural landmarks like hills, rivers, and big trees have guided travelers for thousands of years and are great anchor points for simple maps.
🏃♀️ Orienteering began in Scandinavia as training for the military and became a competitive sport where people race using a map and compass.
How do I set up a simple navigation map activity using a compass, landmarks, and a scale for kids?
What materials do I need to make a kid-friendly map and navigation chart with a compass and landmarks?
What ages are suitable for a compass and landmark navigation activity for children?
What are the benefits of teaching kids navigation using a compass, landmarks, and a simple map?
