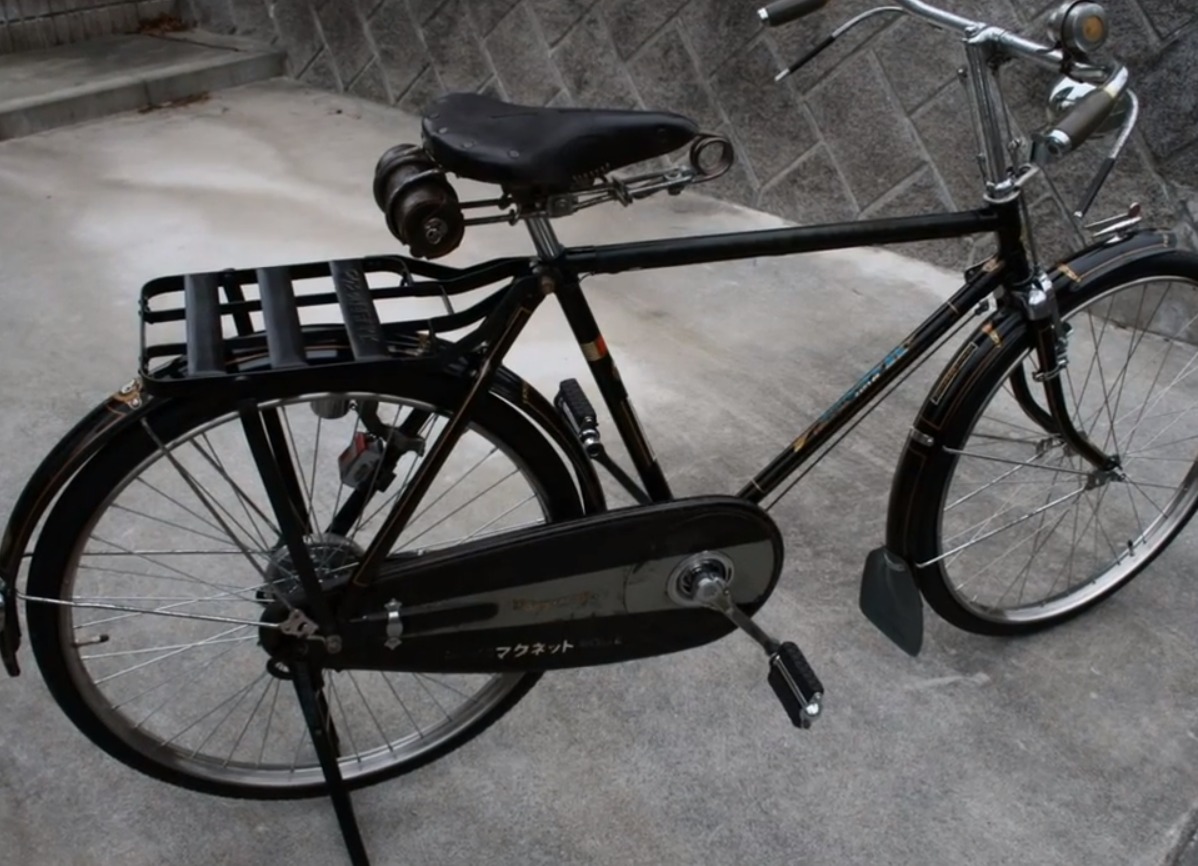
Restore an old bike
Restore an old bike by cleaning parts, tightening bolts, inflating tires, lubricating the chain, and repainting safely with adult supervision to learn practical repair skills.


Step-by-step guide to restore an old bike
Young Girl Restores an Abandoned Motorcycle Back to Life - Incredible Full Restoration Journey!
Step 1
Ask an adult to supervise the whole project.
Step 2
Put on your gloves and safety glasses.
Step 3
Move the bike to a well-ventilated outdoor area and set it on a stable surface.
Step 4
Look over the bike and list loose bolts flat tires rusty spots and other problems to fix.
Step 5
Remove small accessories like baskets lights or bells and set them aside.
Step 6
Wash the frame wheels and visible parts with soapy water and a sponge or soft brush.
Step 7
Rinse the bike with clean water and dry all surfaces with a rag.
Step 8
Scrub the chain and gears with an old toothbrush or brush to remove grime.
Step 9
Wipe the chain and gears dry with a clean rag.
Step 10
Use an adjustable wrench or bike multi-tool to tighten loose bolts and nuts.
Step 11
Inflate the tires with a pump to the pressure printed on the tire sidewall.
Step 12
Put a small amount of bicycle lubricant on the chain and pedal backward to help spread it.
Step 13
Sand rusty or peeling paint areas until smooth and wipe away the dust.
Step 14
Tape off parts you do not want painted cover the ground with newspaper and, with your adult, apply primer and thin coats of paint letting each coat dry as instructed.
Step 15
Reattach any removed parts check brakes wheels and gears then take a short test ride with your adult and share your finished creation on DIY.org.
Help!?
What can we use if we don't have bicycle lubricant or a bike multi-tool?
If you don't have bicycle lubricant, apply a few drops of light sewing-machine or 3-in-1 oil to the chain with adult permission, and if you don't have a bike multi-tool use an adjustable wrench or crescent wrench to tighten bolts as instructed in the 'tighten loose bolts' step.
The tire won't hold air after I inflate it—what should we check and do next?
After following the 'inflate the tires' step, check the tube and rim for punctures or pinched edges, use soapy water to spot bubbles, and repair with a patch kit or replace the tube with an adult's help if you find a leak.
How can we adapt the tasks for younger kids versus older kids?
Have younger children do supervised jobs like washing the frame, listing loose bolts and flat tires, removing accessories, and drying parts, while older kids can safely handle sanding rusty spots, using the adjustable wrench, and applying primer and paint as described.
What are simple ways to personalize or enhance the restored bike once it's working?
Personalize and enhance the bike by taping off custom shapes before painting, adding decals, new grips, a bell or basket when you 'reattach any removed parts,' and then show your finished creation on DIY.org as the instructions suggest.
Watch videos on how to restore an old bike
DIY Bike Restoration | Girl Transforms a Rusty Forest Find into a Working Machine
3 Videos
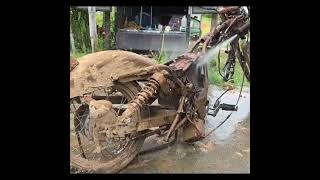
DIY Bike Restoration | Girl Transforms a Rusty Forest Find into a Working Machine
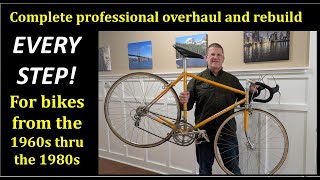
How to overhaul a classic road bike, Complete rebuild, restoration and assembly. Every step
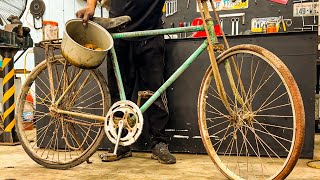
Turning Rust into Gold // A Guide to Bicycle Restoration
Facts about bicycle maintenance and repair for kids
🚲 There are more bicycles than cars worldwide — estimates put the global bike count at over one billion.
🕰️ The earliest two-wheeled precursor to the modern bicycle, the draisine, was invented in 1817 by Karl Drais.
🛠️ Regularly cleaning and lubricating a bike chain can dramatically reduce wear and make pedaling much smoother.
🔧 Proper tire pressure reduces rolling resistance and helps prevent pinch flats and punctures — check PSI before every ride!
🎨 Sanding, priming, and repainting a clean frame helps paint last for years — always use goggles, masks, and adult supervision with spray paint.
How do you restore an old bike step by step?
What materials and tools do I need to restore an old bike?
What ages is restoring an old bike suitable for?
What are the benefits of restoring an old bike and what safety tips should we follow?
