Tie four basic knots
Learn to tie four basic knots: square knot, bowline, clove hitch, and figure-eight, practicing safe steps, uses, and simple knot-testing activities with guidance.


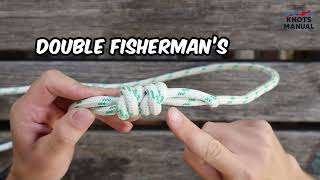
Step-by-step guide to tie four basic knots: square knot, bowline, clove hitch, and figure-eight
4 Easy Knots - Knots you can tie when you don't know how to tie knots!
Step 1
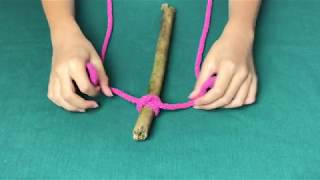
Gather your materials and sit at a clear table near the chair leg or broom handle.
Step 2
Hold the rope with one end in each hand and make sure you have about 20 cm of loose tail at each end.
Step 3
For the square knot start: cross the right end over the left end and tuck it under once.
Step 4
Finish the square knot: cross the left end over the right end and tuck it under once.
Step 5
Pull both ends away from the knot to snug the square knot and give a gentle tug to test it.
Step 6
For the bowline make a small loop near one end leaving a short tail (the working end).
Step 7
Take the working end and pass it up through the small loop from underneath.
Step 8
Wrap the working end around the long standing part of the rope (the part that goes away from the loop).
Step 9
Bring the working end back down through the small loop and hold the loop while you pull the standing part to tighten the bowline.
Step 10
Make a clove hitch by wrapping the rope once around the chair leg or broom handle.
Step 11
Wrap the rope a second time crossing over the first wrap and tuck the working end under the last wrap to finish the clove hitch.
Step 12
Gently pull on the standing part to test the clove hitch and make sure it grips the post.
Step 13
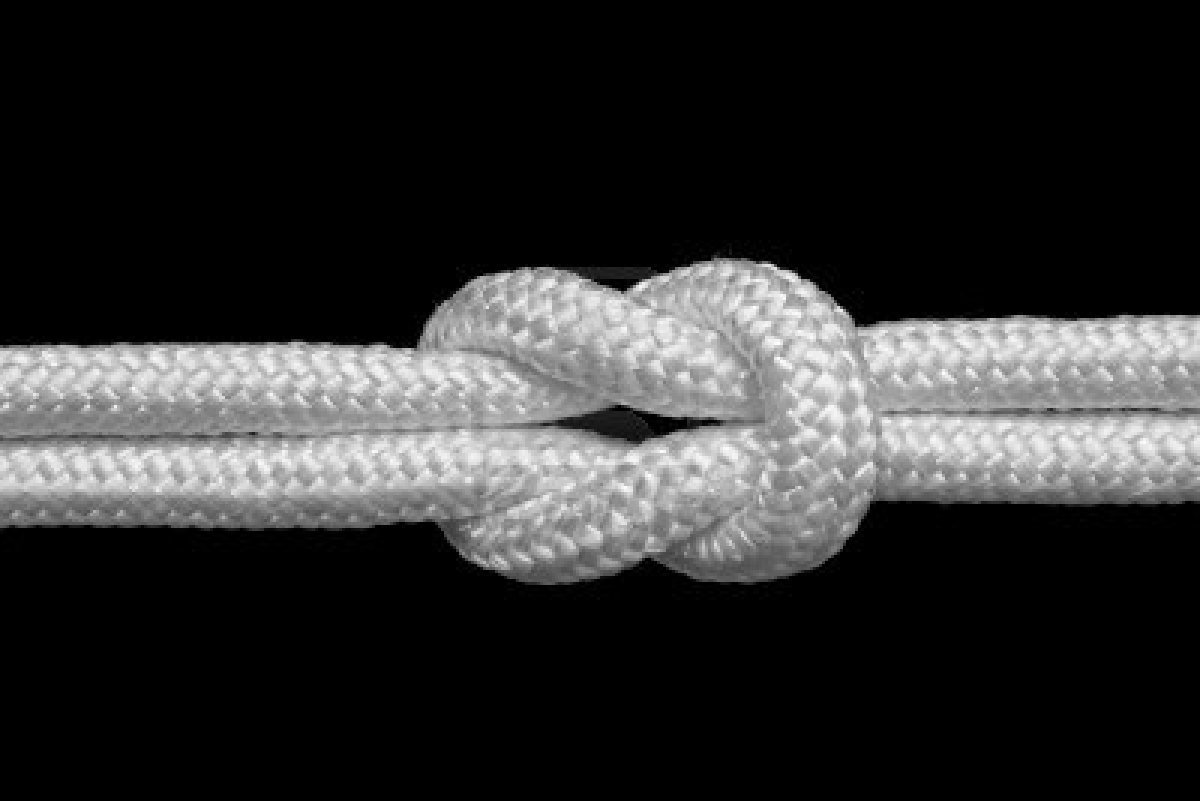
Make a figure-eight knot by forming a loop then passing the working end around the standing part and back through the loop to form a figure-eight shape.
Step 14
Pull both ends of the figure-eight knot to tighten it and test it by giving a firm tug or by hanging the small toy from the loop.
Step 15
Take photos or a short description of your knots and share your finished creation on DIY.org.
Help!?
What can I use instead of a chair leg, broom handle, or rope if I can't find them?
If you don't have a chair leg or broom handle use a sturdy table leg, broomstick, or thick branch, and if you lack rope try a belt, shoelace, scarf, or garden twine but still leave about 20 cm of loose tail at each end as the instructions require.
My knots keep slipping or won't tighten properly—what should I check or redo?
If a knot slips, check that you started each knot exactly as described (for the square knot cross right over left then left over right, for the bowline make a small loop and 'bring the working end back down through the small loop', and for the clove hitch tuck the working end under the last wrap), then pull both ends away from the knot to snug it and give a firm tug to test it.
How can I adapt the activity for very young children or older kids?
For younger children use a thicker soft rope, larger loops, and adult hand-over-hand guidance focusing on the square knot and clove hitch, while older kids can use thinner rope, try tightening by themselves, and test the figure-eight by hanging the small toy from the loop.
How can we extend or personalize the knot-tying project after finishing the four knots?
Personalize the project by color-coding or taping the rope ends, adding beads or decorative knots before making the figure-eight loop to create a toy hanger, and then take photos or a short description of your knots to share your finished creation on DIY.org.
Watch videos on how to tie four basic knots: square knot, bowline, clove hitch, and figure-eight
How to tie 5 differnt knots: Easy for kids
4 Videos
How to tie 5 differnt knots: Easy for kids
Teach Your Youngster How To Tie a Knot (Precursor To Shoe-Tying), Featuring "Knot Dude"
12 Beginner's Knots
10 Basic Knots - How To Tie Step-by-step
Facts about knot-tying and rope safety
🪢 The square (reef) knot is perfect for tying bandages and bundles but can capsize if loaded the wrong way—so it's great for practice, not heavy loads.
⛵ The bowline creates a secure, non-slip loop and has been a sailor favorite for centuries—easy to untie even after being loaded.
🧗 The figure-eight knot is commonly used as a stopper and for tying into a climbing harness because it's easy to inspect for safety.
🪝 The clove hitch is fast to tie around posts or poles, but it can slip under shifting loads—knot it with a backup when safety matters.
📚 The Ashley Book of Knots catalogs nearly 4,000 knots and is the classic atlas for anyone who wants to learn more.
How do I teach my child to tie the four basic knots (square knot, bowline, clove hitch, figure-eight)?
What materials do I need to teach four basic knots to a child?
What ages are suitable for learning the square knot, bowline, clove hitch, and figure-eight?
What are the benefits, safety tips, and simple knot-testing activities for these four knots?
