Use a marlinspike
Use a blunted marlinspike or safe plastic tool to practice untwisting and splicing rope, tying common sailor knots with an adult supervising.


Step-by-step guide to use a marlinspike to practice rope splicing and tie common sailor knots
Marlinspike Hitch | How to Tie the Marlinspike Hitch
Step 1
Lay out all the materials on a flat table so everything is easy to reach.
Step 2
Cut the rope into two equal pieces about 50 centimeters long using the scissors.
Step 3
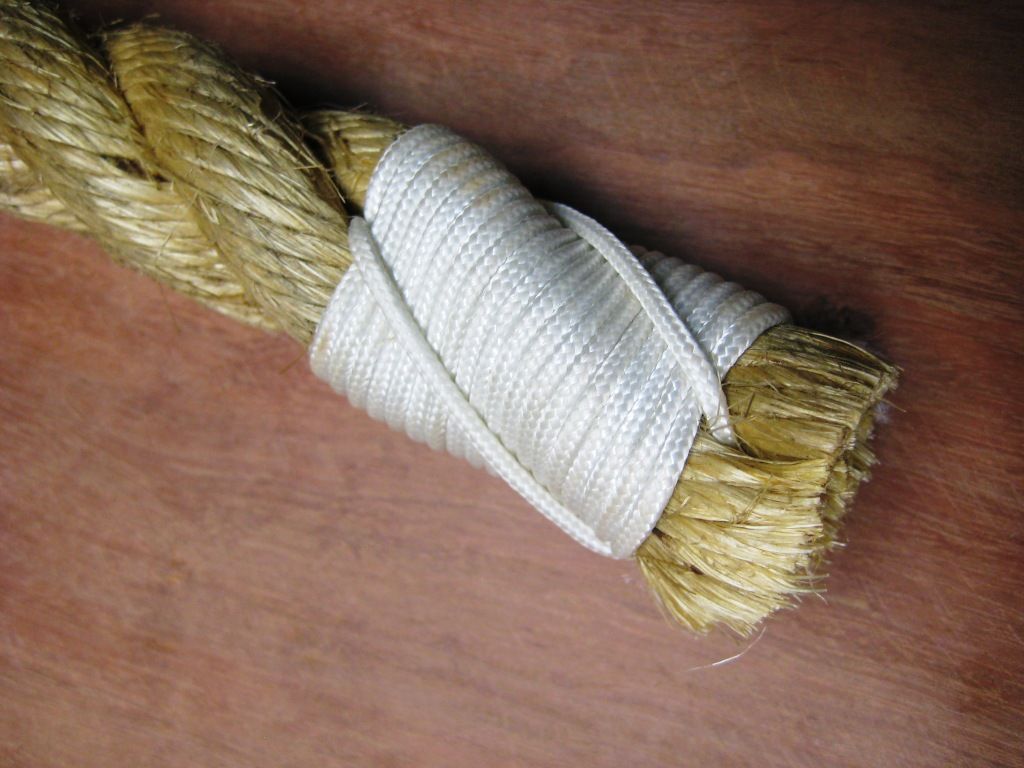
Wrap masking tape around each rope end for about 6 centimeters to stop fraying.
Step 4
Use the marker to mark 6 centimeters from each taped end on both ropes.
Step 5
Place a soft towel under your work area so the rope and marlinspike stay clean.
Step 6
Untwist the three strands of one rope end with the blunted marlinspike for the 6 centimeter marked section.
Step 7
Untwist the three strands of the other rope end with the blunted marlinspike for the 6 centimeter marked section.
Step 8
Overlap the two unlaid sections so they match for 6 centimeters and hold them side by side.
Step 9
Tuck each of the three strands from the first rope into the strands of the second rope three times using the marlinspike to open gaps for each tuck.
Step 10
Tuck each of the three strands from the second rope into the strands of the first rope three times using the marlinspike to open gaps for each tuck.
Step 11
Trim any excess strand tails close to the splice with the scissors.
Step 12
Roll the splice between your palms to tighten and smooth it so it looks neat and strong.
Step 13
Tie a bowline knot with one rope piece to make a secure loop.
Step 14
Tie a clove hitch around the broom handle to practice a quick secure hitch and then tie a sheet bend joining the two rope pieces to practice joining ropes.
Step 15
Ask an adult to check your splice and knots and then share photos and a short description of your finished splice and knots on DIY.org
Help!?
What can we use instead of a marlinspike if we don't have one?
Use a blunt flathead screwdriver or a rounded knitting needle under adult supervision to open gaps and untwist the three strands for the 6 centimeter marked section as described in the instructions.
My strands keep slipping and the splice looks loose — what should I check?
Make sure masking tape is wrapped for about 6 centimeters and your marker lines are correct, untwist exactly to the 6 cm mark with the marlinspike to create clean unlaid sections, tuck each strand three times, then trim tails and roll the splice between your palms to tighten and smooth it.
How can I adapt this activity for different ages?
For younger children have an adult pre-cut the two 50 centimeter ropes and wrap the ends with masking tape while the child practices simple tucks and holding the rope, and for older kids let them follow all steps themselves and add practicing the bowline, clove hitch, and sheet bend to join and loop the ropes.
How can we personalize or extend the splice project?
Personalize the splice by using colored electrical tape instead of masking tape, adding decorative whipping or beads after you roll the splice between your palms, and then test and photograph the finished splice and knots (bowline, clove hitch, sheet bend) to share on DIY.org.
Watch videos on how to use a marlinspike to practice rope splicing and tie common sailor knots
Marlin Spike History and DIY Forging
4 Videos
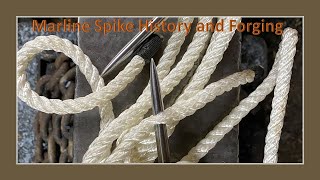
Marlin Spike History and DIY Forging
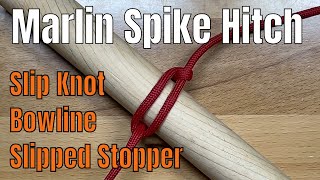
Marlin Spike Hitch : A versatile knot that can be used to form other knots.
Learn Tying Marlinspike Hitch

Learn Ladder Knots & Marlin Spike Hitch| Knot Tying Guide 🪢#ladder #knot #shorts
Facts about knot tying and ropework for kids
🪢 A bowline is nicknamed the “king of knots” because it makes a strong loop that’s easy to untie.
⚓ Marlinspikes have helped sailors for centuries — they pry apart strands to start splices and work stubborn knots.
🧵 A well-done rope splice can keep about 90–95% of the rope’s original strength, often stronger than a knotted join.
👩🏫 Practicing knots and splices builds fine motor skills, patience, and hands-on problem-solving for kids.
🛟 Simple sailor knots like the clove hitch and figure-eight are used in mooring, rescue, and camping tasks.
How to teach a child to use a blunted marlinspike to untwist and splice rope
Materials needed to practice rope splicing and sailor knots with kids
What ages is marlinspike and rope-splicing practice suitable for?
Safety tips and benefits of supervised marlinspike practice
