Build a rainbow led mixer
Build a handheld rainbow LED mixer with RGB LEDs, a battery pack, breadboard, and knobs to mix colors and learn about light and simple circuits.


Step-by-step guide to build a handheld rainbow LED mixer
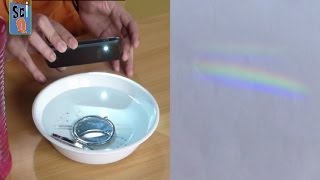
Create Your Own Rainbow: Fun Science Experiment For Kids - Light Projection Explained
Step 1
Gather all the materials listed and put them on a clear table so you can reach everything.
Step 2
Put three AA batteries into the battery pack and leave the pack switched OFF.
Step 3
Place the breadboard on the table with the power rails running left to right.
Step 4
Insert the RGB LED so each leg sits in a different row of the breadboard.
Step 5
Identify the longest LED leg as the shared common pin for the LED.
Step 6
Use a jumper wire to connect that LED common row to the negative (ground) rail on the breadboard.
Step 7
Push the three potentiometers into the breadboard so each pot’s three pins go into three separate rows.
Step 8
Use jumper wires to connect one outside pin of each potentiometer to the positive power rail.
Step 9
Use jumper wires to connect the middle pin (wiper) of each potentiometer to three separate rows near the LED (one row per color).
Step 10
Place a 220Ω resistor between each pot-wiper row and the matching LED color pin row (one resistor per color).
Step 11
Connect the battery pack leads to the breadboard power rails by putting the red wire to the positive rail and the black wire to the negative rail.
Step 12
Turn the battery pack ON and slowly twist each knob to mix red green and blue until you see rainbow colors you like.
Step 13
Carefully attach the breadboard and battery pack to the cardboard tube or project box with tape or hot glue to make a handheld mixer.
Step 14
Share your finished rainbow LED mixer on DIY.org
Help!?
What can I use if I can't find the 220Ω resistors or the three potentiometers?
Use nearby-value resistors (270Ω–330Ω) in place of each 220Ω and, if you lack three potentiometers, use fixed resistors or a single potentiometer with fixed resistors to mimic the step where a resistor is placed between each pot-wiper row and the matching LED color pin row.
My RGB LED won't light or only one color works—what should I check?
Make sure the battery pack is switched ON with correctly oriented AA batteries, the longest LED leg (common) is jumpered to the negative rail, each LED leg sits in a separate breadboard row, and each pot middle pin connects through a 220Ω resistor to the matching LED pin as described.
How can I adapt this project for different ages?
For younger kids have an adult pre-insert the RGB LED, resistors, and battery pack and use tape instead of hot glue when attaching to the cardboard tube, while older kids can add complexity by replacing manual pots with a microcontroller or adding extra RGB LEDs on the breadboard per the same wiring steps.
How can we extend or personalize the rainbow LED mixer after finishing the basic build?
Decorate the cardboard tube, add a second RGB LED and duplicate the resistor/potentiometer wiring on the breadboard for multi‑spot color mixing, or attach an Arduino to program color fades instead of turning the physical knobs.
Watch videos on how to build a handheld rainbow LED mixer
Learn How to Make a Rainbow at Home - Kids Science Experiments
4 Videos
Learn How to Make a Rainbow at Home - Kids Science Experiments

5 Ways to make a Rainbow. Science Experiments You Can Do At Home

Make a Rainbow by Refraction Easy Kid Science Experiment you can do at home

How to easily make a rainbow | Science for kids
Facts about basic electronics and LEDs
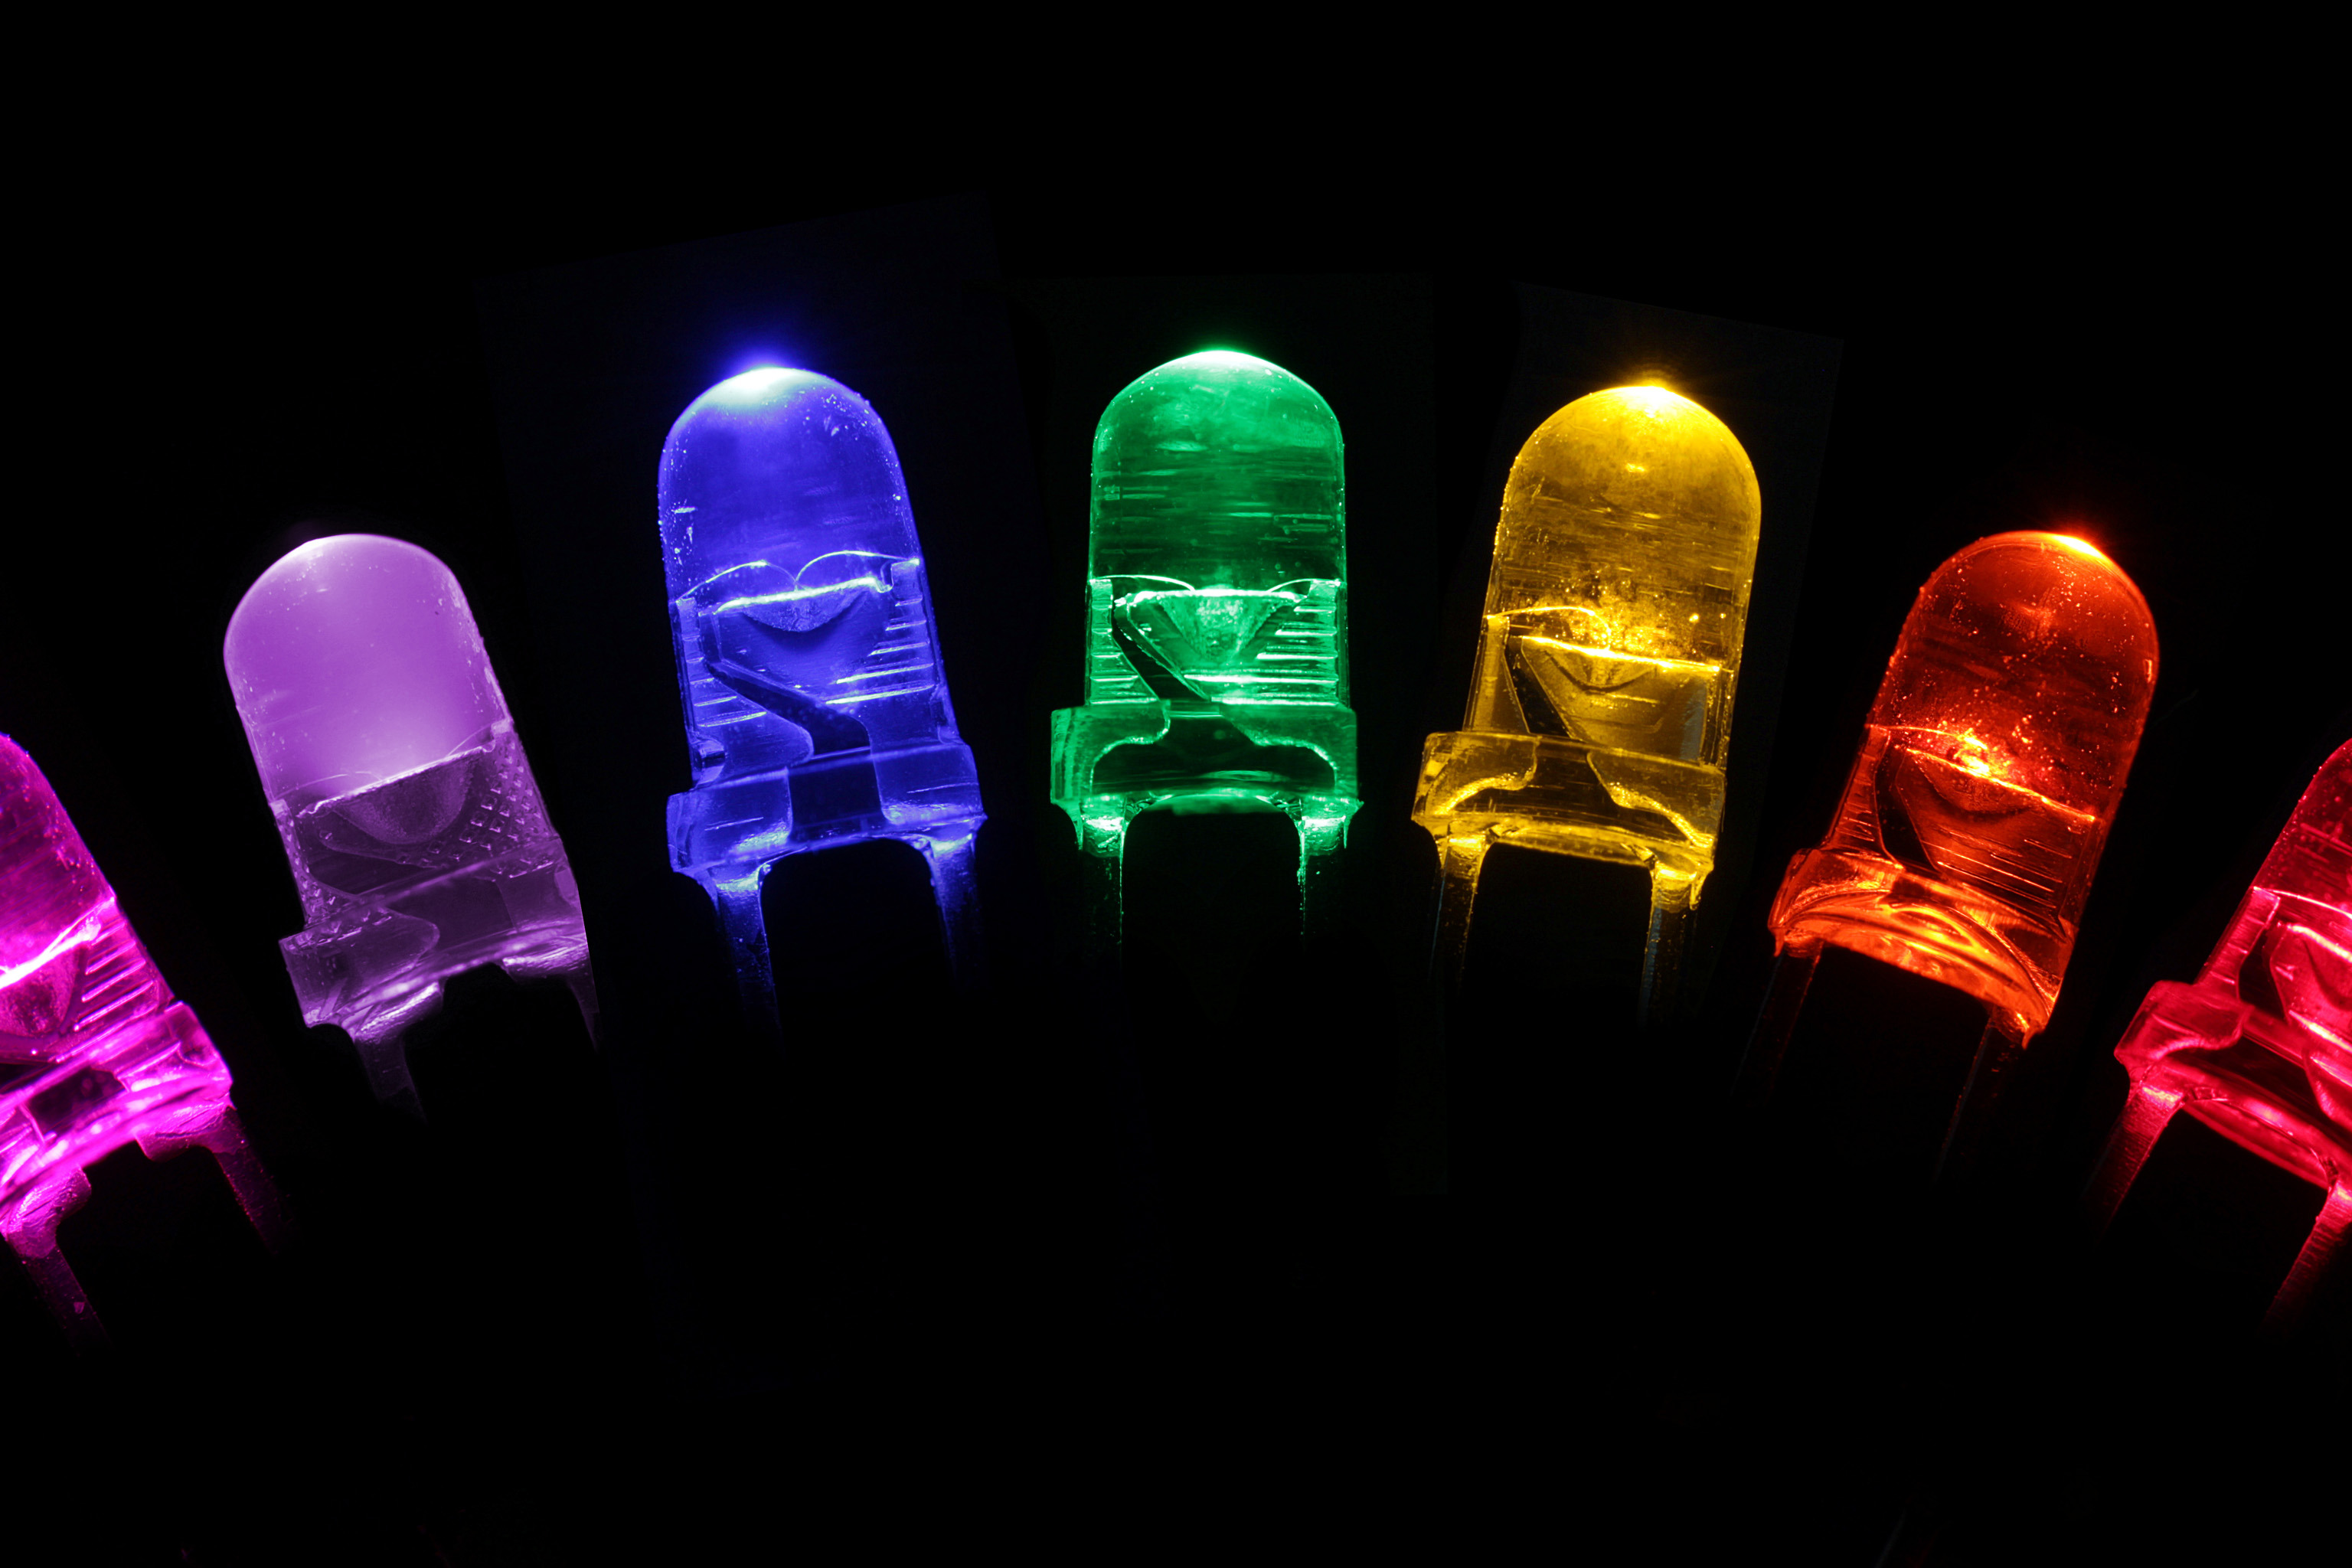
🌈 RGB LEDs mix red, green, and blue light — when all three are full brightness your eyes see white because of additive color mixing!
🎛️ A potentiometer is a turnable resistor: kids can use it like a dimmer knob to change an LED's brightness or color balance.
💡 LEDs are super efficient tiny light sources that run cool and can last tens of thousands of hours.
🔋 A small battery pack (for example, 3 AA cells) can power a handheld LED mixer for hours depending on brightness settings.
🧩 Breadboards let you build and change circuits without soldering — perfect for quick experiments and learning by doing.
How do you build a handheld rainbow LED mixer?
What materials do I need for a handheld rainbow LED mixer?
What ages is a handheld rainbow LED mixer suitable for?
What are the benefits, safety tips, and variations for this activity?
