Make a littleBits art bot
Build a littleBits art bot that moves a marker to draw colorful patterns on paper, using motors, sensors, and simple circuits to explore creativity.


Step-by-step guide to make a littleBits art bot
Art Bot
Step 1
Clear a flat workspace and place all your materials where you can reach them.
Step 2
Tape a sheet of paper firmly to the cardboard base so it cannot move.
Step 3
Snap the littleBits together in this order: Power to Button to Slide Dimmer to Motor.
Step 4
Turn the Power bit ON so the circuit is ready.
Step 5
Place the motor on the cardboard near the paper edge and tape the motor body down so it will not slide.
Step 6
Attach a craft stick to the motor hub using tape and a rubber band so the stick will spin when the motor runs.
Step 7
Tape the marker to the outer end of the craft stick so the tip points down and just barely touches the paper.
Step 8
Adjust the marker angle or move the paper until the marker tip lightly drags and leaves a mark.
Step 9
Press the Button bit to start the motor and watch the marker draw on the paper.
Step 10
Slide the Dimmer bit to change the motor speed and create different drawing patterns.
Step 11
Share your finished art bot creation on DIY.org.
Help!?
What can we use if we don't have the littleBits Power, Button, Slide Dimmer, or Motor?
If you don't have littleBits, substitute a small DC motor taped to the cardboard, a battery pack with an on/off switch in place of Power and Button, and a simple potentiometer for the Slide Dimmer while keeping the same steps for attaching the craft stick and marker.
Why won't the marker draw or the motor spin and how can we fix it?
If the motor doesn't spin, first confirm the Power bit is ON and all littleBits are snapped together snugly, then make sure the motor body is firmly taped to the cardboard, the rubber band holds the craft stick to the motor hub tightly, and the marker tip just barely touches the paper as instructed.
How can we adapt this art bot activity for different ages?
For younger children, pre-assemble the littleBits, use a washable thick marker and larger cardboard base for easier handling, and for older kids let them experiment with multiple markers or build a sturdier motor mount using a hot-glued motor body.
How can we extend or personalize our art bot to make more interesting drawings?
Customize patterns by decorating the cardboard base, attaching multiple markers or differently sized craft sticks, and using the Slide Dimmer to vary motor speed while sharing favorite creations on DIY.org as suggested.
Watch videos on how to make a littleBits art bot
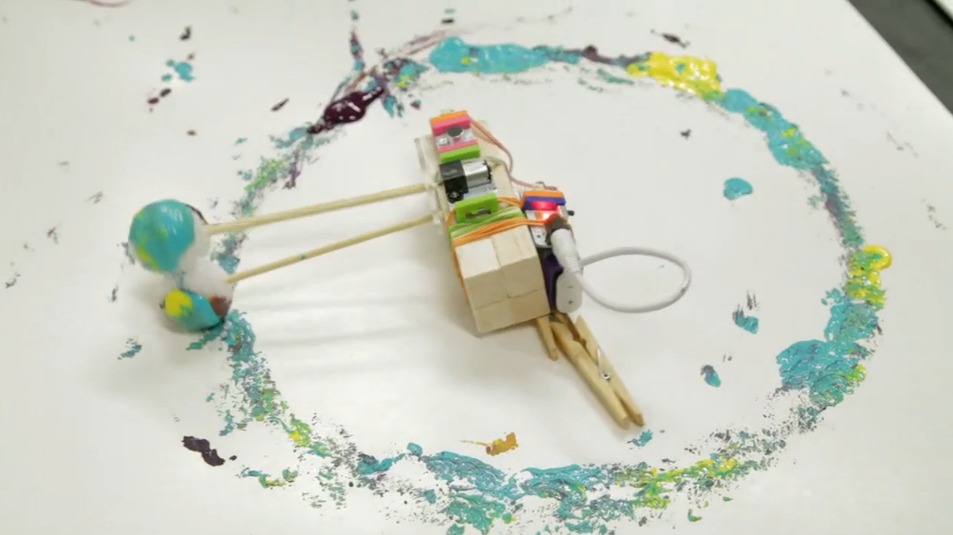
How to Build an ArtBot | Science Project
4 Videos
How to Build an ArtBot | Science Project
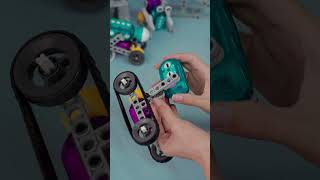
Building Robots and Learning Mechanical Principles: The Block Robots Creator Kit for Kids
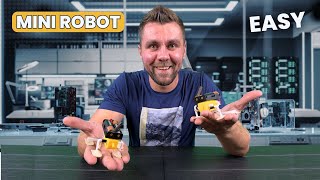
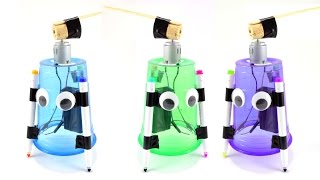
DIY Mini Robot: Simple Motorized Creation Using Everyday Materials | How to Make Mini Robot Easy Art
littleBits Competition: Droid Inventor Kit Tips and Tricks #3 - DON'T Paint By Numbers
Facts about electronics and robotics for kids
🧩 littleBits was founded in 2011 to make snap-together electronic modules that let kids build circuits without soldering.
🤖 Early educational tools like the Logo 'turtle' inspired drawing robots that turn code and motion into pictures.
🎨 Plotters are machines that draw continuous lines with pens — hobbyists now build tiny pen plotters as art bots.
⚙️ Small electric (DC) motors spin the marker arm; changing motor speed or adding gears changes the drawn patterns.
🖊️ Swapping marker tip sizes, ink colors, and paper types produces very different line widths, textures, and blends.
How do you build a littleBits art bot that draws patterns?
What materials do I need for a littleBits art bot?
What ages is a littleBits art bot activity suitable for?
What are the benefits and safety tips for making a littleBits art bot?
