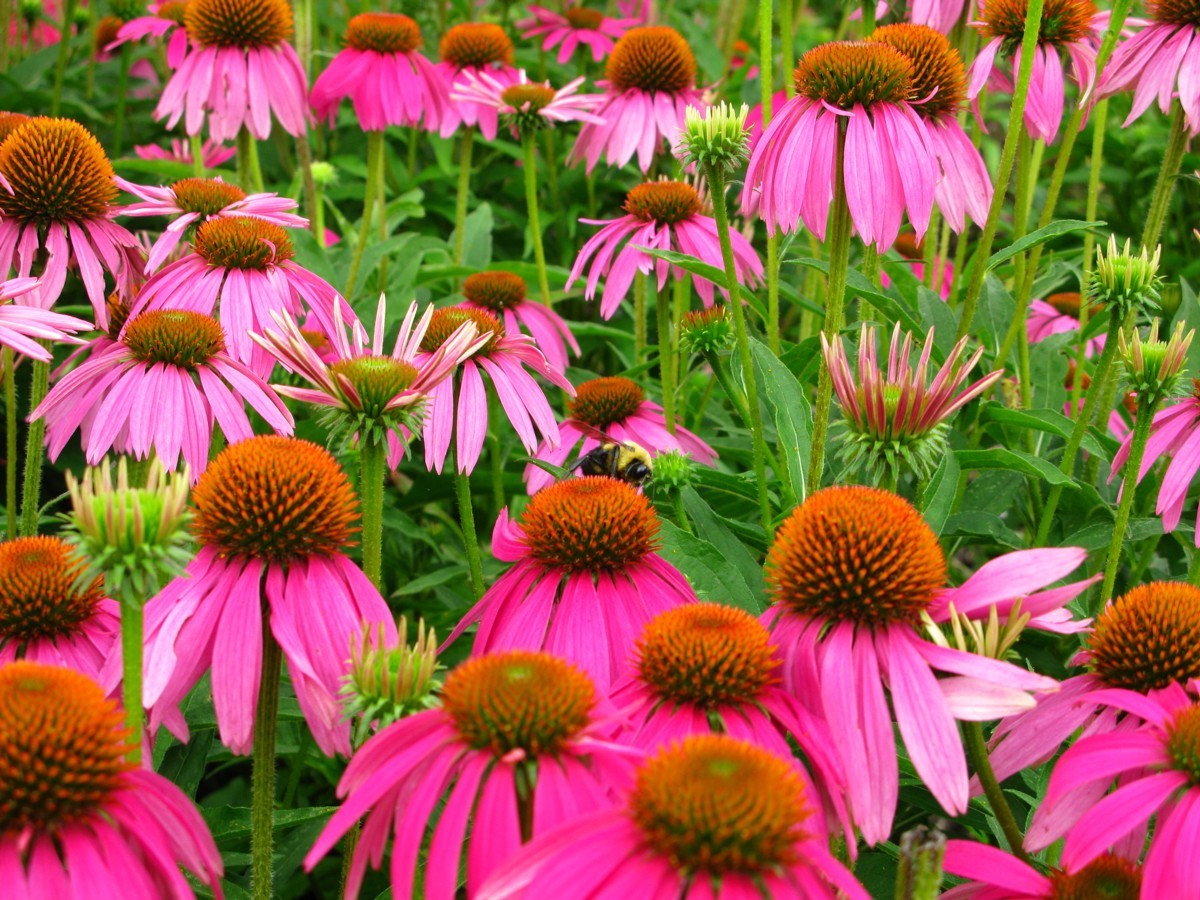
Attract bees with plants
Plant a small pollinator garden using bee friendly flowers, observe bees visiting over weeks, and learn about pollination, habitat care, and safe observation.

Step-by-step guide to attract bees with plants
Pollinators and Pollination for Kids | Fun facts about pollination and who's responsible!
Step 1
Pick a sunny spot that gets about six hours of sun each day.
Step 2
Choose a pot or clear a small garden patch and have an adult help you prepare the space.
Step 3
Fill the pot or patch with potting soil leaving about one inch of space at the top.
Step 4
Make small holes for your seeds or seedlings using your finger or a trowel.
Step 5
Place each seed or seedling into a hole and gently cover it with soil.
Step 6
Water the newly planted seeds or seedlings until the soil is evenly moist.
Step 7
Write each plant’s name on a label and stick the labels into the soil beside the right plant.
Step 8
Put a shallow dish with small stones nearby so bees can land and drink safely.
Step 9
Check the soil twice a week and water when the top inch feels dry to your finger.
Step 10
Gently pull small weeds from around your plants whenever you spot them.
Step 11
Sit quietly for ten minutes twice a week and watch your flowers for bees flying in.
Step 12
After each watching time, write what you saw in your notebook like date number of bees and which flowers they visited.
Step 13
Share photos and a description of your pollinator garden and what you learned on DIY.org.
Help!?
What can we use if we don't have potting soil, a shallow dish, or plant labels?
If you don't have potting soil, mix garden soil with compost and a little sand for better drainage when filling the pot (step 3), use a clean plastic lid or pie tin with pebbles as the shallow bee water dish (step 7), and make labels from popsicle sticks or folded foil marked with a permanent marker (step 8).
My seeds aren't sprouting and the plants look droopy—what should I check?
Check that the spot still gets about six hours of sun (step 1), that you left an inch at the top when filling the pot so soil isn't compacted (step 3), that seed holes were the proper depth (step 4), and that you're watering only until the soil is evenly moist instead of waterlogged (step 6).
How can I adapt this activity for a preschooler versus a preteen?
For preschoolers, have an adult prepare and fill a large pot and let the child place seedlings and press soil with their fingers (steps 2–5) and shorten watching time to five minutes, while preteens can plant multiple flower species, keep detailed counts and notes in the notebook (step 11), and compare which flowers attract the most bees before sharing on DIY.org (step 12).
How can we extend or personalize the pollinator garden activity?
Extend the project by choosing native, long-blooming plants for the patch (steps 1–3), decorating and waterproofing your plant labels (step 8), setting up a camera during the ten-minute watches to capture bee visits (step 10), and making a photo-and-observation post to share on DIY.org (step 12).
Watch videos on how to attract bees with plants
Pollination: How Bees Power Our Ecosystems
3 Videos
Pollination: How Bees Power Our Ecosystems
Plant Pollination - How to Encourage Pollinating Bees into Your Garden

How Bees Help Flowers Grow: The Magic of Pollination! | KS2 Science | STEM and Beyond
Facts about pollinator gardening for kids
🐝 There are over 20,000 species of bees around the world — not just honeybees!
🌼 A single honey bee can visit 50–100 flowers during one foraging trip.
🌱 Planting native flowers usually brings more local bees than fancy imported cultivars.
🔍 Bees can see ultraviolet patterns on flowers that humans can't, which helps them find nectar.
💃 Honey bees perform a 'waggle dance' to communicate the location of great flower patches.
How do I plant a small pollinator garden to attract bees with my child?
What materials do I need to plant a bee-friendly pollinator garden with kids?
What ages is this pollinator garden activity suitable for?
What safety tips and benefits should we know when observing bees in a pollinator garden?
