Create a cipher device
Build a simple cipher wheel from cardboard, paper fastener, and markers to encode and decode secret messages while learning about substitution ciphers.

Step-by-step guide to create a cipher device
Cipher Wheel: How To Assemble And Use A Cipher Wheel To Decode Secret Messages
Step 1
Gather all your materials and clear a flat workspace.
Step 2
Place the cup or lid on the cardboard and trace one circle with your pencil.
Step 3
Move the cup slightly and trace a second circle that is a little bit smaller for the top wheel.
Step 4
Carefully cut out both circles with scissors.
Step 5
Use the ruler to find the center of each circle and mark a small dot with the pencil.
Step 6
Make 26 small evenly spaced pencil marks around the edge of the larger circle by counting them as you go.
Step 7
Write the letters A to Z in order next to each mark on the large circle using your markers.
Step 8
Make 26 small evenly spaced pencil marks around the edge of the smaller circle by counting them as you go.
Step 9
Write the letters A to Z in order on the smaller circle starting at the top center.
Step 10
Colour or decorate each wheel so you can easily tell the big ring and the small ring apart.
Step 11
Stack the smaller circle on top of the larger circle aligning the center dots.
Step 12
Push the paper fastener through both centers and secure it so the top wheel can spin freely.
Step 13
Rotate the top wheel to set a secret shift (for example line up A on the big wheel with D on the small wheel) and remember your shift.
Step 14
Encode a short secret message by replacing each letter with the letter it lines up with on your cipher wheel and write the coded message down.
Step 15
Share a photo or description of your finished cipher wheel and your secret message on DIY.org.
Help!?
What can we use instead of the cup or lid, cardboard, or a paper fastener if we can't find them?
Use a compass, coin, or CD to trace circles if you don't have a cup or lid, use a cereal box or thick craft paper instead of cardboard, and swap the paper fastener for a small brad, split pin, or short screw and nut so the top wheel can still spin.
My top wheel won't spin or the letters don't line up—how do we fix that?
If the top wheel won't spin or letters don't line up after pushing the paper fastener through the center dots, slightly loosen the fastener, add a tiny washer or a short piece of straw between the wheels, re-center using the ruler-marked center dots, and re-tighten so the wheel turns freely but stays aligned.
How can I adapt this activity for younger children or for older kids?
For younger children have an adult trace and cut the circles and pre-mark every other letter or use a 13-letter half to reduce counting and let them color the wheels, while older kids can create multi-wheel ciphers, add number shifts, or encode longer messages and rotating rules.
Any ideas to make the cipher wheel more creative or challenging?
Decorate and color-code the big and small rings as suggested, add stickers or emojis as extra symbols to encode names, laminate the wheels to last longer, or make extra wheels with reversed alphabets or numbers to build multi-stage ciphers to share on DIY.org.
Watch videos on how to create a cipher device
How to Write a Secret Message (pigpen cipher)
4 Videos
How to Write a Secret Message (pigpen cipher)

Puzzles for kids|How to send secret messages|Cryptography|Simple Cipher for kids|CAESAR SHIFT
DIY Scytale Cipher
How To Write Secret Codes Using Ciphers!
Facts about basic cryptography for kids
🔐 Julius Caesar reportedly used a shift of 3 to hide military messages — that's why we call it the "Caesar cipher".
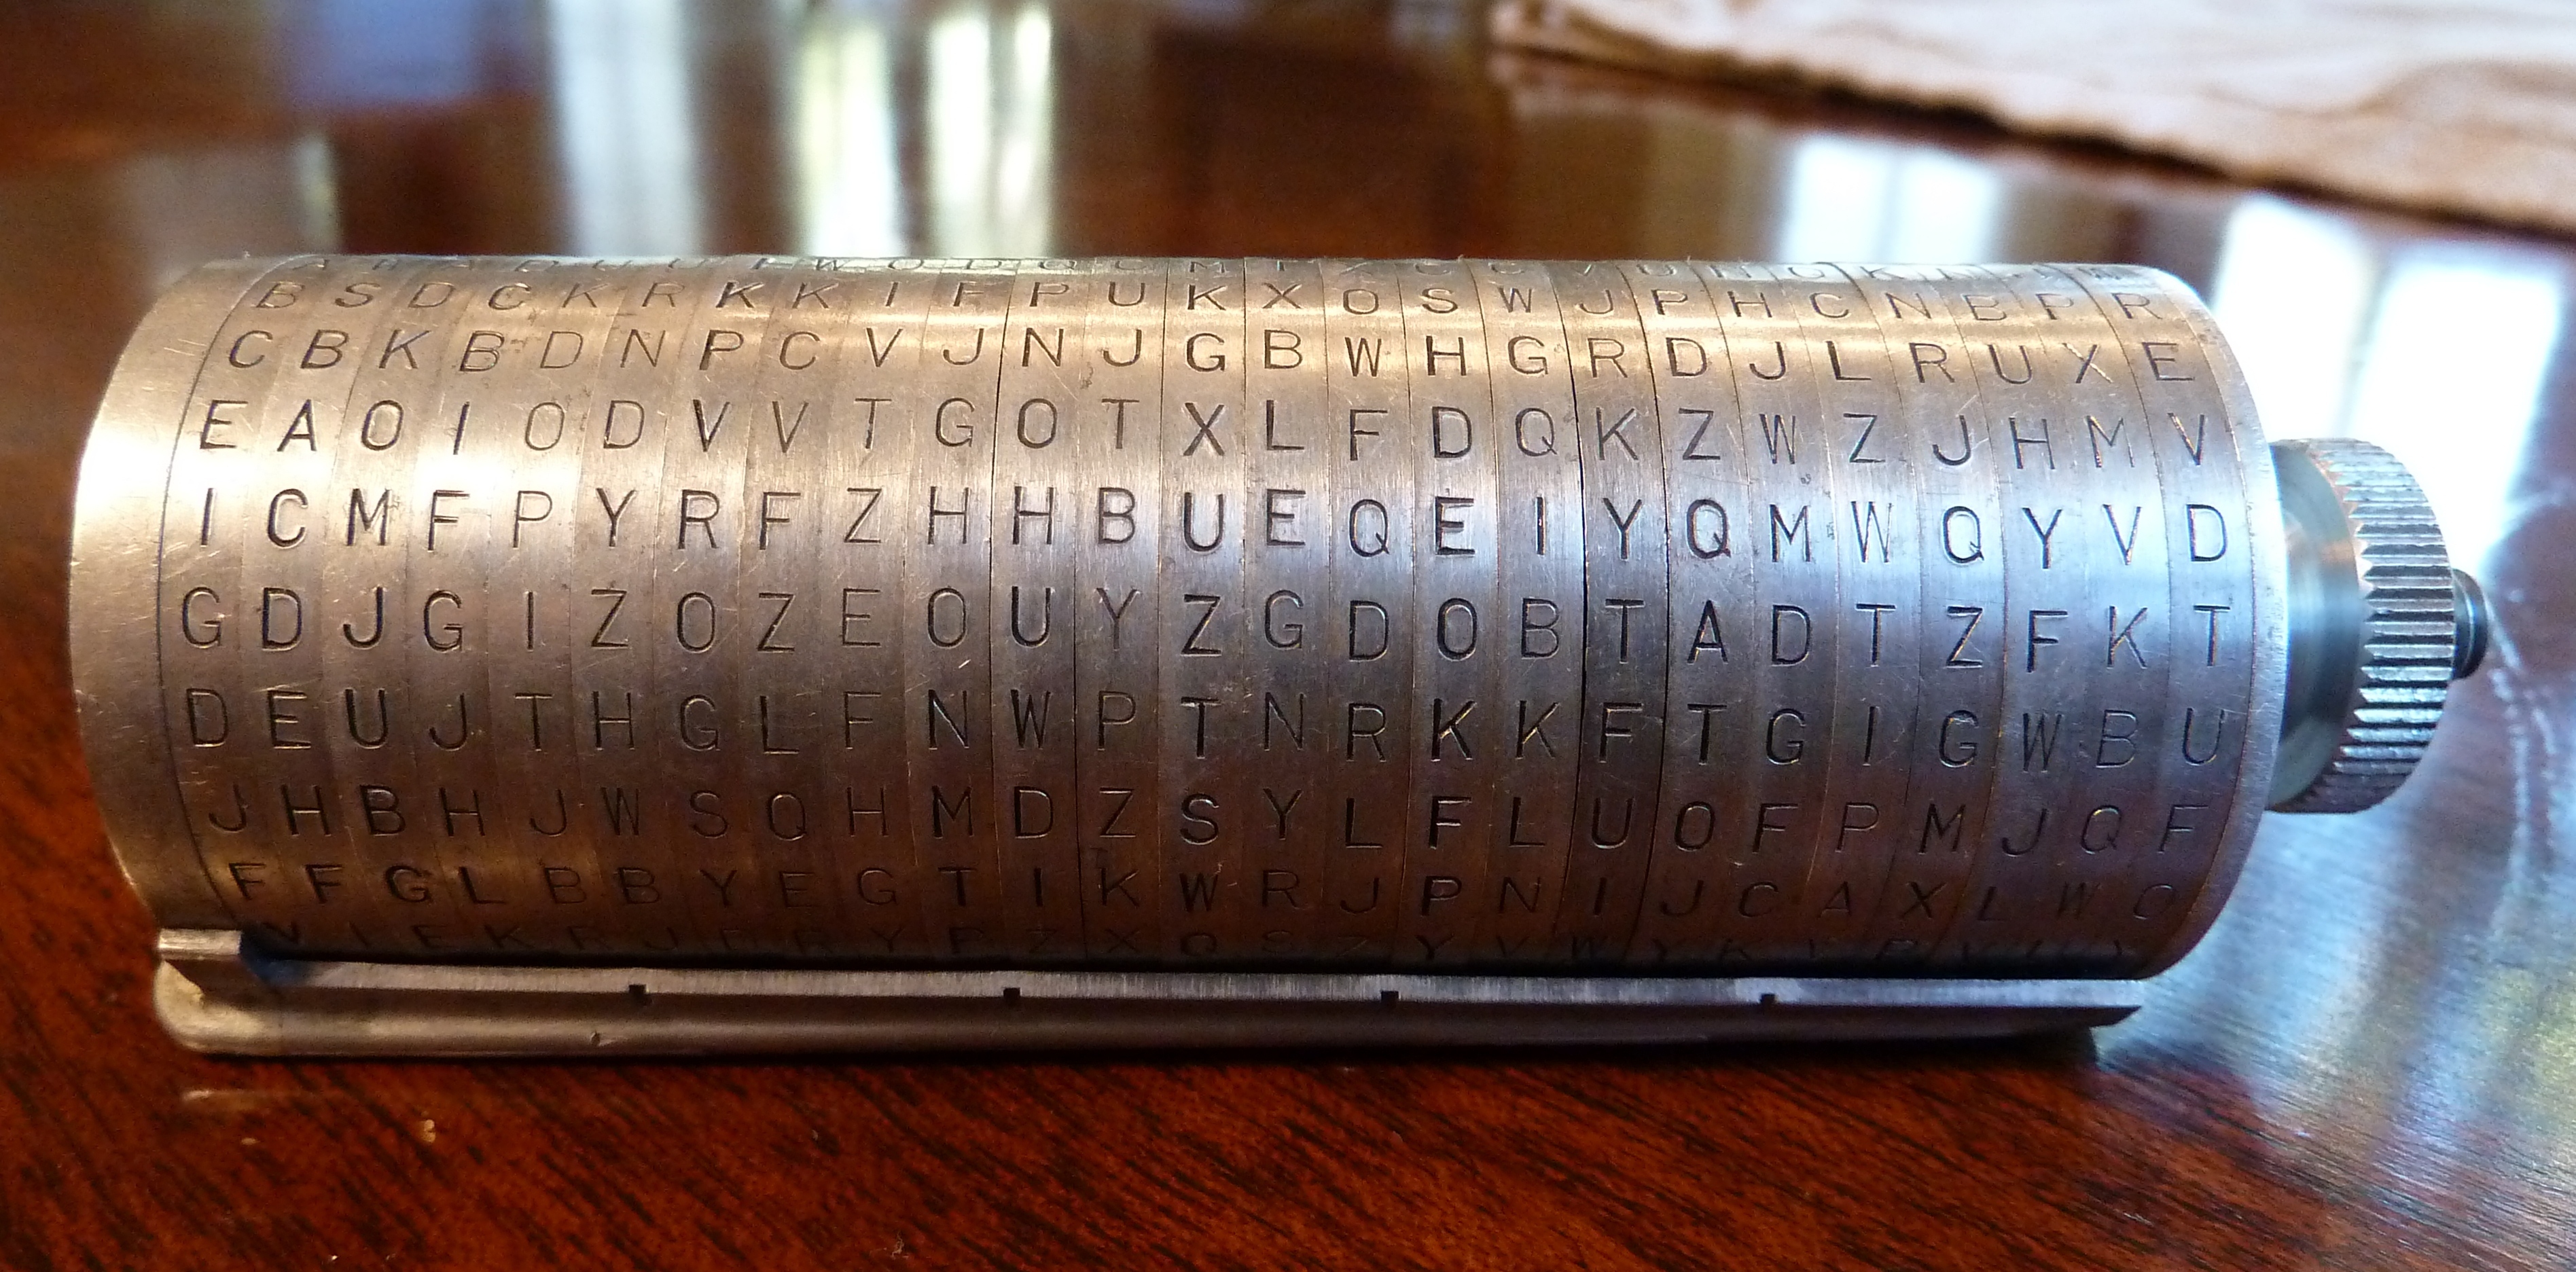
🧭 The Alberti cipher disk, invented in the 15th century, was the first tool that let users change the substitution key mid-message.
🧠 Simple substitution ciphers can often be cracked with frequency analysis because some letters (like E and T) show up a lot.
🎨 You can make a working cipher wheel from two cardboard circles, a paper fastener, and markers in about 15–30 minutes.
🕵️♀️ Machines like Enigma used rotating wheels to create changing substitutions and pushed advances in modern cryptanalysis.
How do you build a simple cipher wheel to encode and decode messages?
What materials do I need to make a cipher wheel with kids?
What ages is building a cipher wheel suitable for?
What are the benefits, safety tips, and variations for a cipher wheel activity?
