Make a whirligig
Make a whirligig from paper, straw, and a pin with adult help; spin it to explore wind, rotation, and simple engineering.


Step-by-step guide to make a whirligig from paper, straw, and a pin
How to Make Easy Whirligig Craft Project for School or Garden Diy Fun !
Step 1
Gather all your materials on a clear table so everything is ready.
Step 2
Cut a square from the paper about 15 cm on each side.
Step 3
Fold the square diagonally from one corner to the opposite and make a firm crease.
Step 4
Fold the square along the other diagonal and make a firm crease, then unfold so you can see both creases crossing in the middle.
Step 5
Use the scissors to cut along each diagonal from the corners toward the center, stopping about 2 cm from the middle.
Step 6
Fold every other corner (four corners total) into the center so the corner tips meet at the middle point.
Step 7
Tape each folded corner down at the center so the pinwheel shape stays together.
Step 8
Decorate the pinwheel with colouring materials to make it bright and fun.
Step 9
With adult help, push the pin through the center of the pinwheel from the front to the back.
Step 10
Press the small ball of modelling clay into one end of the straw to make a soft anchor.
Step 11
Push the pin point gently into the clay in the straw so the pinwheel sits on the pin and can spin freely.
Step 12
Blow on the pinwheel and then take it outside in the wind to watch how air makes it rotate and learn about wind and rotation.
Step 13
Share a photo of your finished whirligig on DIY.org.
Help!?
What can we use if we don’t have modelling clay, a straw, or a pin?
If you don’t have modelling clay, press a small rolled-up piece of soft paper or a small eraser into the end of a pencil (instead of a straw) and, with adult help, use a drawing pin or thumbtack through the centre as the pin.
Why won’t my pinwheel spin and how do I fix it?
If the pinwheel won’t spin, check that you cut each diagonal only up to about 2 cm from the middle (step 4), remove or loosen excess tape at the centre (step 6), and don’t push the pin so tightly into the modelling clay and straw that the blades cannot rotate.
How can this activity be adjusted for different ages?
For ages 3–5 have an adult do the scissors and pin steps (folding and step with the pin), while 6–9-year-olds can measure the 15 cm square, fold, cut and tape themselves, and older kids can experiment with heavier paper and precise creases for sleeker rotation.
How can we make the whirligig more interesting or turn it into an experiment?
Make several pinwheels using different paper sizes or weights and decorate each (step 7), then compare how fast they spin in the same wind to explore how size and paper weight affect rotation before sharing your best photo on DIY.org.
Watch videos on how to make a whirligig from paper, straw, and a pin
How to make a Whirligig | Family Friendly Friday
4 Videos

How to make a Whirligig | Family Friendly Friday
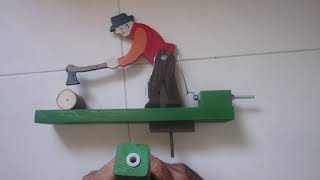
How to make Whirligigs, Ep5 Meet Jack the Lumberjack
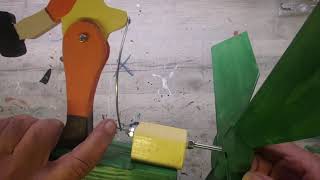
How to make Whirligigs, Ep6 Meet Doris the Flower Lady

How to Make a Whirligig for Kids
Facts about wind, rotation, and simple engineering
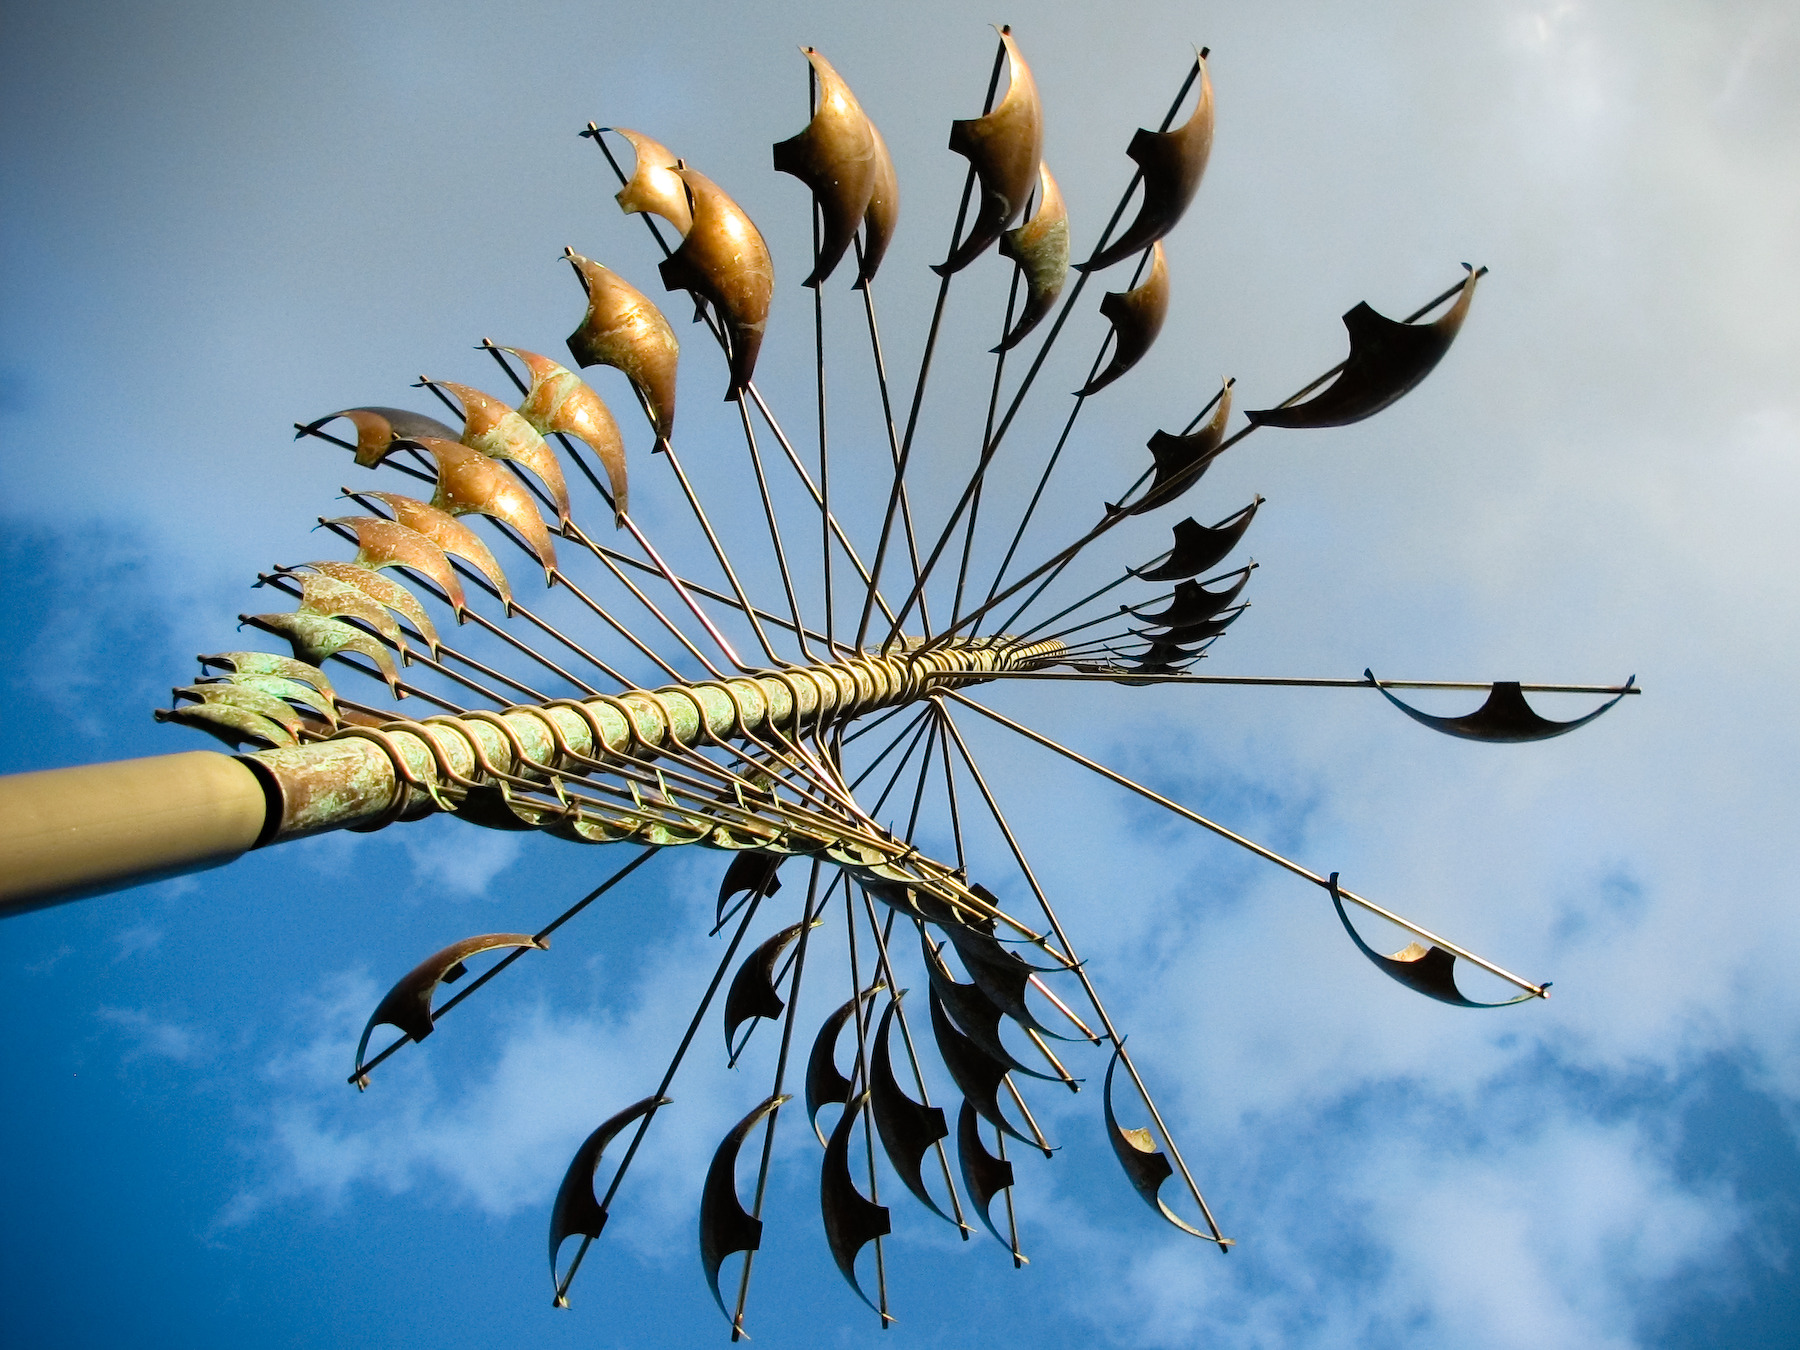
🌀 Whirligigs and pinwheels have been used as toys and garden decorations in many cultures for centuries.
🍃 A light breeze of about 6–10 mph (10–16 km/h) is often enough to make a small paper whirligig spin easily.
🔩 The pin acts as a tiny axle — reducing friction where the pin meets the paper helps the whirligig spin longer and smoother.
🌬️ Curved or folded blades catch more air than flat ones, so simple changes to blade shape can make a big difference in spin speed.
⚡ The basic idea behind whirligigs — converting wind into rotation — is the same principle used by wind turbines, which can generate 10+ megawatts each for large offshore models.
How do you make a whirligig from paper, a straw, and a pin?
What materials do I need to make a paper-and-straw whirligig?
What ages is making a whirligig suitable for?
What are the safety tips and learning benefits of making a whirligig?
