Measure wind direction
Build a simple wind vane using a straw, paper arrow, pin, and pencil to measure wind direction and record how it changes over time.

Step-by-step guide to measure wind direction
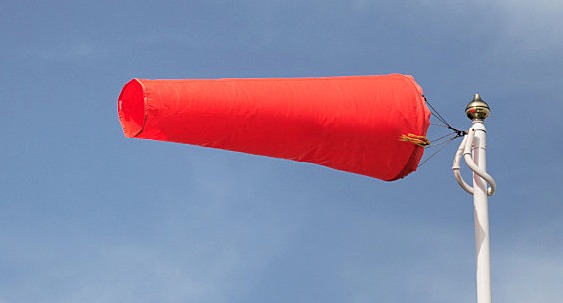
Wind direction and speed
Step 1
Gather all materials and ask an adult to help you while you build.
Step 2
Draw a simple arrow shape on the stiff paper about as long as the straw and cut it out with scissors.
Step 3
Color or decorate the arrow with the marker so you can easily see which end points into the wind.
Step 4
Tape the paper arrow to one end of the straw so the arrow points away from the straw toward the open air.
Step 5
Push the pin through the middle of the straw and into the pencil eraser so the straw can spin freely on the pin.
Step 6
Press the pencil into a small ball of clay or playdough so the pencil stands up straight and steady.
Step 7
Spin the straw gently to make sure it turns smoothly and move the pin a tiny bit if it rubs or sticks.
Step 8
Ask an adult to help you find north with a compass or smartphone compass app.
Step 9
Use the marker and small pieces of tape to mark N E S and W on the ground or a piece of paper around your pencil base.
Step 10
Make a simple chart on a sheet of paper with columns for time and wind direction so you can record observations.
Step 11
Check the wind vane and write down the direction it points in your chart every 15 minutes for one hour.
Step 12
Take a photo or note of your finished wind vane and share your creation and observations on DIY.org.
Help!?
What can we use if we don't have stiff paper, a drinking straw, or a push pin?
Use light cardboard or an index card for the arrow, a short paper-towel tube segment or wooden skewer (with adult help) instead of the straw, a straightened paperclip or sewing needle in place of the push pin, and poster putty instead of clay to hold the pencil.
The straw doesn't spin or rubs on the pin—how can we fix it?
Make sure the pin is pushed through the middle of the straw into the pencil eraser, re-center or nudge the pin a tiny bit as the instructions say, widen the hole slightly with a needle if needed, and balance the arrow and tape so the straw can spin freely while the pencil stands straight in the clay.
How can I change the activity for younger or older kids?
For younger children have an adult pre-cut and tape the paper arrow and insert the pin while they help mark N E S W and make simple time-and-direction observations, and for older kids let them cut and balance the vane themselves, use a protractor or phone compass to record wind angles, log more frequent readings, and analyze or graph the data.
How can we extend or personalize the wind vane project?
Decorate the paper arrow with markers as the instructions suggest, add a second vane or mount the pencil on a taller stick to compare heights, use a tiny counterweight or trim tape to improve balance, verify directions with a smartphone compass, and turn your observation chart into a graph before sharing a photo on DIY.org.
Watch videos on how to measure wind direction
Wind direction and weather
4 Videos

Wind direction and weather
How to Read a Windsock | Wind Speed & Direction Explained 🌬️

How Do You Read Wind Direction? - Weather Watchdog
What Is The Beaufort Scale? | How to Measure Wind?
Facts about weather and wind
🧭 Weather vanes (sometimes called weathercocks) have been used for thousands of years to show which way the wind is blowing.
🌬️ Wind direction is named for where the wind comes from — a northerly wind blows from the north.
📌 A simple wind vane (straw on a pin) works because a low‑friction pivot lets the arrow align with the wind.
🛰️ Meteorologists use wind direction and speed to help forecast storms and track things like wildfires and pollution.
🍃 Wind helps plants travel — lightweight seeds (like dandelion fluff) can ride the breeze for miles.
How do I build a simple wind vane to measure wind direction?
What materials do I need to make a straw-and-paper wind vane?
What ages is this wind vane activity suitable for?
What are the benefits of measuring wind direction with a simple wind vane?
