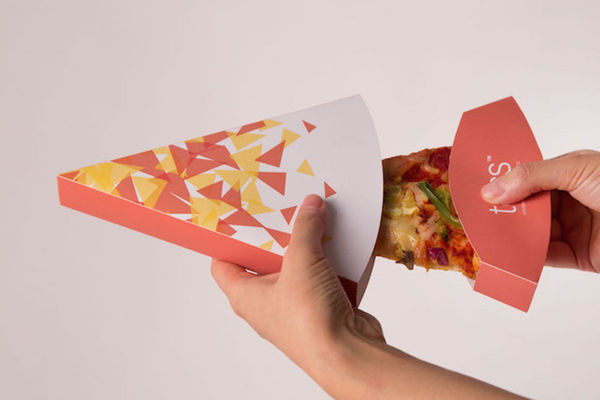
Design a pizza box
Design and build a cardboard pizza box prototype with decorations and compartments, measure and test fit, learning about packaging design and recycling.


Step-by-step guide to design a cardboard pizza box prototype
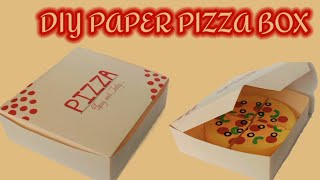
DIY Pizza Box for Kids | Fun Pizza Project! 🍕📦
Step 1
Gather all the Materials Needed and bring them to a clear workspace.
Step 2
Place the pizza or the round plate on the cardboard and trace its outline with your pencil.
Step 3
Use the ruler to draw a box base by adding 2 cm of space around the traced circle.
Step 4
Draw side flap tabs about 3 cm wide around the base outline to make the box walls.
Step 5
Draw a lid piece the same size as the base and add a 1.5 cm glue tab on one edge.
Step 6
Cut out the base and lid shapes from the cardboard carefully with scissors.
Step 7
Score the fold lines along the side flaps and the lid tab using the ruler and the blunt edge of the scissors.
Step 8
Fold the side flaps up along the scored lines to form the box walls.
Step 9
Tape or glue the corner tabs to join the sides and make a sturdy box base.
Step 10
Cut scrap cardboard strips to the right length to act as internal dividers for compartments.
Step 11
Tape the dividers inside the box where you marked them to create separate compartments.
Step 12
Decorate the box with colouring materials and write a small note that says "Made from recycled materials."
Step 13
Place the pizza or the traced circle inside the box to test the fit and check the lid closes properly.
Step 14
Share your finished pizza box design and photos of your prototype on DIY.org
Help!?
If I don't have a large piece of cardboard or a ruler, what can I use instead for tracing and measuring the pizza box base and side flaps?
Use a flattened cereal box or shoebox lid as the cardboard and a stiff book edge or a straight wooden spoon as a ruler substitute to draw the traced circle, the 2 cm margin, and the 3 cm side flap lines.
The box walls are floppy or the lid won't close properly—what should I check or fix during assembly?
Make sure you scored the fold lines with the blunt edge of the scissors, folded the 3 cm side flaps up squarely, trimmed any excess from the 1.5 cm lid glue tab, and reinforced the corner tabs with extra tape or glue so the sides stay rigid and the lid fits.
How can I adapt this pizza box activity for younger kids or make it more challenging for older children?
For younger kids, have an adult pre-cut the base and lid and let them trace, fold, tape corner tabs, and decorate, while older kids can precisely measure the 2 cm border, cut internal dividers to create compartments, add a glued hinge, or use a craft knife (with supervision) for cleaner cuts.
What are simple ways to enhance or personalize the finished pizza box beyond basic decorations?
Cut a clear plastic window into the lid, arrange the scrap cardboard strips as pizza-slice dividers before taping, add a hand-drawn logo and the "Made from recycled materials" note, and line the base with wax paper for cleanliness when testing the fit.
Watch videos on how to design and build a cardboard pizza box prototype
Fun & Easy Pizza Box Crafts for Kids 🍕 DIY Projects Using Recycled Materials | Briko Creative Ideas
4 Videos
Fun & Easy Pizza Box Crafts for Kids 🍕 DIY Projects Using Recycled Materials | Briko Creative Ideas
🍕DIY Crafts Mini Pizza Box! 📦Easy and Simple! - Step by step
How to make a Pizza box /paper box for pizza /DIY origami
how to make a Pizza box /paper box for pizza /DIY origami
Facts about packaging design and recycling for kids
🍕 About 3 billion pizzas are sold in the United States each year — that means billions of pizza boxes are produced too!
📦 Corrugated cardboard gets its strength from a fluted middle layer, making it lightweight yet sturdy for prototypes and pizza boxes.
♻️ Many pizza boxes can be recycled, but greasy or cheese-stained sections should be composted or discarded to avoid contaminating recycling.
🧪 Packaging designers often make quick cardboard prototypes to test fit, strength, insulation, and how the product will stay secure during delivery.
🛠️ Small design features like ventilation holes, dividers, and the tiny plastic 'pizza saver' help keep toppings intact and prevent soggy crusts.
How do you design and build a cardboard pizza box prototype?
What materials do I need to design and build a cardboard pizza box?
What ages is this pizza box design activity suitable for?
What are the benefits and safety tips for making a cardboard pizza box?
