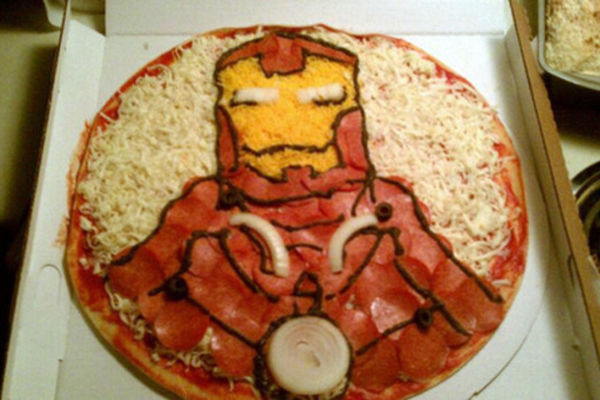
Make art with pizza toppings
Create edible pizza topping art by arranging sauce, cheese, and vegetables on dough; learn about colors, shapes, and safe food preparation while baking together.


Step-by-step guide to make art with pizza toppings
🍕 DIY Paper Pizza for Kids - Mister Maker - Art and Craft
Step 1
Wash your hands with soap and water for 20 seconds to make everything clean and safe.
Step 2
Ask an adult to preheat the oven to 425°F (220°C).
Step 3
Line a baking sheet with parchment paper so the pizza won't stick.
Step 4
Flatten the pizza dough on the parchment into a circle or rectangle using your hands or a rolling pin.
Step 5
Use a spoon to spread pizza sauce over the dough while leaving a small border for the crust.
Step 6
Sprinkle shredded cheese evenly over the sauce so your picture will have a cheesy background.
Step 7
Ask an adult to cut the vegetables into fun shapes for toppings.
Step 8
Arrange the vegetable shapes on the cheese to create a colorful picture using shapes and patterns.
Step 9
Press each topping gently into the cheese so the pieces stay in place while baking.
Step 10
Ask an adult to bake the pizza at 425°F (220°C) for 10 to 15 minutes until the cheese is bubbly and the crust is golden.
Step 11
Let the pizza cool for about 5 minutes on a heatproof surface so it is safe to touch and eat.
Step 12
Ask an adult to cut the pizza into slices.
Step 13
Name the colors and shapes you used in your pizza art to practice what you learned.
Step 14
Ask an adult to help you post a photo of your finished pizza topping art on DIY.org
Help!?
What can we use if we don't have parchment paper or pizza dough?
If you don't have parchment paper, use a lightly oiled baking sheet or aluminum foil sprayed with cooking spray, and if you don't have pizza dough use a store-bought crust, flattened pita, naan, or tortillas as the base before spreading sauce and cheese.
My vegetable toppings slide off while baking or when we cut the pizza — how can we fix that?
Press each topping gently into the cheese as the instructions say so they stick, sprinkle a little extra shredded cheese over delicate pieces or arrange heavier toppings toward the center, and let the pizza cool for the recommended 5 minutes before cutting.
How can I adapt this activity for toddlers, school-age kids, and tweens?
For toddlers, have an adult preheat the oven, cut the vegetables into large shapes, and let the child arrange toppings; for school-age kids, let them flatten the dough, spread sauce, and sprinkle cheese with supervision; for tweens, let them use a kid-safe knife to cut shapes and plan more complex patterns before asking an adult to bake.
How can we make the pizza-topping art more creative or educational?
Make a themed design (animals, letters, flags), use shaped cookie cutters on vegetables, add herbs or different cheeses for flavor, and have the child name the colors and shapes from the instructions before asking an adult to help post a photo of the finished pizza art.
Watch videos on how to make art with pizza toppings
How to Make a Paper Plate Pizza Craft for Kids
4 Videos
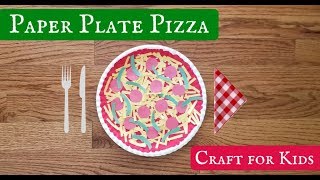
How to Make a Paper Plate Pizza Craft for Kids
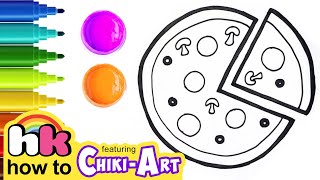
How To Draw & Color Pizza | Easy Art For Kids | Chiki Art | HooplaKidz How To
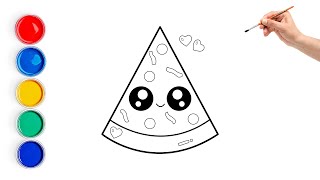
Pizza Drawing for Kids 🍕 | Easy Step-by-Step Drawing and Coloring Tutorial
Simple Printable Pizza Slice Craft for Kids
Facts about cooking and food safety for kids
🍕 The modern pizza Margherita was named after Queen Margherita in 1889 and used tomato, mozzarella, and basil to represent Italy's flag.
🎨 Kids are more likely to try new foods when they’re colorful or arranged in fun shapes — perfect for topping art experiments!
🔥 Most homemade pizzas bake quickly — about 10–15 minutes in a hot oven (≈425–500°F / 220–260°C).
🧼 Washing hands with soap for at least 20 seconds before cooking greatly reduces the chance of spreading foodborne germs.
🥦 Veggie toppings add color and nutrients — for example, a red bell pepper contains more vitamin C than an orange.
How do I make pizza topping art with my child?
What materials do I need to make pizza topping art?
What ages is pizza topping art suitable for?
What are the benefits and safety tips for pizza topping art?
