Build an adventureland
Design and build a small tabletop adventureland diorama using cardboard, paint, craft materials, and toy figures to create imaginative play scenes.


Step-by-step guide to build a tabletop adventureland diorama
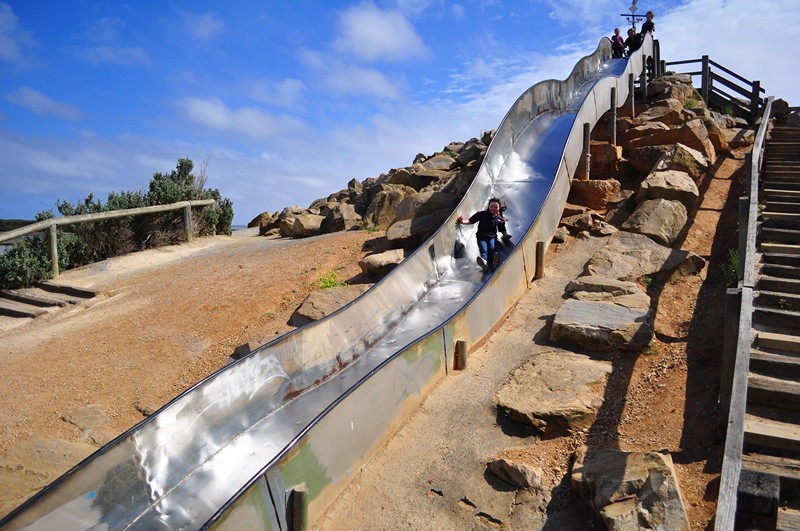
Sundown Adventureland with Kids 🎢 | Fun Family Day Out!
Step 1
Gather all materials into a clear workspace.
Step 2
Choose one theme for your adventureland such as jungle castle or space.
Step 3
Use the pencil and ruler to sketch a simple layout on the cardboard base showing where each area will go.
Step 4
Cut cardboard pieces for a hill and a platform to add height to your scene.
Step 5
Attach the cardboard hill and platform to the base using glue or tape.
Step 6
Paint the base and the cardboard features with base colors.
Step 7
Let the paint dry completely before you touch the scene.
Step 8
Add details like trees houses paths and water using craft materials and coloring materials.
Step 9
Place toy figures and small props where you want them in your adventureland.
Step 10
Secure the figures and props to the base with glue or tape so they stay put.
Step 11
Share your finished adventureland on DIY.org.
Help!?
What can I use if I don't have sturdy cardboard, craft glue, or paint?
For the cardboard base you can layer cereal boxes or use a shoebox lid, swap craft glue for white school glue or double-sided tape, and use washable tempera or watered-down food coloring in place of paint while using paper cutouts instead of toy figures if needed.
My cardboard hill keeps falling over and the paint smudges—how can I fix that?
Score and fold tabs on the cardboard hill and platform and secure them with extra glue or hidden tape, weigh or clamp pieces until the glue sets, and follow the instruction to let the paint dry completely before touching to prevent smudges.
How can I adapt this activity for different age groups?
For preschoolers skip the cutting and ruler sketch and use pre-painted bases, stickers, and chunky figures; for 6–9-year-olds let them sketch with pencil and ruler and cut with supervision; for older kids add detailed painting, layered platforms, and more intricate props.
What are simple ways to enhance or personalize our adventureland?
Personalize it by gluing textured materials like sand for paths or fabric for water, adding LED tea lights under the platform for night scenes, attaching handwritten signs to label areas, or using small magnets to secure figures for movable sections before sharing on DIY.org.
Watch videos on how to build a tabletop adventureland diorama
Jungle Kids from Adventureland | The Perfect Play Area for Kids!
3 Videos
Jungle Kids from Adventureland | The Perfect Play Area for Kids!
Mini Adventures, Big Memories | Kids Rides at Adventureland
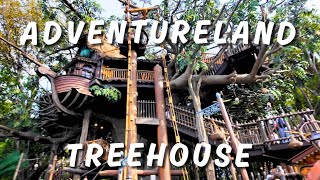
Adventureland Treehouse Walkthrough at Disneyland, Anaheim, California
Facts about diorama and model-making for kids
🏰 Dioramas became popular in the 19th century as a way to create realistic, immersive scenes for museums and theaters.
📏 Scale models use common sizes like 1:12 for dollhouses and 1:72 or 1:35 for tabletop miniatures to keep everything in proportion.
📦 Cardboard is one of the most kid-friendly building materials — it's lightweight, sturdy, easy to cut, and recyclable.
🧸 Small toy figures help kids act out stories and boost imagination, language, and social skills during pretend play.
🎨 Simple painting tricks — a base coat, dry brushing, and a wash — make textures and details on miniatures pop like magic.
How do you build a tabletop adventureland diorama?
What materials do I need to make a small tabletop adventureland diorama?
What ages is building a tabletop adventureland diorama suitable for?
What safety tips should parents follow when making a diorama with children?
