Create an urban parklet
Design and build a small model urban parklet using cardboard, plants, benches, and mini decorations to learn about public space design and teamwork.


Step-by-step guide to create an urban parklet
Transforming Tiny Urban Spaces with Parklets That Last a Lifetime
Step 1
Gather all Materials Needed and lay them out on a clean flat workspace so everything is easy to reach
Step 2
Choose how big your parklet will be and decide if it will be square rectangle or another simple shape
Step 3
Use your pencil and ruler to draw the parklet outline on the cardboard
Step 4
Carefully cut out the cardboard base along your outline
Step 5
Use your pencil to mark zones on the base for benches plants pathways and play or reading spaces
Step 6
Build benches by gluing craft sticks together into small bench shapes and let them dry
Step 7
Colour or paint your benches and any small furniture using your colouring materials
Step 8
Make a pathway by cutting thin cardboard strips and attaching them to the base with glue
Step 9
Fold small pieces of cardboard into plant boxes and glue the tabs so each box holds its shape
Step 10
Place your small plants or fake plants into the boxes and secure them with a little glue or tape
Step 11
Arrange the benches plant boxes and pathway in their marked zones until you like the layout
Step 12
Add mini decorations like pebbles signs and tiny toys and attach them so they stay put
Step 13
Invite a friend family member or teammate to look at your parklet and tell you one idea to improve it
Step 14
Make one small change based on the suggestion and then share your finished parklet on DIY.org
Help!?
What can we use instead of craft sticks, fake plants, or pebbles if those are hard to find?
If you don't have craft sticks, fake plants, or pebbles, substitute sturdy strips cut from a cereal box or thin cardboard for the benches, folded green paper or felt scraps for plants, and buttons or dried beans for mini decorations when arranging and attaching items to the base.
My benches fall apart or the pathway strips curl—how can we fix those problems?
Clamp glued craft-stick benches with clothespins while the glue dries, press pathway strips flat under a heavy book before and after gluing, and score cardboard with a ruler before folding plant boxes to keep pieces from tearing during the 'build benches', 'make a pathway', and 'fold small pieces of cardboard' steps.
How can I adapt the parklet project for younger kids or for older kids who want more challenge?
For younger kids, pre-cut the cardboard base, pathways, and plant boxes and let them place big stickers and paint simple benches, while older kids can use a craft knife with supervision, add scaled measurements, fine paint details, or tiny furniture when drawing the outline and building the layout.
What are creative ways to extend or personalize the parklet before sharing it on DIY.org?
Personalize and strengthen your finished parklet by varnishing or sealing painted benches and the base, adding a small battery LED to light the pathway, and glueing bottle-cap planters or a tiny community sign as extra decorations before sharing on DIY.org.
Watch videos on how to create an urban parklet
What are Parklets? Discover 4 Ways to Transform Urban Spaces into Green Spaces with BRP
3 Videos

What are Parklets? Discover 4 Ways to Transform Urban Spaces into Green Spaces with BRP
Revolutionizing Community Spaces with Parklets
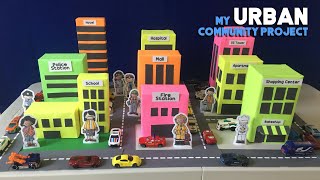
My Urban Community Project | Diorama | Learning Videos for Kids
Facts about public space design
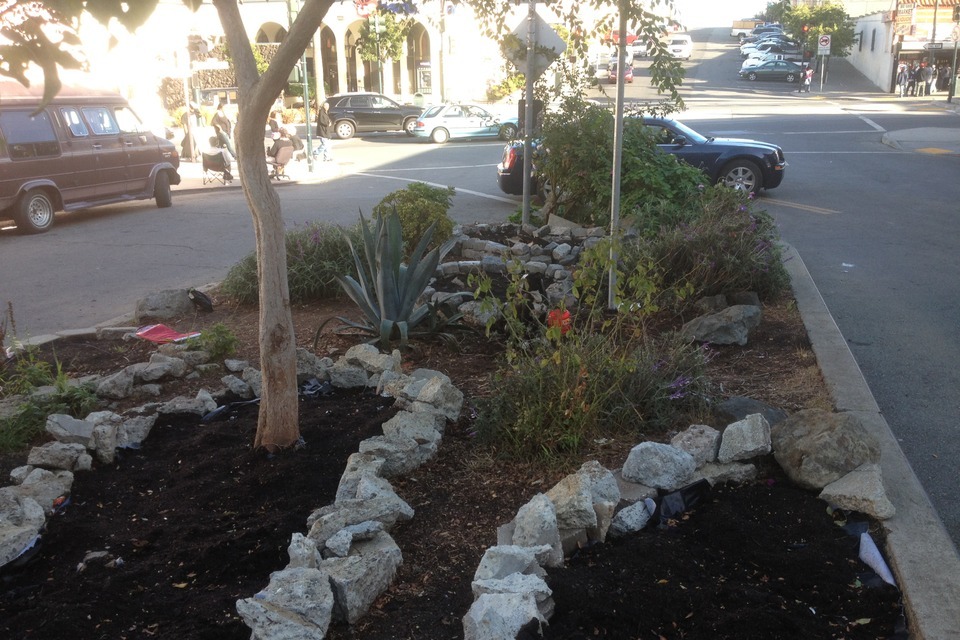
🚗 Parklets often convert one or two parking spaces into a tiny public park where people can sit and relax.
🌿 Plants and trees in small parks can lower nearby air temperatures by several degrees and make streets feel cooler.
🪑 Adding benches and seating encourages people to stay longer, chat, and use the space for community activities.
🛠️ Cardboard is lightweight, inexpensive, easy to cut and glue, and recyclable—great for quick scale models.
🤝 Many real parklets are sponsored and maintained by local businesses or neighborhood groups working together.
How do you create a small model urban parklet with cardboard and plants?
What materials do I need to build a parklet model?
What ages is this urban parklet activity suitable for?
What are the benefits of designing and building a parklet model?
