Mulch a landscape
Mulch a garden landscape using leaves, wood chips, or compost; learn about plant health, moisture retention, weed suppression, and safe spreading techniques.


Step-by-step guide to mulch a garden landscape
How to MULCH the Landscape | A COMPLETE GUIDE
Step 1
Put on your gloves and garden shoes so your hands and feet stay clean and safe.
Step 2
Walk around the garden bed and look closely at the plants and bare soil to plan where to add mulch.
Step 3
Pull out any large weeds or sticks and drop them into your wheelbarrow or bucket.
Step 4
Loosen the top layer of soil with a rake so mulch will sit evenly and help water soak in.
Step 5
Decide how thick to make your mulch layer and aim for 2 to 3 inches for good moisture and weed control.
Step 6
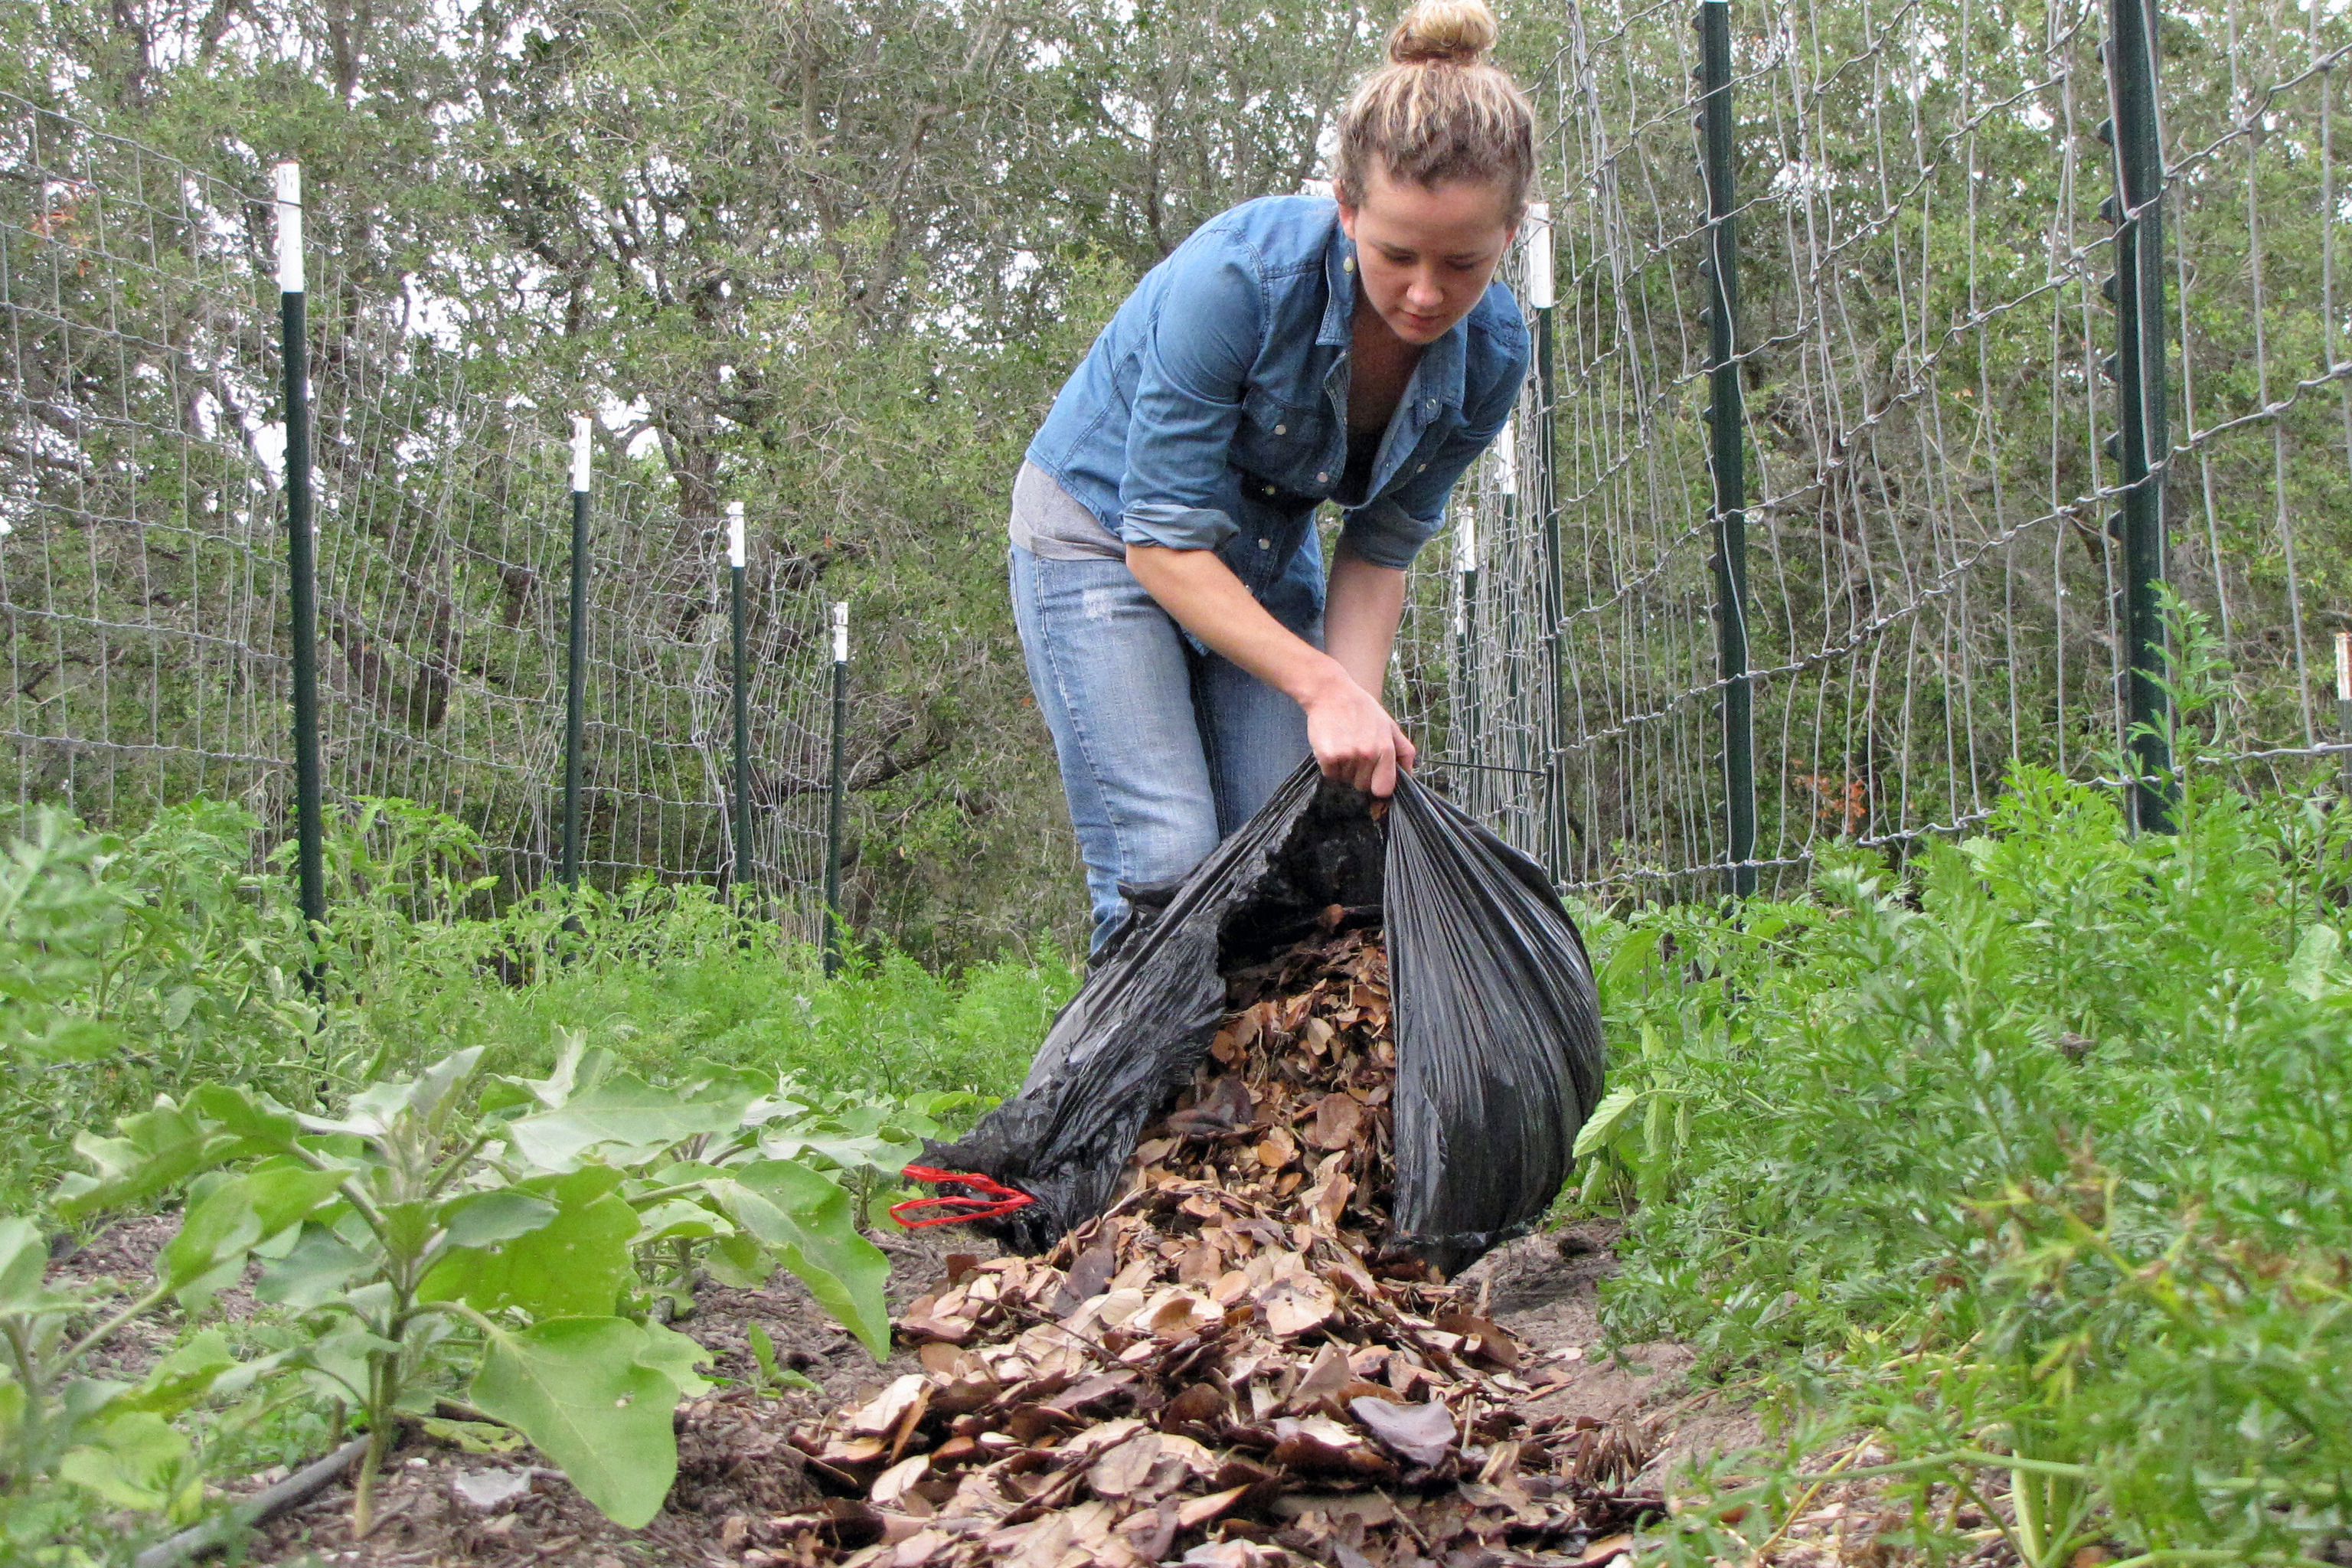
Use a shovel or pitchfork to load mulch into the wheelbarrow or bucket for easy moving.
Step 7
Spread mulch evenly over the soil surface with your hands or a rake to reach the chosen depth.
Step 8
Gently pull mulch back 1 to 2 inches from plant stems and tree trunks to keep them dry and healthy.
Step 9
Smooth the mulch with a rake so it looks tidy and stays at an even depth.
Step 10
Lightly water the mulched area so the mulch settles and starts helping the soil hold moisture.
Step 11
Step back and inspect the bed to make sure mulch is even and plants are visible and healthy.
Step 12
Clean your tools and put them away so they stay in good shape and your garden stays tidy.
Step 13
Share a photo or short description of your finished mulched garden on DIY.org.
Help!?
What can I use if I don't have a wheelbarrow, pitchfork, or bagged mulch?
If you don't have a wheelbarrow use a laundry basket or large tote to carry mulch for step 5, substitute a sturdy rake or shovel for the pitchfork when loading in step 6, and use shredded leaves or composted yard waste as a mulch alternative when spreading in steps 6–8.
My mulch keeps blowing away or looks uneven—how do I fix it?
Loosen the topsoil with your rake as in step 4, spread an even 2–3 inch layer with your hands or rake (steps 6–8), lightly water the area in step 10 so the mulch settles, and pull it back 1–2 inches from plant stems per step 7 to prevent piling.
How do I adapt the mulching steps for different ages of kids?
For ages 3–5 let them wear gloves and garden shoes and drop small handfuls of mulch into a bucket (steps 1 and 5–6), ages 6–10 can pull weeds, rake soil, and spread mulch under supervision (steps 3–4 and 6–8), and 11+ can load the wheelbarrow, use the shovel or pitchfork, smooth the bed, and post the finished photo to DIY.org (steps 5–12).
What are some ways to make the activity more interesting or personalized?
After loosening the soil in step 4, mix in a thin layer of compost before you spread mulch, add labeled plant markers or a decorative border when you smooth the mulch in step 8, and take the photo in the final step to share your customized design on DIY.org.
Watch videos on how to mulch a garden landscape
How To Mulch Your Garden: A Step-By-Step Guide from Bunnings Warehouse
4 Videos
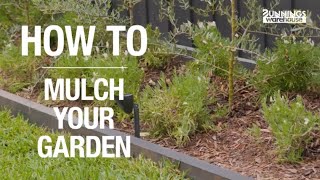
How To Mulch Your Garden: A Step-By-Step Guide from Bunnings Warehouse
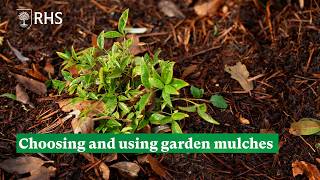
Choosing and using garden mulches | The RHS
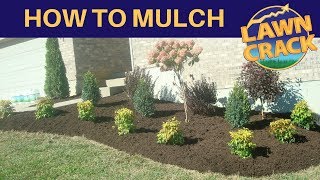
Mulch Like a Pro | How to Mulch Tutorial | How to Mulch and Edge | Landscaping Tips | LawnCrack
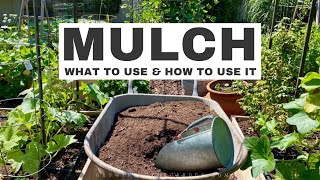
MULCHING YOUR GARDEN: WHAT to use and HOW to use it
Facts about gardening and mulching
🌿 Mulch can drastically cut soil water loss—many gardeners report up to ~70% less evaporation depending on conditions.
🍂 A single handful of healthy soil or leaf litter can contain billions of tiny microbes and critters that help plants stay healthy.
🌱 A 2–3 inch layer of mulch is a common guideline to suppress most weeds and protect plant roots from temperature swings.
🔥 Piling mulch against tree trunks (called “volcano mulching”) can cause bark rot and attract pests—keep mulch a few inches away from stems.
♻️ Compost and leaf mulch slowly add nutrients and improve soil structure as they break down, though fresh wood chips may temporarily tie up nitrogen while decomposing.
How do you mulch a garden landscape with leaves, wood chips, or compost?
What materials do I need to mulch a garden landscape?
What ages are suitable for children to help mulch a garden landscape?
Is mulching safe for kids and what are the benefits and safety tips?
