Design a landscape
Design and build a small model landscape using cardboard, paper, clay, and natural items, planning features like hills, rivers, trees, and pathways.


Step-by-step guide to design and build a model landscape
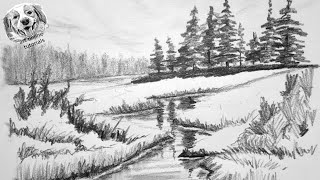
Simple Landscape Drawing Tutorial for Kids and Beginners: Easy House Scenery
Step 1
Gather all your materials and put them on a clear table so everything is easy to reach.
Step 2
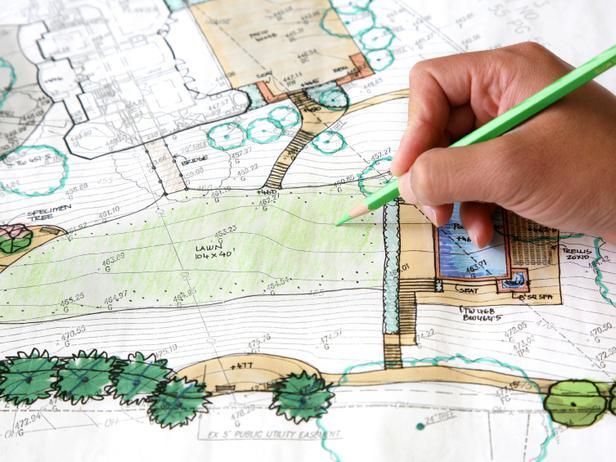
Decide on a theme for your landscape and sketch a simple map of hills rivers trees and paths on the cardboard with your pencil.
Step 3
Measure the cardboard and mark the background paper to the right size using your ruler and pencil.
Step 4
Cut the background paper to the size you marked.
Step 5
Glue the cut background paper onto the cardboard to make the ground or sky.
Step 6
Shape modelling clay into hill mounds by rolling and pressing small lumps with your hands.
Step 7
Press each clay hill onto the cardboard where you drew the hills so they stick in place.
Step 8
Cut a winding river shape from blue paper following the river line on your map.
Step 9
Glue the river paper onto the cardboard in the river spot.
Step 10
Draw water ripples rocks or waves on the river with colouring materials.
Step 11
Make tree tops by shaping green clay or cutting leaf shapes from paper.
Step 12
Attach tree tops to twigs to build little trees by pressing the tops onto the twig ends.
Step 13
Glue your trees pebbles leaves and other natural items onto the map where you want them.
Step 14
Tear strips of paper for pathways and glue the strips down along the paths you drew.
Step 15
Ask an adult to help you post photos and a short description of your finished model landscape on DIY.org so everyone can see your creation.
Help!?
What can I use instead of modelling clay, twigs, or pebbles if I can't find them?
If you don't have modelling clay, twigs, or pebbles, substitute playdough or rolled tissue for the hills, short skewers or pipe cleaners instead of twigs for tree trunks, and dried beans or crumpled paper balls for pebbles when you press each hill and glue your pieces onto the cardboard.
My clay hills keep falling off the cardboard or the river paper wrinkles—how do I fix that?
Firmly press and slightly flatten each clay hill onto the cardboard where you drew the hills and use a dab of white glue or double-sided tape under the clay, and smooth the glued blue river paper with a ruler or clean finger while the glue is still wet to avoid wrinkles.
How can I change the activity to suit different ages?
For younger children, pre-cut the background paper and strips for paths and use glue sticks with big lumps of clay, while older kids can carefully measure and mark the cardboard with a ruler, cut precise river shapes, add detailed ripple drawings, and create labels or a scale on their sketched map.
What are simple ways to extend or personalize our finished model landscape?
Personalize the landscape by making small clay animals or houses to glue near the river and trees, adding a handwritten legend on torn paper, or layering textured materials like cotton for clouds and sand for beaches to enhance the sight and feel of your map before posting photos on DIY.org.
Watch videos on how to design and build a model landscape
How to Draw a Landscape Step-by-Step for Beginners
4 Videos
How to Draw a Landscape Step-by-Step for Beginners
How To Draw A Spring Landscape
Easy Scenery Drawing for Kids | Simple & Beautiful Landscape Art!
How to Draw a Landscape with pencil step by step and very easy
Facts about model-making and dioramas for kids
🎨 Architects and designers use small-scale models to test ideas — a model can reveal problems before building the full thing.
🪵 Twigs, moss, and pebbles make great tiny trees, bushes, and rocks — hobbyists often collect safe natural items to decorate models.
📏 Scale matters: many modelers use common scales like 1:24 or 1:48 so toy people and cars look right in the landscape.
🧱 Corrugated cardboard dates back to the 19th century and is a lightweight, strong choice for building hills and structures.
🌊 Model rivers can be made with glossy glue or clear resin for a glassy water look — resin gives great results but needs adult help.
How do I design and build a small model landscape with cardboard, paper, clay, and natural items?
What materials do I need to make the model landscape?
What ages is this landscape-building activity suitable for?
What are the benefits and safe variations of building a model landscape?
