Draw a plant or tree character
Draw and design a plant or tree character with a face, poses, and accessories, practicing observation, proportions, and coloring to tell a short visual story.

Drawing Apps
Step-by-step guide to draw a plant or tree character
Step 1
Look at your reference picture and pick one plant or tree to use for ideas.
Step 2
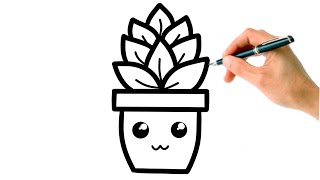
Decide if your character will be a small potted plant or a big tree.
Step 3
Decide how tall or wide your character will be on the paper.
Step 4
Lightly draw the basic body shapes for the trunk stem and leaves using simple shapes like circles ovals and rectangles.
Step 5
Mark where the face will go by drawing a small circle or square on the body.
Step 6
Draw eyes a nose and a mouth to give your character an expression that matches its mood.
Step 7
Draw one arm or branch pose such as waving pointing or holding something.
Step 8
Add one or two accessories like a hat glasses a scarf or a tiny watering can to show personality.
Step 9
Look at your drawing and erase or redraw any parts to make the proportions look balanced.
Step 10
Trace the final lines with a black pen or fine marker to make your character stand out.
Step 11
Erase the pencil marks gently after the ink dries to clean up the picture.
Step 12
Color your character and add one small background detail like a pet a sun or falling leaves to tell a short story.
Step 13
Share your finished plant or tree character on DIY.org
Help!?
What can we use if we don't have a black pen or fine marker for tracing the final lines?
If you don't have a black pen or fine marker for the 'Trace the final lines' step, substitute a fine-tip Sharpie, a gel pen, or a thin paintbrush with black acrylic or India ink, or darken the lines carefully with a sharpened pencil.
My character looks off-balance after inking — how can I fix proportion problems?
Before inking follow the instruction to 'Look at your drawing and erase or redraw any parts to make the proportions look balanced' by using a kneaded eraser and light pencil adjustments, and if already inked, add accessories or a small background detail to visually balance the composition.
How can I adapt this drawing activity for different age groups?
For younger children simplify the 'basic body shapes' and face placement steps with big circles and a single accessory, for elementary kids emphasize 'one arm or branch pose' and erasing/redrawing for proportions, and for older kids add detailed shading in the 'Color your character' step and a story-driven background before sharing on DIY.org.
What are some ways to extend or personalize our plant or tree character after finishing the basic drawing?
Extend the activity by turning the 'one or two accessories' into a wardrobe series, using real leaves or textured paper when you 'Color your character', creating a short comic with the 'one small background detail', and then share the finished character on DIY.org.
Watch videos on how to draw a plant or tree character
How to Draw a Cute Plant Easy for Kids and Toddlers
4 Videos
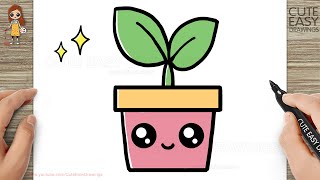
How to Draw a Cute Plant Easy for Kids and Toddlers
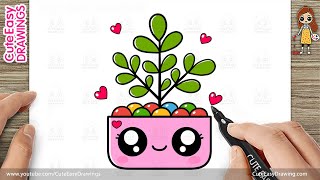
How to Draw a Cute Plant in a Pot - Easy Drawing for Kids and Toddlers
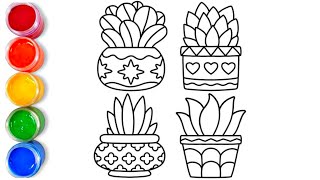
How to draw easy plants | easy drawing step by step for kids
How to draw a Plant 🪴 easy tutorial step by step for kids| Small Artists
Facts about drawing and character design
🌱 About 390,000 plant species are known to science — that's a huge library of shapes and textures to inspire characters!
🌳 Some trees live for thousands of years — the bristlecone pine 'Methuselah' is nearly 4,850 years old.
🧑🎨 In character design, bigger heads and eyes make characters look younger and more expressive, perfect for friendly plant pals.
🎨 Color choices help tell a visual story: warm colors feel energetic, cool greens feel calm, and muted tones can add age or mystery.
🕸️ Trees and plants can be linked by underground fungal networks that share nutrients and messages — nicknamed the 'Wood Wide Web.'
How do I draw a plant or tree character with a face, poses, and accessories?
What materials do I need to draw a plant or tree character?
What ages is this plant or tree character drawing activity suitable for?
What are the benefits of drawing plant or tree characters for kids?
