Produce a radio interview
Create and perform a short radio-style interview with a partner, write clear questions, practice speaking and recording, and share the audio for feedback.

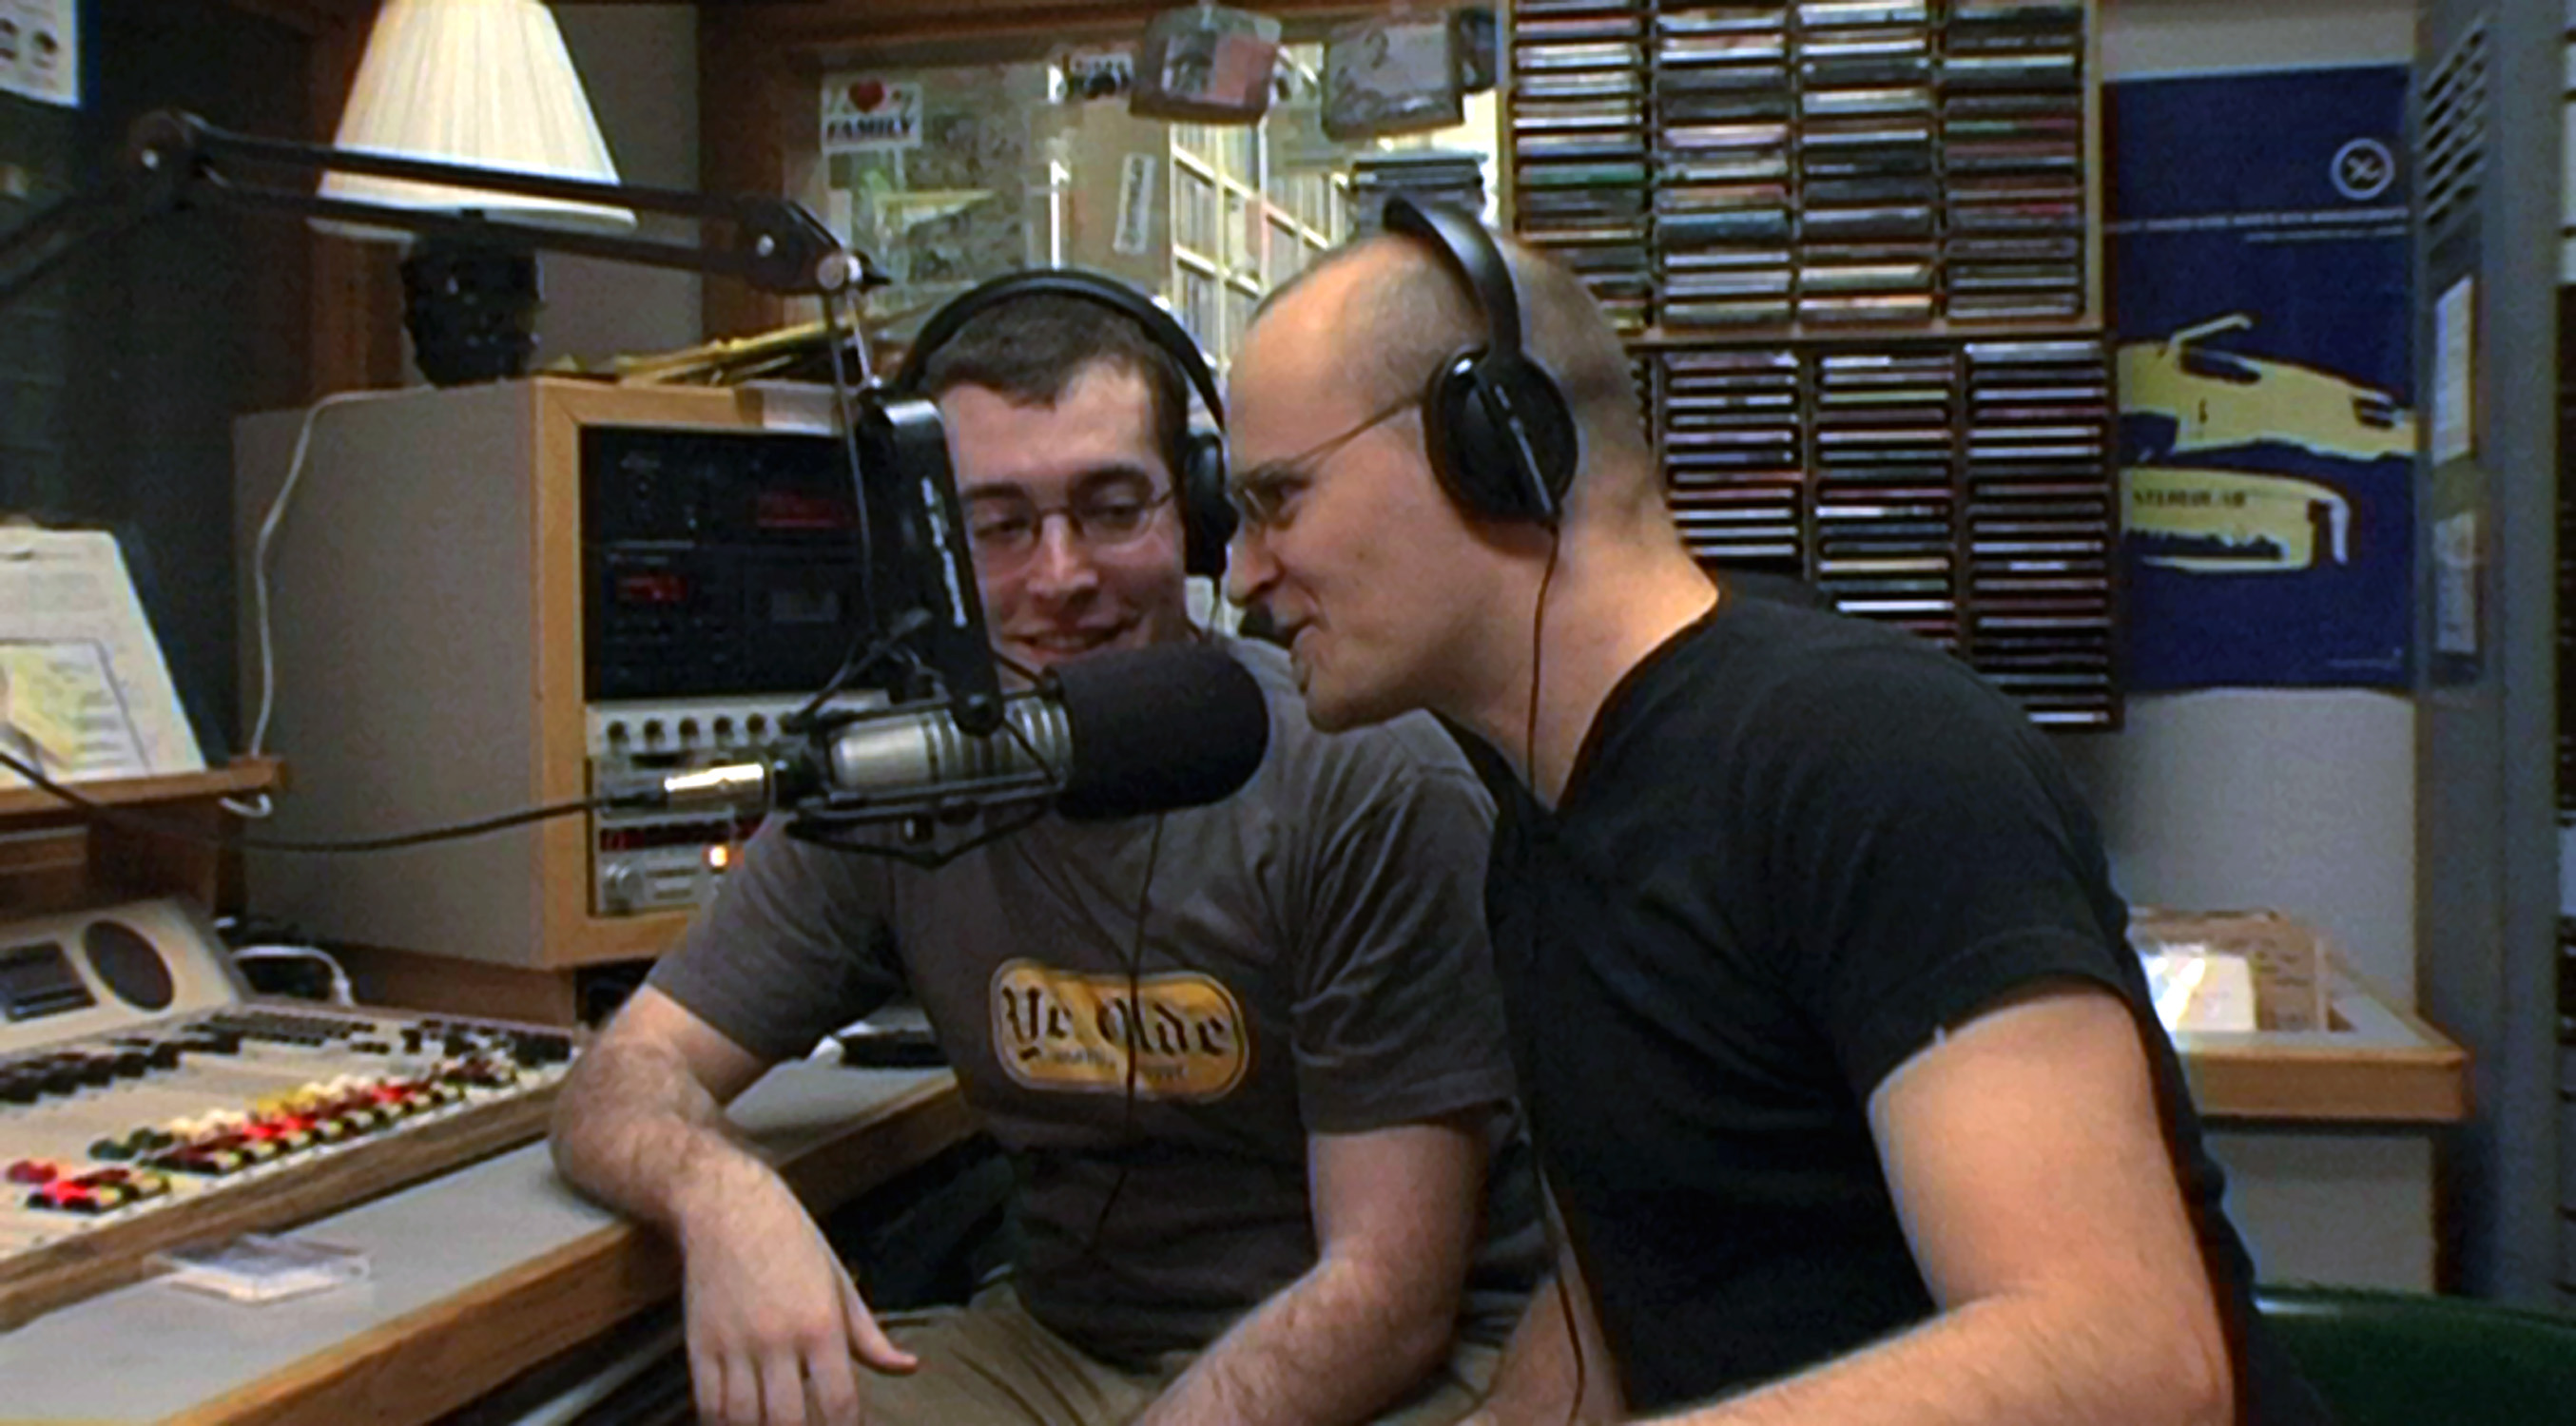
Step-by-step guide to create and perform a radio-style interview
Interviewing on the Radio like a Pro: Tips from a Professional Presenter
Step 1
Pick one fun topic for your radio interview.
Step 2
Ask a friend or family member to be your partner.
Step 3
Decide who will be the interviewer and who will be the guest.
Step 4
Set a target length for the interview using your timer or clock.
Step 5
Write 6 to 8 clear questions on the paper.
Step 6
Write one short sentence to introduce the show at the start.
Step 7
Write one short sentence to close the show at the end.
Step 8
Read the interview questions out loud one time to practice.
Step 9
Have the guest practice answering the questions out loud with full sentences.
Step 10
Go to the quiet place and remove any noisy items from the area.
Step 11
Make a short 30 second test recording to check how you sound.
Step 12
Record the full interview from the intro to the closing without stopping.
Step 13
Listen to your recording and decide if one part should be re-recorded or improved.
Step 14
Share your finished radio interview on DIY.org for feedback.
Help!?
What can we use if we don't have a recorder or microphone?
Use a smartphone or tablet voice‑memo app to make the 30‑second test recording and the full interview, and use paper for your questions and any clock or timer for timing.
What should we do if the recording is noisy or we keep stopping while recording the full interview?
Follow the step to 'go to the quiet place and remove any noisy items,' make a short 30‑second test recording to check levels, then move the device closer or turn off noisy items and re‑record only the part that needs improvement.
How can we adapt the activity for different age groups?
For younger children write 3–4 simple questions and have an adult help with the intro/closing and timer, while older kids can write 8+ detailed questions, research the topic, and re‑record parts after listening.
How can we make the interview more fun or professional before sharing it on DIY.org?
Add a short theme jingle when you 'write one short sentence to introduce the show,' include brief sound effects between questions during the full recording, and edit out long pauses after listening before you share on DIY.org for feedback.
Watch videos on how to create and perform a radio-style interview
How to conduct a great radio interview 🎙️
4 Videos

How to conduct a great radio interview 🎙️
Radio Interview Tips And Techniques
School Radio: Everything You Need to Know to Start Broadcasting
How to make an audio news report - BBC Young Reporter
Facts about radio production for kids
🎙️ Radio interviews began in the 1920s and helped people hear news and stories from far away for the first time!
🎧 There are millions of podcasts around the world — and kids as young as 7 make shows to share stories and interviews.
📝 Open-ended questions (who, what, why, how) usually get longer, more interesting answers than yes/no questions.
⏸️ Professional-sounding recordings use short pauses (1–2 seconds) after questions and big points — it makes listening easier.
🔊 AM radio waves can bounce off the ionosphere at night and travel hundreds of miles, while FM gives clearer sound but shorter range.
How do you create and perform a short radio-style interview with a child?
What materials do I need to produce a radio interview with my child?
What ages is this radio interview activity suitable for?
What are the benefits of producing a radio-style interview with my child?
